Instructions for planting dill seeds in open ground for beginner gardeners
Dill is one of the most popular spices. They love it not only for its taste and aroma, but also for its ease of cultivation. However, the cultivation of this plant has its own nuances.
From the article you will learn how to grow dill from seeds, how to properly prepare the seeds and soil for planting, how to care for dill in open ground to get a good harvest.
Timing for sowing dill in open ground
In one season, dill manages to produce several crops, so the plant is planted from spring to late autumn.
Attention. In spring and autumn, dill is grown to produce aromatic herbs, in summer - to obtain umbrellas.
Dill seeds tolerate frost well, so they are sown after the snow melts, when the air temperature rises above +3...+5℃ - from early April to mid-May, depending on the region. In summer they are planted in any month.
Reference. To have fresh, aromatic herbs on the table throughout the summer, sow dill seeds every two weeks.
In autumn, seeds are planted from October to November. Winter planting is done to get fresh greens in the spring two weeks earlier.
Planting according to the lunar calendar
What days in 2019 are best to sow dill:
- July: 10-12, 20-22, 29-31;
- August: 2-8, 11-13, 17-18, 21-23, 26-31;
- September: 1-5, 7-10;
- October: no;
- November: 1-3, 6-8, 15-18, 24-25.
Unfavorable days:
- July: 2, 3, 17;
- August: 15, 16, 30, 31;
- September: 14, 15, 28, 29;
- October: 14, 28;
- November: 12, 13, 26, 27.
Choose the days to plant the plant in advance to ensure strong seedlings.
Preparatory stage
Each plant has certain conditions necessary for growth and development. If you take a responsible approach to preparing the soil and dill seeds, you will get a harvest faster and its quality will be better.
Soil preparation
Dill likes to grow in a sunny bed or in partial shade. Choose a place where the water does not stagnate, but is not too dry.
If in the previous year cucumbers, tomatoes, cabbage, beets or legumes grew in the selected bed, then it is not necessary to fertilize the soil. Dill will have enough nutrients left over from last year. Do not plant it after carrots, celery, parsley and dill itself.
Good neighbors for spicy crops are cucumbers, zucchini, cabbage and tomatoes. They are often planted together, but not too close to the stems of the plants, so that the dill does not take away water and nutrients from them.
To prepare the soil for planting, humus is added in the fall in an amount of 3 kg per square meter. m or any complex fertilizer. Then the soil on the site is carefully dug up to a depth of 20-30 cm and leveled with a rake. In spring, wood ash is added to the soil at a rate of 0.1-0.2 kg per square meter. m.
Important. For better seed germination, fertilizing the soil with superphosphate in an amount of 30 g per square meter is useful. m.
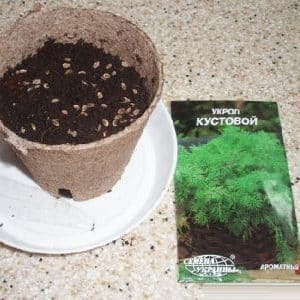
Seed preparation
Dill seeds are rich in essential oils. These oils prevent germination because moisture does not penetrate inside the seeds. To improve the germination of dill, the seeds are poured with warm water and left for two days. The water is changed as it cools.
After this, the dill seeds are wrapped in a damp cloth and left for 2-4 days at room temperature until they sprout.
Preliminary preparation of seeds prevents the plant from diseases. Therefore, after soaking, the seeds are washed with a strong solution of potassium permanganate, then with running water and then dried.
How to sow dill correctly
After preparing the soil and seeds, proceed directly to sowing dill.
- Make rows 1.5-2 cm deep in the garden bed.
- Leave 20 cm between rows.
- The resulting rows are watered with water.
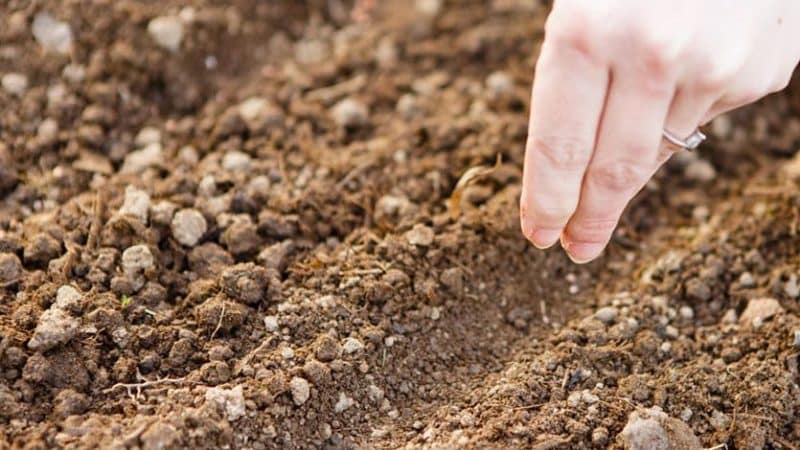
- Seeds are sown every 5 cm.
- Sprinkle the same soil on top.
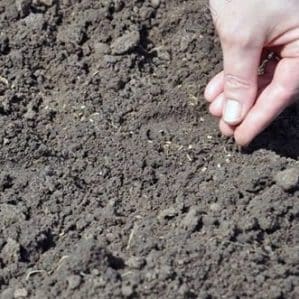
Dill can also be sown in a carpet pattern. The seeds are evenly scattered over the soil surface, leveled with a rake and watered.
Features of planting in the cold season
When planting before winter, seeds are sown 2 cm deeper than in spring. Therefore, dill is planted before the soil freezes. The optimal air temperature will be -5…0℃, but not higher than +3℃, so that the seeds do not germinate until spring. Another important point: when planting in winter, do not water the soil.
Alternative planting method:
- prepare the bed;
- planting material is scattered over the surface;
- Cover the top with soil with humus at the rate of a bucket of humus per 1 square meter. m.
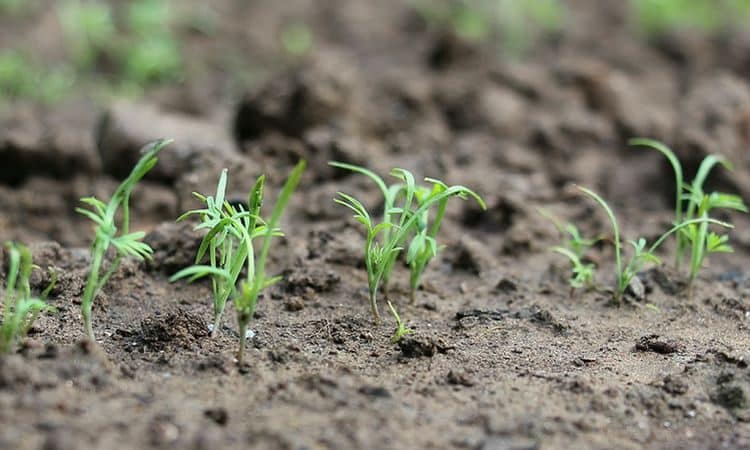
As the snow melts in the spring, the seeds will go deeper and begin to germinate.
Care after landing
Despite its unpretentiousness, dill needs proper care. If you provide the plant with a comfortable environment, it will definitely delight you with a bountiful harvest.
Watering
Do not overdry the soil in the bed where dill grows; it should always be slightly moist. But do not turn the garden bed into a swamp, otherwise the plant will get sick and die. Drought is also harmful to the development of dill - the leaves will turn yellow, dry out and become unusable for food. It is best to water green spaces 2 times a week, 6-8 liters per square meter. m in dry weather.
Top dressing
For dill with a short ripening period, the soil does not need to be fertilized; the plant will have enough of what was added when preparing the bed.. If dill grows slowly, it is fertilized with nitrophoska or urea (10-15 g/sq. m). The same fertilizers are applied during the first feeding mid-ripening and late-ripening varieties, when they have 2-3 leaves.
After 20-25 days, feed with potassium salt and urea (urea) per 3-4 square meters. 15 g and 20 g of fertilizers, respectively. Be careful not to get fertilizer on the leaves, and water the beds thoroughly after fertilizing.
Weeding and loosening
So that the nutrients do not go to the weeds, but go to the healthy greens, the garden bed is weeded. In addition, the root system of weeds compacts the soil and retains excess moisture.
Dill loves breathable soil. To ensure proper air exchange, the soil is loosened between the rows after rain or watering.
Thinning
For normal growth, dill thickets are thinned out if bushes grow too thick. The distance between them after thinning is left at 3-5 cm at growing for greens and 8-10 cm for salting and obtaining seeds.
Shelter in the heat
Due to the scorching sun, dill leaves turn yellow and dry out. To save greenery, cover the bed with a canopy.
Pest Control
Aphids, umbrella moths and flea beetles are the most common pests of dill. An infusion of potato tops with laundry soap helps against aphids. For fleas, use a solution of “Fitosporin”.
Advice. Remove weeds from the area in a timely manner, and there will be an order of magnitude fewer pests.
Diseases
Due to improper care, the plant becomes sick. The most common dill diseases:
- Downy mildew manifests itself whitish coating on the leaves, for prevention, the plant is pollinated with sulfur, and diseased bushes are treated with potassium permanganate or a mixture of antibiotics - take penicillin, streptomycin and terramycin in equal parts.
- Rust mushroom - the plant becomes covered with brown spots. For treatment, the plant is sprayed with Bordeaux mixture 3 times a month.
- Fomoz - black spots appear on leaves and shoots. To save, the affected areas are removed, and the plant is treated with Bordeaux mixture. To protect healthy bushes, the drugs “Fitosporin”, “Trichodermin” and “Mikosan-V” are used.
The most effective method of control is prevention: remove affected plants and weeds in a timely manner, maintain crop rotation, and treat seeds before planting.
Helpful Tips and Mistakes to Avoid
Beginner gardeners will benefit from advice from more experienced colleagues:
- if you purchase dill varieties of different ripening periods, you will be able to enjoy fragrant greens until late autumn, for example, Gribovsky, Dalniy - early ripening, Alligator, Kustiy - mid-ripening, Salyut, Buyan - late ripening varieties;
- before sowing, pour vodka over the seeds for a few minutes, it will dissolve the essential oils, and the seeds can be sown immediately;
- carrots, cumin, parsley are bad neighbors for dill;
- do not water dill immediately after sowing, so that the seeds do not sink lower than necessary;
- in the spring in the evenings, if frosts are expected, winter dill is covered with film or covering material, securing it along the edges;
- Harvest early in the morning so that the leaves do not have time to wither in the sun;
- The collected greens are stored in the refrigerator for a week. To preserve the dill for the winter, it is dried or frozen.
Conclusion
Growing dill is a simple procedure.Be sure to take time to process the seeds and prepare the soil, water the greens on time, feed fertilizers. If all planting and care conditions are met, you will receive a rich harvest that will delight you not only in summer, but also in winter.