Dill grows poorly - what to feed for a good harvest and how to do it correctly
Not all gardeners grow lush green dill bushes; sometimes it does not sprout at all, rots, and acquires a yellow tint. The article describes the rules concerning all stages of growing this greenery: how to prepare the soil, what fertilizers are needed, what affects the growth and yield of dill.
Why dill grows poorly and how fertilizing will help
Several factors influence the growth of dill:
- choice of sowing location;
- proper seed preparation;
- timely feeding.
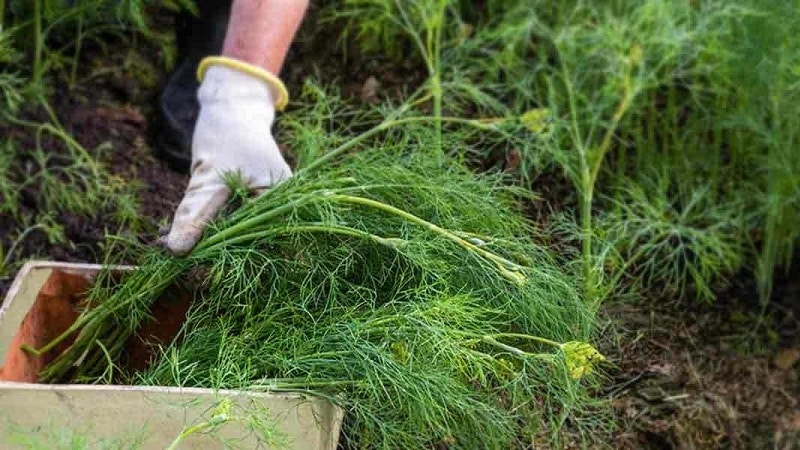
These greens cannot be classified as demanding plants., however, failure to follow the recommendations negatively affects the yield.
Important! Sow seeds only in a well-lit place. If you plant them in the shade, the greens will not sprout at all or will not grow well and will look lethargic.
Seeds for planting are collected independently, using last year's harvest, or purchased at a store or pharmacy.
Prepare them for sowing in three ways:
- soaking for several days in water;
- soaking in vodka for 15 minutes (after which they are thoroughly washed and dried);
- saturating the seeds with oxygen (bubbling) - you can lower them into a container of water where an aerator is immersed (suitable for an aquarium).
Plant seeds only in moist, fertilized soil. - This is one of the main conditions for a bountiful harvest. After sowing, intensive watering with warm water is necessary.
Care instructions:
- dill has long roots, so the layer of nutritious soil should be at least 30 cm;
- the most favorable soil for greenery is sandy loam or loam;
- dill does not like an acidic environment, so the permissible soil pH level is from 6.5 to 7;
- plantings are thinned to 2 cm.
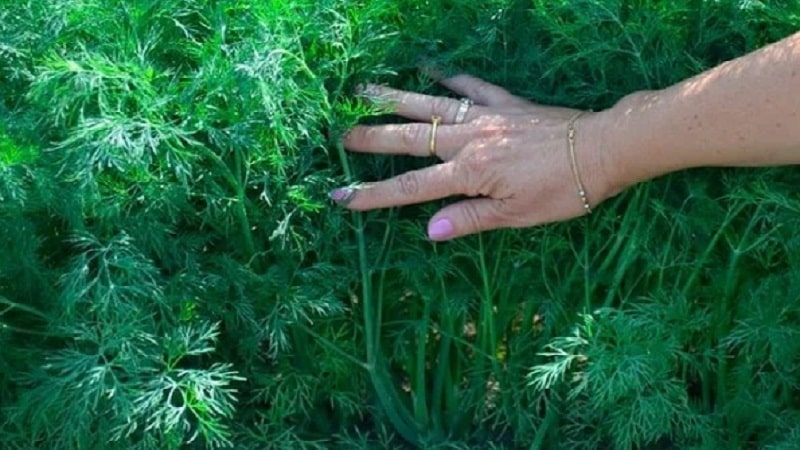
Timing for feeding dill
Before planting seeds, fertilize the soil inorganic substances.
Second feeding carried out 15 days after sowing.
Subsequent feeding depend on the condition of the plant.
It can be useful:
How to feed dill for good growth
There are several ways to feed dill. The method is chosen taking into account the stage of growth of greenery, variety and its condition.
Purchased ready-made products
To prepare the soil and create an environment favorable for dill, use superphosphate and potassium salt or Nitroammophos.
Approximately 2 weeks after germination, feed the greens with any of the means:
- ammonium nitrate;
- "Bood";
- "Baikal-M1";
- "Emochki";
- "Shine".
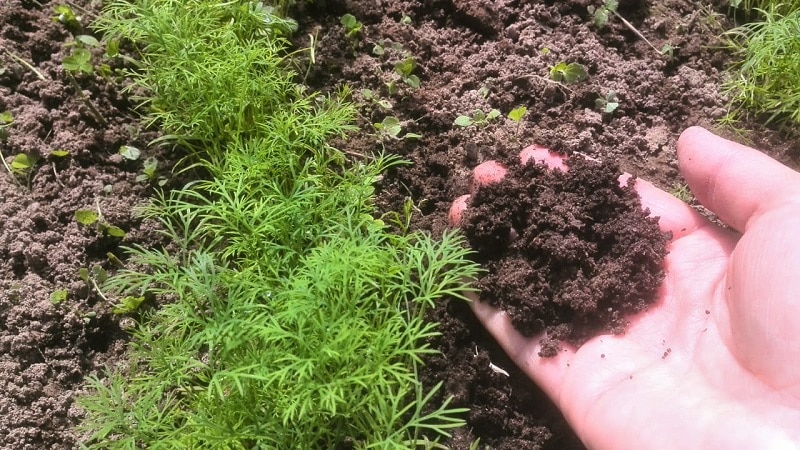
Traditional methods
To feed the plant also use homemade and organic fertilizers:
- humus;
- mullein;
- “green infusion”, which is prepared from nettles or other cut weeds;
- ammonia.
Fertilizers for open ground/greenhouses
For feeding dill planted in open ground, mullein, nettle infusion, and urea are perfect.
If dill is grown in a greenhouse, then during planting it is recommended to place superphosphate between the grooves, and then use nitrogenous fertilizers.
Instructions for fertilizing
Superphosphate and potassium salt are used for saturating the soil with nitrogen and phosphorus.Before sowing the seeds, these products are mixed with the soil at the rate of 20 and 30 g per m², respectively.
Ammonium nitrate is used for fertilizing dill approximately 15 days after sowing. Use in small quantities: no more than 8 g per m².
Important! Dill is an early ripening crop. The use of chemical fertilizers, especially ammonium nitrate, contributes to the accumulation of nitrates in greenery. To avoid this, strictly follow the dosage.
Organic fertilizers are recommended to be used in proportions:
- humus - 1/2 bucket per m²;
- mullein - solution with water in a ratio of 1:10;
- “Biud” is a solution with water in a ratio of 1:20.
Em fertilizers are used in accordance with the instructions indicated on the packaging.
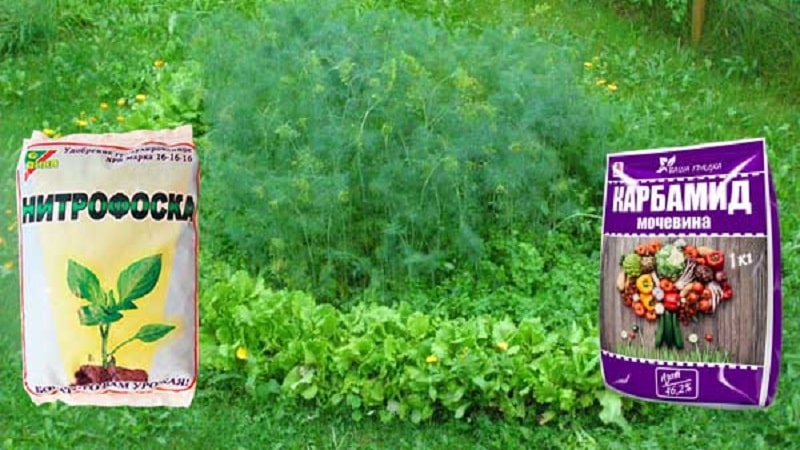
Urea is used for eliminating nitrogen deficiency in the soil. Urea (or carbamide) is diluted in water. Recommended concentration is 20 g per m². The dill is watered with the solution approximately 2 weeks after germination. Repeated treatment with urea is not recommended.
Traditional methods make it possible to produce high-quality fertilizers without pesticides.
“Green infusion” is prepared as follows:
- collect young nettle shoots without seeds and place them in a large container, filling it halfway;
- add water to the remaining half of the container and close with a lid;
- insist for 2-3 weeks;
The concentrated solution is diluted with water in a ratio of 1:20 and used for watering at the rate of 1/2 bucket per m² 2 times a month.
Fertilizing with ammonia (aqueous solution of ammonia) will ensure rapid growth and attractive appearance of greenery. Prepare a solution: 10 ml of alcohol per 10 liters of water. In dry, windless weather, the plants are generously sprayed with the resulting solution.
Read also:
Useful tips and common mistakes
On time and without hassle Tips will help you get a harvest of beautiful and fragrant dill:
- The key to an excellent dill harvest is proper soil preparation. If the soil is sufficiently fertilized before planting, additional feeding of greenery will not be needed.
- Dill seeds are rich in essential oils, which make germination difficult. Therefore, seeds that have overwintered in open ground and are treated and disinfected before spring planting germinate best.
- To obtain an early harvest of dill, it is permissible to sow it in a box and grow it on a windowsill, and plant it in open ground 35 days after planting.
- Greens can withstand frosts down to -4°C, so they can be planted immediately after the snow melts.
- It is not recommended to plant dill next to carrots, herbs and cumin, but potatoes, cucumbers and garlic are excellent neighbors.
- The yellow color of dill and its rapid flowering indicate a lack of moisture. Red color indicates that the soil is too wet and has a lot of potassium.
Reviews
Novice gardeners note that growing dill turned out to be more difficult for them than they expected.
Alla, Ryazan: “It would seem that it could be simpler than growing several beds of dill. However, when we bought a new plot and I sowed dill, it grew poorly, the bushes were sparse and dull. It turned out that the problem was in the soil. After fertilizing the soil with potassium salt, the harvest of greenery always pleases us.”.
Vladimir, Mga: “I’ve never done gardening before. For the first time, my wife and I bought a dacha and decided to grow something. We wanted to start with the simplest thing - with greens, so that there would be fresh dill and parsley on the table. But the dill was yellow and thin.We were advised to use the “Biud” product and spray the plantings with an ammonia solution. The result didn’t take long to arrive - now we eat delicious greens straight from the garden.”.
Georgy, Barnaul: “I decided to start a business - growing dill for sale. To do this, I sowed the seeds in the greenhouse. But the greens were not suitable for sale: the appearance was so-so. On the advice of friends, I began to fertilize the plantings with mullein and humus. The products helped - now the dill is of excellent quality".
Conclusion
Despite the fact that dill is an unpretentious crop, its cultivation can cause a lot of trouble for the gardener. For a good harvest, it is enough to follow simple recommendations: choose the right planting site, prepare the soil and seeds, feed the greens if necessary.
When using ready-made chemicals, keep in mind that dill tends to accumulate nitrates, so it is important to take precautions.