Instructions for growing delicious peppers
Surprisingly, bell peppers are not actually from Bulgaria! This plant is native to South America. It was from there that sweet peppers came to Europe. But it was brought to Russia from Bulgaria in the mid-18th century. That's why we call it Bulgarian.
The southern beauty has adapted well to a temperate climate. However, growing it is not an easy task, because it is a southern plant that loves warmth and sun. From the article you will learn about the agricultural technology of growing sweet peppers in open ground and how they grow at home.
Variety selection
How to grow peppers? Before you start cultivating a crop, you need to decide on the variety. When choosing, you should take into account not only taste preferences, but also the purpose of the future harvest.
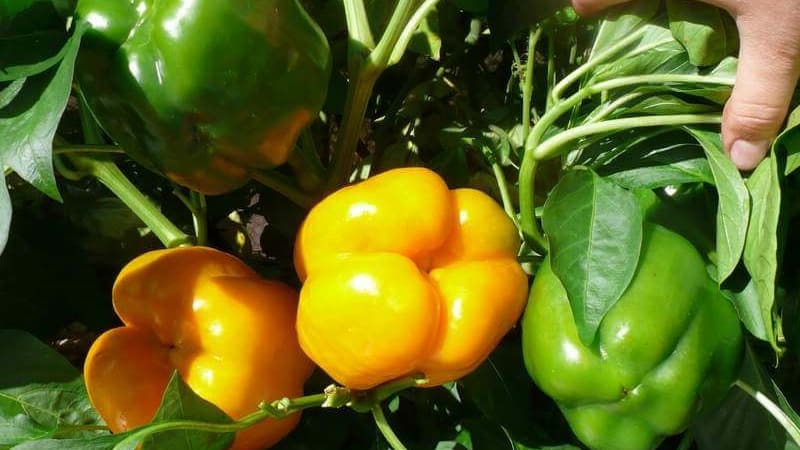
For fresh consumption choose thick-walled, large-fruited varieties. For example, California miracle, Gladiator, Winnie the Pooh, Gift from Moldova.
If you plan to use the harvest for harvesting for the winter, give preference to small-fruited varieties, such as Merchant, Ermak, Victoria.
For open ground
For growing in open ground choose unpretentious and at the same time productive varieties and hybrids. These are Kapitoshka, Avangard, Bosun, Hungarian Yellow, Orion, Anlita.
If summer in your region is short and not warm, take a closer look at early ripening low-growing hybrids. They are resistant to diseases and produce a stable harvest in the climatic conditions of the Urals and Siberia.For example, Zlata Prague F1, Jubilee Semko F1, Kvinta F1, Maxim F1, Orange Beauty F1.
At home
Compact, low-growing varieties are chosen for growing on a windowsill.. These plants grow no more than half a meter in height and are well suited for window sizes. Let's talk about the best varieties for growing at home:
- Treasure Island. An early ripening variety, 90-100 days pass from the appearance of sprouts to harvest. The fruits are juicy, orange-red. Weight reaches 60 g.
- Firstborn of Siberia. Mid-season variety. It ripens within 110-115 days from the moment of seed germination. The fruits are bright red, large, up to 100 g.
- Dwarf. Mid-season variety. It ripens on average in 110 days from the time the sprouts appear. The fruits are juicy, red, fleshy, cone-shaped. Weight reaches 83 g.
- Watercolor. Another mid-season variety. From the moment the sprouts appear until harvest, an average of 110 days pass. The fruits are small, weighing about 30 g, with a thin peel.
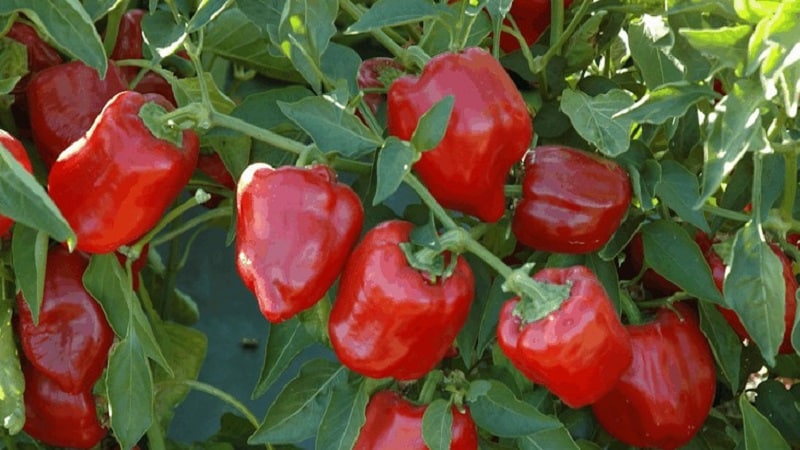
- Gift from Moldova. Mid-ripening variety, fruits ripen in 125-135 days. The peppers are large, dark red with a rich flavor. Weight reaches 90 g.
- Martin. A mid-season variety with red, juicy fruits that ripen in an average of 130 days. The peppers are large – up to 85 g, with thick walls.
Growing pepper seedlings
Heat-loving bell peppers are grown mainly through seedlings.. Preparation for planting begins with processing the seed.
Seed preparation
Soaking seeds in a 2% solution of potassium permanganate helps protect future plants from infections. for 20 minutes. They are then washed with cool water.
After disinfection, the seeds are soaked in a nutrient solution (“Epine” or “Zircon”), natural biostimulants for growth.The solution is prepared in accordance with the instructions.
After this, the seeds are wrapped in damp gauze and kept in a warm place for several days before biting. Now they are ready to plant.
Landing
The timing of planting pepper seedlings depends on the climate of the region.. On average, seeds are sown no later than March 1. Later, only early and ultra-early varieties are planted.
Prepared seeds planted in peat humus containers filled with loose, fertile soil. The seeds are laid out on the surface and buried 1-1.5 cm. The soil is compacted, watered and the pots are covered with cling film. Then the containers are transferred to a warm place with a temperature of about +25°C.
Reference. Pepper seeds germinate slowly. The first shoots appear after 1-2 weeks. You can speed up germination by increasing the duration of daylight hours with lamps.
After the sprouts appear, the film is pierced with a knitting needle in several places.. The shelter is finally removed after two or three leaves have grown. Now you can start picking.
Picking
Transplanting seedlings into larger containers favors the development of the root system. The rhizome becomes stronger, wraps around and holds the earthen ball better.
New containers are prepared in advance, filled with soil and watered generously. The plant is carefully transplanted into the recess in the center of the pot so that the central root does not bend and the leaves are 2 cm above the soil level. The soil around the seedling is compacted and watered with warm water.
Seedling care
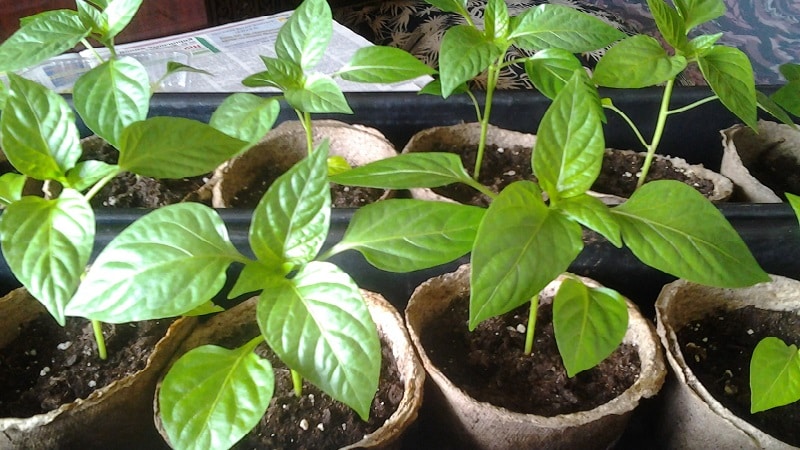
Drafts and low temperatures are detrimental to young plants. (below +13°C). As soon as the first shoots appear, the containers with seedlings are transferred to the brightest windowsill in the house.
Water the plants not often, about once a week, but abundantly. Warm, settled water is poured under the root, trying not to get on the shoots. After watering, the top layer of soil is loosened.
Feed pepper seedlings according to the following scheme:
- The first feeding is carried out 10-14 days after picking. To do this, 5 g of urea and 30 g of superphosphate are dissolved in 10 liters of water.
- The plants are fertilized a second time 3-4 days before planting in open ground: 50 g of superphosphate and 25 g of potassium sulfate are dissolved in 10 liters of water.
Technology and planting scheme
Pepper seedlings are planted in open ground or a greenhouse when the weather warms up.. Before planting, the plants are hardened off. Hardening begins 10-15 days before planting the seedlings.
On the first day, the window window on which the plants stand is opened for an hour. Gradually, the hardening time is increased to 6-8 hours a day. Just before planting, the pots with peppers are taken out to the balcony or greenhouse.
We determine the timing of disembarkation
Plants are ready for transplantation at the age of 2-2.5 months. As a rule, at this time the first buds form on them. Before you start planting, you should make sure that the average daily temperature is not lower than +15...+17°C.
Important! At air temperatures below +13°C, plant growth stops.
Preparing the soil
Peppers do not like heavy soils. The structure of clay soils is improved by adding peat and humus.
The area prepared for the peppers is dug up and leveled. Before planting, mineral fertilizers containing nitrogen, phosphorus and potassium are applied. Mix well so that the fertilizer is distributed evenly.
According to the rules of crop rotation, the best predecessors for pepper are carrots, zucchini, cucumber, squash, pumpkin.
Planting seedlings
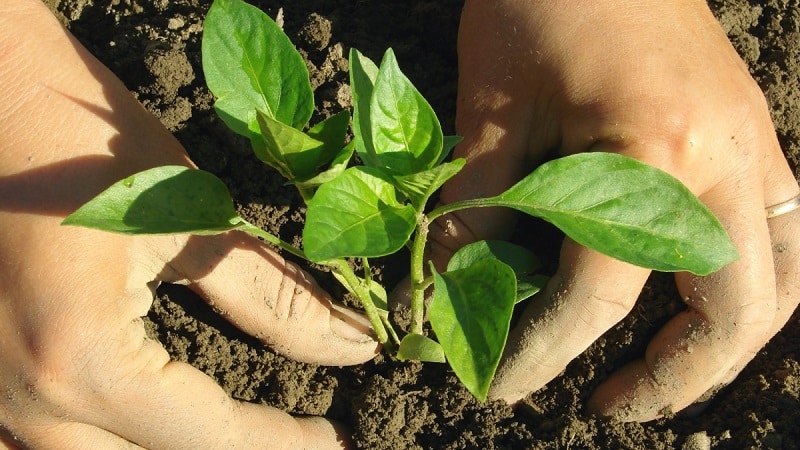
Holes are made in the garden bed at a distance of 50 cm from each other., leave 60 cm between the rows. The depth of the hole is made such that when planting the root collar protrudes above the soil surface.
The plant is removed from the container, being careful not to destroy the earthen lump, and placed in the hole. Sprinkle a little soil and water generously with warm water - about a third of a bucket per hole.
When the water is absorbed, the remaining part of the hole is filled with soil. Plantings are mulched with peat or straw. If it is still cold at night (below +13°C), the plants are protected with covering material.
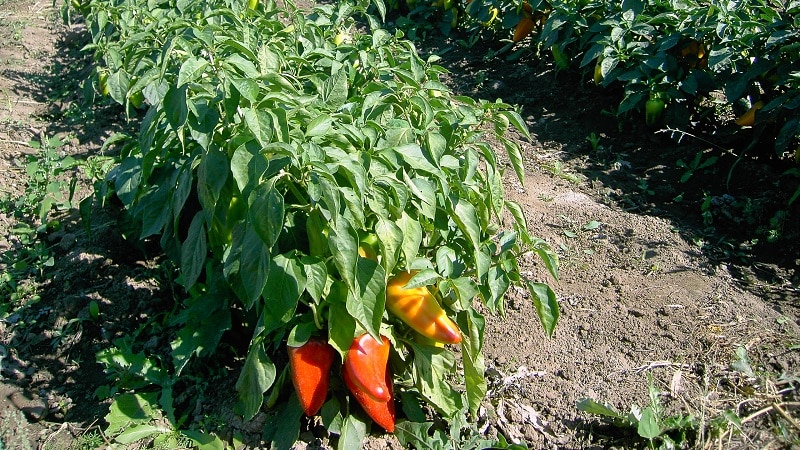
Features of care
Caring for pepper beds is similar to caring for tomato plantings in open ground. The plants are watered, the soil is loosened, fertilizers are applied, bushes are formed, and excess shoots are removed.
Watering and fertilizing
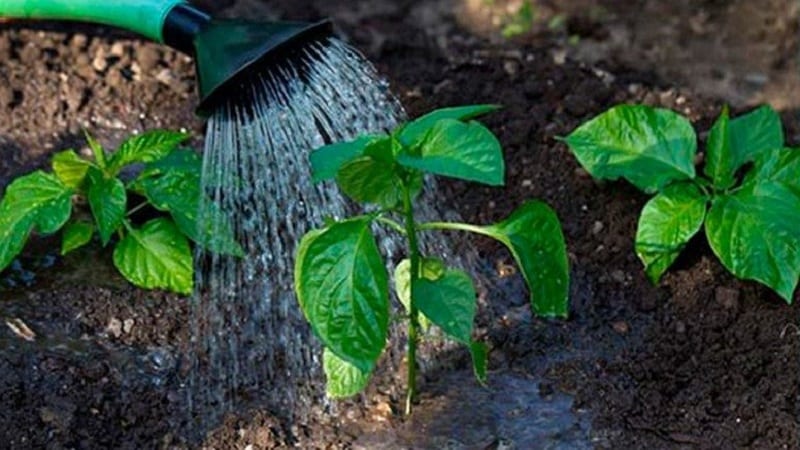
First time pepper is watered immediately after planting in open ground. In the future, watering is carried out approximately once a week. This regime is maintained until the first mass harvest of fruits. After this they take a short break. Watering is resumed after new flowers appear.
Feeding nitrogen, phosphorus and potassium are carried out at least three times per season. Fertilizers are applied for the first time two weeks after planting the seedlings. The second time is when many fruits set at the same time, and then after another 2-3 weeks.
Do not neglect spraying with microfertilizers. This improves the quality and quantity of the harvest. Peppers often lack boron, which causes the fruits to grow small.
Protection from pests and diseases
Peppers are susceptible to the same diseases as other vegetables in the nightshade family.. The development of diseases is provoked by viruses, bacteria or fungi.
The most common diseases of peppers are: fusarium wilt, late blight, bacterial spot, blackleg. Peppers are damaged by pests aphid, cutworms, thrips, mole crickets.
Fusarium wilt
Fungal pathology leading to wilting and death of plants. The first symptom is yellowing of the top and foliage.
Serves as disease prevention compliance with crop rotation rules, selection of disease-resistant varieties, disinfection of seeds before sowing. If signs of pathology are detected, diseased plants are removed and destroyed. There are no treatment methods.
Late blight
The development of this fungal disease is provoked by a decrease in temperature air and excess humidity. The disease is recognized by brown spots on the leaves surrounded by pale green rims.
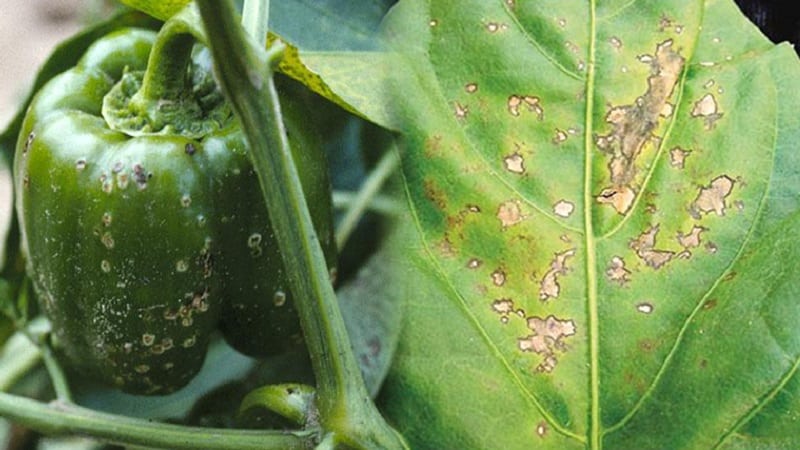
Prevent the development of pathology Pre-sowing treatment of seeds helps, as well as spraying plants with infusions of onion or garlic. The disease is treated by spraying plants with Bordeaux mixture.
Bacterial spot
Fungal disease can destroy up to half the crop. Symptoms include cloudy white spots on the leaves surrounded by a dark border. Then darker dots containing spores appear on the surface of the spots. The affected parts of the plants dry out. The infection gradually spreads to the stem and fruit.
Prevention is following the rules of crop rotation and treating seeds before sowing. Sick plants are treated with drugs such as Trichodermin and Fitosporin. Damaged bushes are removed from the beds and destroyed.
Blackleg
This is a pepper seedling disease. Maintaining temperature and maintaining humidity at a normal level helps prevent its development.
Aphid
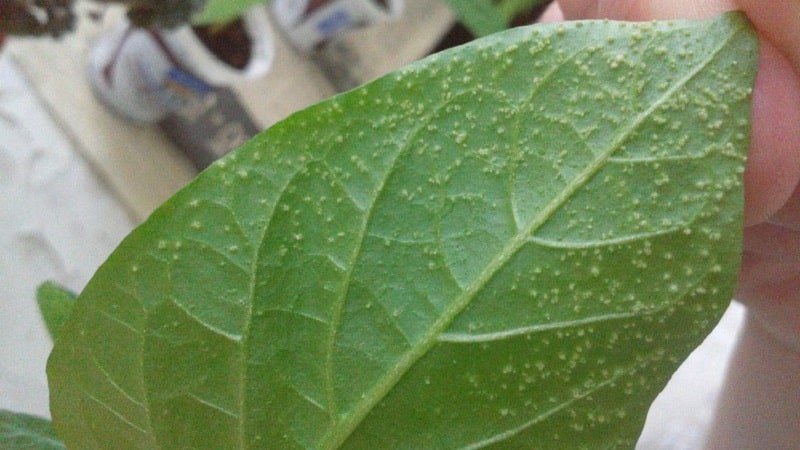
Harmful to both seedlings and adult plants. It sucks juices from leaves and stems, leading to curling of leaves, drying of flowers, and underdevelopment of fruits. Spraying plants with infusions of wormwood and yarrow, as well as the chemical drug “Phosbecid” helps fight the pest.
Scoops
Butterfly caterpillars cause damage, eating foliage and flowers and eating fruits from the inside. Installing traps with light or pheromones helps control the pest.
Thrips
Small elongated insects that feed on plant cell sap. Affected leaves and stems turn yellow, discolor and die. Infected plants are sprayed with the Fitoverm biological preparation or the Actellik pesticide.
Medvedki
Large insects destroying plant roots. Deep plowing of the soil in spring and autumn, as well as regular loosening of row spacing, helps combat them. Among pesticides, Medvetox is effective.
Loosening the soil and forming a bush
The soil in the pepper bed is loosened after each watering.. Loosening is carried out to a shallow depth (no more than 5 cm), because the root system of pepper is located close to the surface of the earth. Along the way, the plants are hilled and weeded.
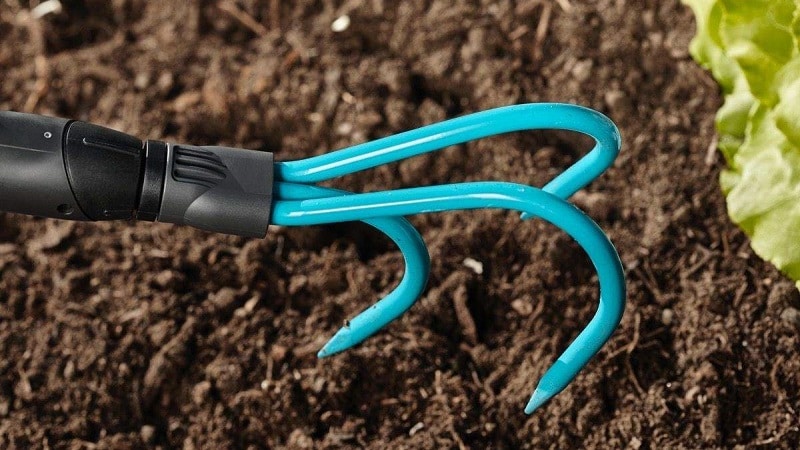
Spreading mulch on the pepper bed reduces the number of waterings, and, accordingly, loosening, which makes it easier to care for plantings. Straw, humus, and dry grass are used as mulch.
Pepper bushes need shaping. This is especially important in short and cool summers. 3-5 of the strongest shoots formed from the fork are left on the bush. At each next branch, approximately the same number of shoots are left. The rest are deleted.
As a result, lush, neat bushes are formed.After a sufficient number of fruits have formed, the skeletal branches are pinched and the top of the bush is cut off. This technique speeds up the ripening of peppers and allows them to grow larger.
Important nuances
When cultivated in regions with hot summers peppers need additional protection from the scorching rays of the sun. Especially if the onset of heat coincides with the flowering of plants.
At air temperatures above +30°C, pollen activity decreases or it completely loses its viability. In this case, installing shading screens over the beds helps.
Besides, It is worth considering that pepper shoots are very fragile and easily break from strong winds. That's why they are tied to pegs. It is also useful to plant tall plants around the pepper bed to protect the delicate peppers from the wind.
Advice from experienced agronomists
Following the recommendations of experienced agronomists will help avoid problems when growing bell peppers:
- Different varieties of pepper are planted at a distance from each other to avoid cross-pollination. If this happens, the taste of one variety may overwhelm the taste of another. This is especially important when planting sweet and bitter varieties of crops.
- If plant leaves curl and dry edges appear at the edges, it means they are lacking potassium. Fertilizing with potassium sulfate or potassium nitrate will solve the problem.
- When growing on a windowsill, peppers are watered with settled warm water and additionally sprayed. To prevent plants from overheating in winter, cover the battery with a damp cloth.
- Periodically, the pots are turned with different sides to the window.
- They feed the peppers on the windowsill with nitrogen fertilizers for indoor flowers or use an ash solution (3 liters of water and 6 tablespoons of ash), a decoction of nettle, plantain, and clover.
- Peppers on the windowsill are replanted once a year. The plant is changed every two years.
Conclusion
Growing and caring for bell peppers in open ground is not the easiest thing. Obtaining a stable harvest of tasty fleshy fruits is impossible without following the rules of care. It is also important to choose the right variety, grow strong, healthy seedlings, and protect the plantings from diseases and pests.