Is it possible to grow cherry plum from a seed at home and how to do it
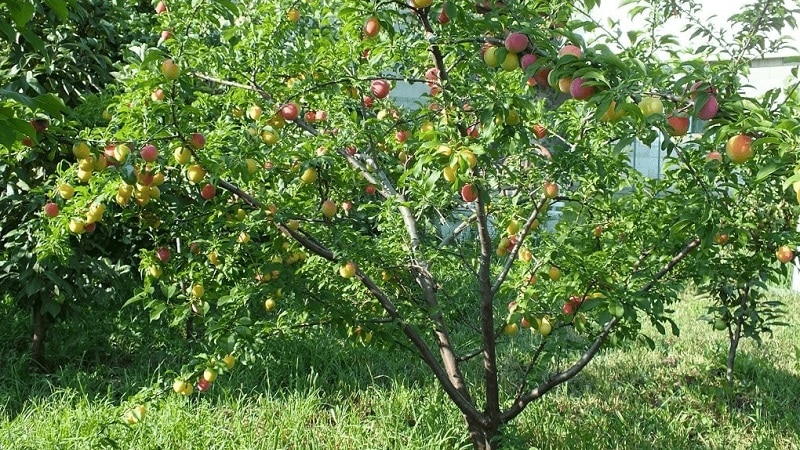
Cherry plum is one of the most unpretentious plants belonging to the Plum genus. This is a tree or shrub with high frost resistance and drought resistance. Thanks to selection, improved varieties have been developed that are distinguished by large, sweet fruits. Some of them are so hardy that they can grow even in Siberia. Despite this, the Caucasian (wild) cherry plum is still the most popular.
The plant is propagated in different ways. However, to obtain the wild form, the generative method is more often used. Of course, it does not always allow the preservation of varietal characteristics, but trees grown from seeds often have greater productivity and hardiness than those obtained vegetatively. Read the article on how to grow cherry plum from a seed at home.
Methods of propagation of cherry plum
Cherry plum bred by generative and vegetative methods. In the first case, seeds from the fruits of the crop are used, and in the second, parts of an adult tree are taken.
The vegetative propagation method involves 3 different options. They are presented in the list:
- Cuttings. Branches with buds cut from a fruit-bearing tree are rooted.
- Root growth. Planting material is obtained from shoots growing near the tree from the roots.
- Graft. A branch of a varietal tree is grafted onto the rootstock of a wild cherry tree or another crop similar to cherry plum.
Advantages and disadvantages of seed propagation
Generative propagation of cherry plum is still the most popular. This is due to the advantages of the method:
- Ease of obtaining planting material. Even the seeds of fruits bought at the market will do.
- Plant hardiness. Wild trees are more resilient than those propagated vegetatively.
- High yield. Experienced gardeners say that such trees grow more fruits.
There are some disadvantages to growing cherry plum from seed.:
- The plant rarely inherits varietal maternal characteristics. Often a wild one grows up. However, there are often cases when the fruits turn out even sweeter.
- It takes much longer to grow cherry plum from a seed than from a cutting. The plant is planted in a permanent place only 2 years after sowing the seeds.
- With the generative propagation method, the first harvest can be harvested no earlier than after 4 years. With vegetative growth, cherry plum will begin to bear fruit within 2-3 years.
Is it possible to grow cherry plum from a seed at home?
This method increases the germination of planting material and increases the chances that the sprouts will not die due to unfavorable environmental factors.
It is easier to germinate seeds at home than in open ground.. Most of the planting material germinates in the pot. Seedlings are grown in an apartment for 1-2 years, and after they become stronger, they are planted in open ground.
Note! The cherry plum tree can be grown at home as a houseplant.
Necessary conditions for growing cherry plum at home
To grow a tree in a pot, you need to provide it with optimal conditions.. Since cherry plum is an unpretentious plant, this will not be difficult to do:
- Temperature. The optimal temperature for the plant is within +19…+25°C. Fluctuations within +15…+35°C are not dangerous.During the cold season, the temperature in the room where the young tree is located should not be higher than +15°C and lower than 0°C.
- Lighting. Cherry plum is a southern plant that needs sunlight. The pot with the tree is placed on the south or south-east window sill. In summer, it is recommended to take the seedling out to the country house, garden or balcony.
- Humidity. Hot, dry air is dangerous for wood. Therefore, a seedling in a pot is not placed near heating appliances.
If the cherry plum was in suitable conditions and overwintered at the right temperatures, then when the time comes for planting it in open ground, it will quickly adapt to new conditions and be able to survive the winter.
Preparatory work
Before propagating cherry plum by seed, it is important to carry out a number of preparatory work. Attention is paid to both the choice of planting material and the preparation of containers and soil.
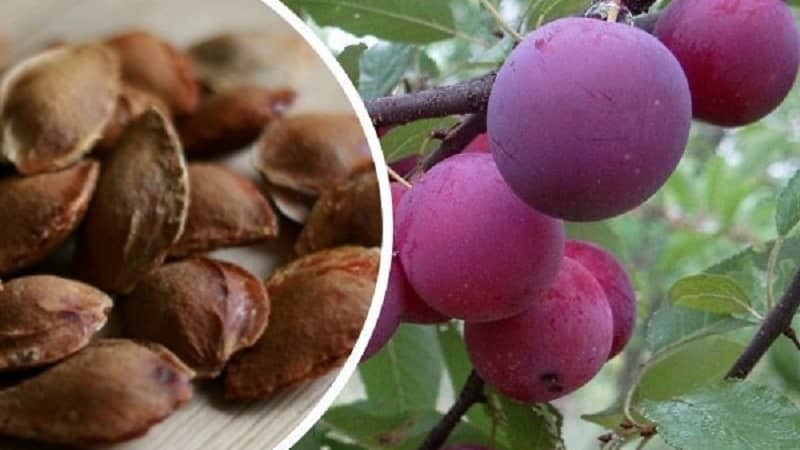
Selection and preparation of fruits
To obtain planting material, fully ripened fruits are selectedfree of stains, holes and other signs of disease and pest infestation. It is advisable to choose the sweetest and largest specimens available.
The bones are freed from pulp and examined. They must be of the correct shape, without holes, stains or damage. It is important that the planting material feels dense and hard to the touch.
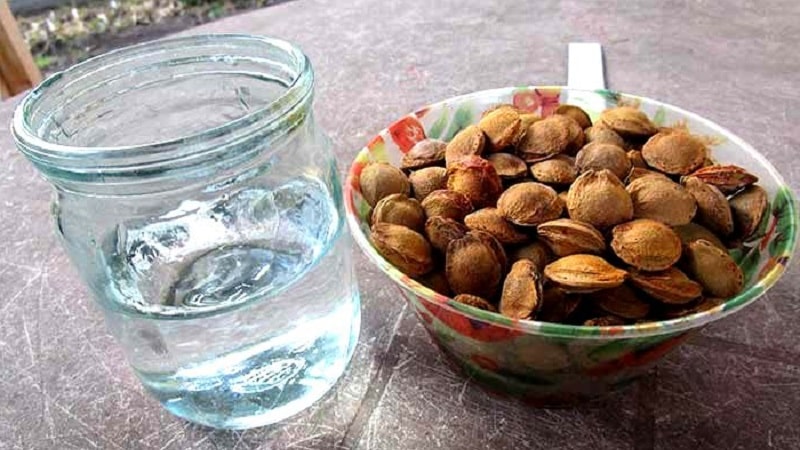
Seeds are soaked in warm water for 3 days. It is changed daily, and the bones are shaken. This procedure allows you to get rid of the pulp that interferes with seed germination.
Thus, it is recommended to prepare planting material in the fall, when the crop is fully ripe. It is not recommended to store seeds for more than a year, as this negatively affects their germination.
To increase the germination of planting material, it is certified:
- Disinfect the container (wooden box or plastic tray). Then it is filled with soil (sand, sphagnum, peat or sawdust). The soil is also watered with a dark pink solution of potassium permanganate or calcined in the oven.
- The seeds are placed in the soil, deepening them by 3-4 cm. They are covered with film and left at room temperature for 2 weeks.
- Then the seeds are placed on the bottom shelf of the refrigerator. They are kept there for 3-3.5 months.
- In 2-4 weeks the temperature is reduced to 0°C.
All this time the soil is moistened as it dries. Make sure that it does not become moldy. If such a problem arises, then the affected soil layer is removed, and the remaining soil along with the seeds is treated with a solution of potassium permanganate.
Container and soil
Individual containers are used for planting cherry plum seeds.. Peat or plastic pots, cut-off bottles, and packaging from semi-finished products are suitable. There must be holes in their bottom.
Pots are disinfected. They are treated with a dark pink solution of potassium permanganate or doused with boiling water.
Regular store-bought universal soil is also suitable for germinating seeds. Experienced gardeners recommend preparing the soil mixture yourself. To do this, mix:
- peat – 3 parts;
- sand – 1 part;
- vermiculite – 2 parts;
- humus – 2.
In addition to the soil mixture, you will need river sand and drainage (expanded clay, small crushed stone, shell rock and broken ceramics).
All ingredients are disinfected. They are calcined in the oven, poured with a dark pink solution of potassium permanganate or a product prepared from 3 liters of water and 1 tsp. copper sulfate, or treated with antifungal drugs (“Fitosporin”).
Landing dates
Usually, cherry plum seeds are planted in the ground at home in the second half of February. This is necessary so that they have time to undergo stratification, and when they sprouted, the daylight hours are already long enough.
Advice! If the seeds are sown in open ground, then the work is carried out in October. In this case, the planting material will undergo natural stratification.
Landing technology
Even a novice gardener can cope with planting cherry plum seeds. The main thing is to follow the step-by-step instructions.
How to plant cherry plum seeds:
- A 2 cm layer of drainage and a 2 cm layer of sand are poured into the bottom of the pots. The rest of the volume is filled with soil. The soil is moistened with warm water.
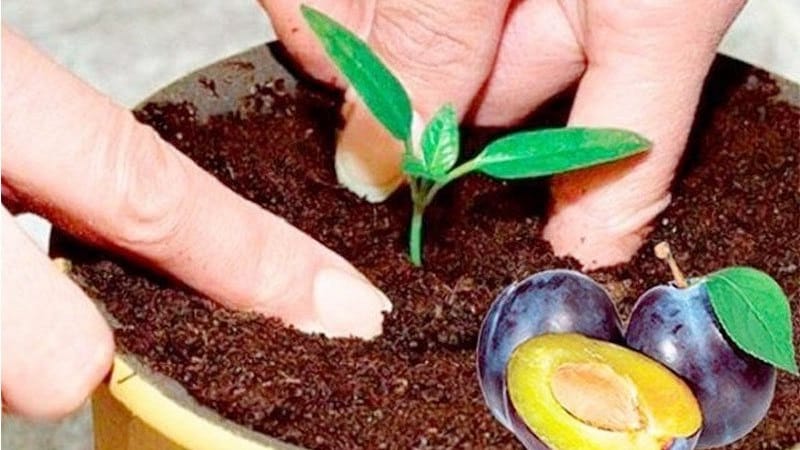
- The seeds are planted in individual pots.
- The soil with crops is again moistened with a spray bottle. Then the container is covered with film.
Crops are kept in a bright, warm place. They are ventilated daily for 15 minutes. As the top layer of soil dries, it is watered with a spray bottle.
Shoots will appear in 2-4 weeks, the duration of ventilation is increased. When the time for the procedures reaches 24 hours, the greenhouse is dismantled.
When the seeds germinate, stop watering from the spray bottle.. Water is poured under the root, first with a syringe, and then with a special watering can for indoor plants.
Further care
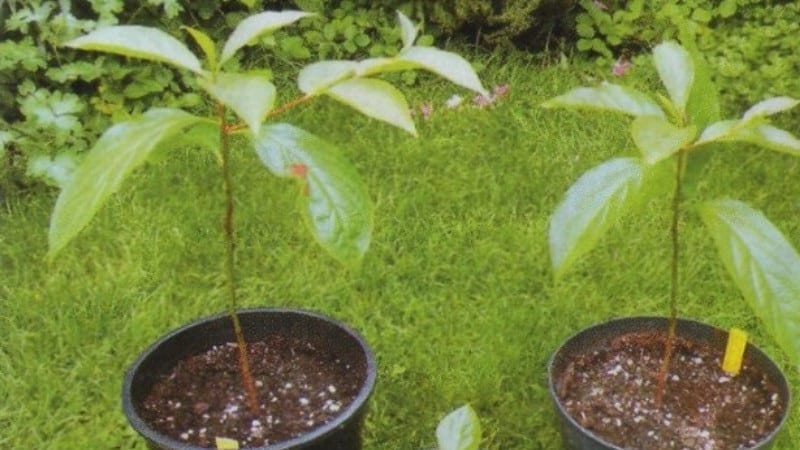
The seedling is planted in a permanent place one year after planting.. All this time he is looked after, providing:
- Watering. The procedure is carried out 3-4 times a week, in the evening or in the morning, but not during the day, when the sun is especially active. It is important not to allow the top layer of soil to dry out. For irrigation use warm, settled water.
- Loosening. Conducted once a week. This is necessary to destroy the earthen crust, which interferes with normal air exchange, provokes stagnation of liquid and root rot.
- Spraying.It is recommended to carry out the procedure in the morning or evening on very hot days to avoid leaf shedding. For spraying, use warm, settled water.
- Feeding. In order for the plant to develop correctly, fertilizing is applied at least once every 4 weeks. Alternate a solution of chicken manure (diluted 1:20 with water) or manure (1:10) with mineral fertilizers (a mixture of superphosphate, ammonium nitrate and potassium sulfate). Beforehand, the cherry plum is watered abundantly to prevent burns on the roots.
- Transfer. As the pot is filled with roots, the cherry plum is transplanted into a new, larger container. They use the transfer method. The cherry plum is watered abundantly 2 hours before the procedure, then removed from the pot along with a lump of earth. The drainage and top layers are removed from it. The plant is moved to a new pot filled with drainage. The free space is filled with soil without deepening the root collar.
- Wintering. Usually the plant spends the first winter after planting in a pot. To ensure optimal conditions, it is taken to a room with a temperature no higher than +12°C and no lower than 0°C. In winter, fertilizing is not applied, and the amount of watering is reduced to once every 1-2 weeks.
Transplantation into open ground
It is recommended to plant one-year or 2-year-old seedlings in open ground in the spring. This is done when the soil has already thawed and the threat of new frosts has passed, but the buds have not yet woken up. Before this, they begin to take the plant outside and increase the time it stays there in order to accustom it to new conditions.
No later than 3 weeks before transplanting the cherry plum, the soil is dug up and cleared of weeds.. Make holes at a distance of at least 1.5 m from each other. Their diameter and depth should be 40 cm.
The soil removed from the hole is mixed with 5 kg of rotted manure, 30 g of superphosphate, 20 g of potassium sulfate and 20 g of ammonium nitrate. A hot solution of copper sulfate is poured into the well.
A layer of drainage is placed at the bottom. The cherry plum removed from the pot is placed in the recess along with a layer of soil. The free space is filled with soil, compacting each layer.
After landing the soil is watered with water at room temperature. If the soil around the tree has settled, then add more and water again. The tree trunk circle is mulched with peat, sawdust, hay, straw or bark.
Interesting things on the site:
Growing figs from seed or sprout
Care after transplant
Caring for cherry plum does not take much time from the gardener. The unpretentious tree rarely gets sick and easily tolerates drought and cold snaps.
Some activities will still have to be carried out:
- Watering. Cherry plum is watered only in dry summers. At one time, 2-3 buckets of warm, settled water are used on a tree. 1-2 waterings per month are enough.
- Weeding and loosening. The soil is loosened the next day after each watering and precipitation. The process removes weeds that are considered carriers of diseases and pests. The most thorough and deep loosening is carried out in the fall and spring after it in order to reduce the likelihood of infection by pests overwintering in the ground.
- Feeding. In the year of planting, cherry plum is not fed. Next, it is enough to add once a month a bucket of a solution of chicken droppings or manure with the addition of 1 tbsp. ash under each tree.
- Formation. Remove all branches that are weak and growing inside the crown. At each order, at least 4 skeletal branches are left, directed in different directions.
- Sanitary pruning. The procedure is carried out in late autumn or early spring.Remove all damaged, frozen and dry branches. If damage is detected on the bark, the dead part is separated, and the wound is covered with garden pitch.
- Preventive treatment. Conducted in early spring and after harvesting. The tree is sprayed with a solution of copper sulfate.
- Autumn cleaning. After leaf fall, all leaves and plant debris are removed from the area. The soil is loosened and mulched.
How to propagate cherry plum in other ways
Cherry plums reproduce not only by seeds. Much the vegetative method is more often used. Cuttings or layering (root shoots) are used.
Reviews say that The easiest way to propagate cherry plum is by shoots. To do this, select shoots located as far as possible from the mother tree. They are the ones who adapt best after separation. They should look healthy, without signs of disease or pest damage.
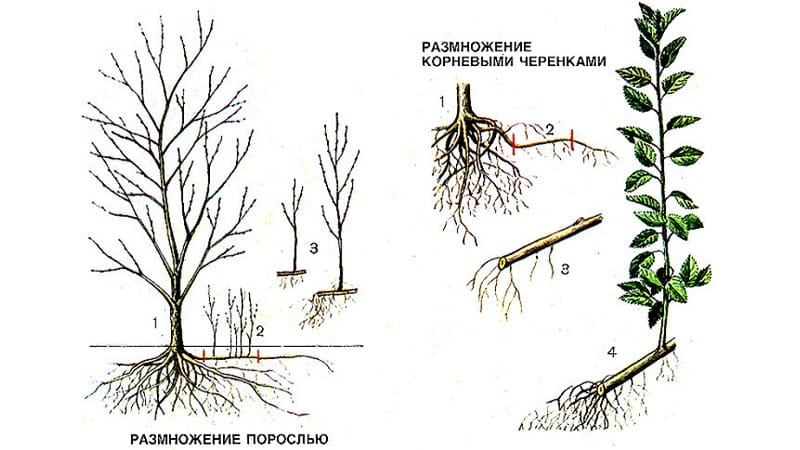
During the summer, the shoot is watered and fed. When it gets stronger, it is dug up and the root system is carefully separated from the mother plant. The roots of the shoots are dipped in a root formation stimulator and then transplanted to a new location.
The second possible method of propagating cherry plum is cuttings.. To do this, in the summer, green cuttings of at least 40 cm in length with live buds are cut. During the day they are soaked in a root formation stimulator.
Prepared cuttings are planted in a greenhouse (greenhouse) or pot, which is covered with a bag. The soil is moistened as it dries, and the cuttings are regularly ventilated.
After a month, the duration of ventilation is increased and the bag is removed. The formation of leaves and new shoots indicates that the cutting has taken root. After rooting, they begin to apply fertilizing (urea, superphosphate, potassium salts, solution of litter or manure).
Seedlings are planted in open ground in the fall. Some gardeners prefer to wait until spring.
Conclusion
Growing cherry plum from a seed is not difficult. Often this method allows you to obtain abundantly fruiting, hardy plants. You can sow planting material not only directly into open ground, but also into a pot. With proper care, the plant can be planted in a permanent place the following year.
The generative method of propagation often does not allow preserving the varietal characteristics of cherry plum. Therefore, to obtain larger and sweeter fruits, a vegetative growing method is used.