If you don’t know how to plant garlic, it’s no problem: we’ll teach you, show you and tell you all the secrets and subtleties
Any dish only becomes tastier if you add hot seasonings to it. The most famous seasoning that is easy to grow yourself is garlic.
In this article you will find answers to the most pressing questions of novice gardeners: how to plant garlic, what types of garlic exist and which type is better, when to plant garlic and when to harvest harvest. You will also learn how to deal with pests of garlic crops and what is best to plant next to this crop.
Types and differences of garlic
More than 70 cultivated varieties of garlic are known, each of them has its own characteristics, pros and cons, and its own ripening time. Some varieties ripen already in mid-summer, and some only in autumn. Some species require special care, others grow in the harshest conditions.
Below are the most popular types and varieties of vegetables.
Type of garlic |
Garlic variety |
Description |
| Spring (spring planting, less productive).
Signs:
|
Victorio |
|
| Elenovsky |
|
|
| Gulliver |
|
|
| Sochinsky 56 |
|
|
| Ershovsky |
|
|
| Winter.
Signs:
|
Lyubasha |
|
|
Dobrynya |
|
|
|
Sofievsky |
|
|
|
Alcor |
|
|
| Dubkovsky |
|
Description of varieties in video format:
Preparation and selection of landing site
This section is devoted to the correct selection of a landing site and its preparation.
Soil selection
Garlic produces a good harvest in a sunny, dry area where there is no stagnation of water. It is advisable if other crops grew on this soil previously. It is best to plant garlic where it was previously grown. tomatoes, cucumbers, legumes, cabbage, zucchini and pumpkin. Such soil will be maximally saturated with organic fertilizers.
Attention! You should not plant the crop after potatoes and onions: there is a high risk of disease exchange (fusarium, nematode and others).
Soil preparation
When to plant spring garlic? Before planting, it is necessary to prepare the soil for this type of crop in advance. To do this, in the month of August, they dig up the soil on the bayonet of a shovel and add fertilizing: per square meter a bucket of humus, 250 g of chalk, 2 cups of wood ash and phosphorus-potassium fertilizers.
If you are making a bed, it should be about a meter wide and no higher than 25 cm high. After its formation, the earth will settle. To do this, water the soil generously 2-3 times.
To protect the crop from many diseases, the land is treated with a 1% solution of copper sulfate (1 tablespoon of powder per bucket of water). Water the soil with the resulting solution and cover with film.
Alternative options to vitriol are a strong solution of potassium permanganate, Bordeaux mixture diluted at the rate of 100 g per bucket of water, or a mixture of boric acid, potassium permanganate and copper sulfate (1 g per 1 liter of warm water).
There is another way to prepare the land, which gardeners often use. As in the first method, the soil is dug up and fertilized, the beds are watered abundantly and the soil is allowed to settle. Next, make a marking where the garlic will be planted. The interval between rows should not be less than 35 cm, and between holes 10 cm.
Then the seed mixture is sown from peas, oats, mustard between the rows. As soon as the seedlings grow to 30 cm in height, begin planting the vegetable. It is planted between green rows. These plants will not only be a covering material for the crop, but will also retain snow cover, and in the spring they will become an indispensable soil fertilizer.
Before planting cloves, the ground is fertilized with urea at the rate of 10-15 g per square meter. m.
Important! Pre-prepared soil in the fall is the key to a large and high-quality harvest.
Stages of planting spring garlic
How to plant spring garlic? This type of garlic does not need a dry climate and dry soil, so spring garlic is planted in early spring, when the thaw begins.
Seed treatment
For the seeds of this crop, choose whole, elastic, large and medium cloves weighing from 3 to 6 g or more. Before planting, be sure to separate them from the bulb without peeling them.
It is recommended to disinfect them 12 hours before planting. in a 1% solution of copper sulfate or potassium permanganate and use ash liquor. To prepare it, mix 400 g of wood ash and 2 liters of water, boil for 30 minutes, and then soak the seeds in this solution for 2 hours.
Preparation of soil and planting material
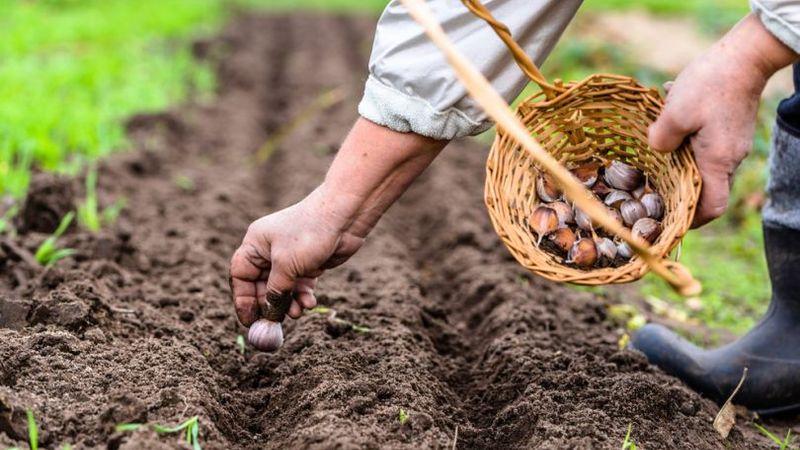
First, you need to dig up the soil, loosen it, remove all the weeds and water it with a salt solution (3 tablespoons per bucket of water). The soil will be ready for planting in just 2 days. Then you need to form furrows at a distance of 25-30 cm and a depth of 3-4 cm.
It is correct to plant spring garlic as after tomatoes and carrots, and after cucumbers, cabbage, squash, zucchini, legumes and grains, herbs. If onions grew here before, it is better to take a break of 2-3 years.
Planting garlic seeds
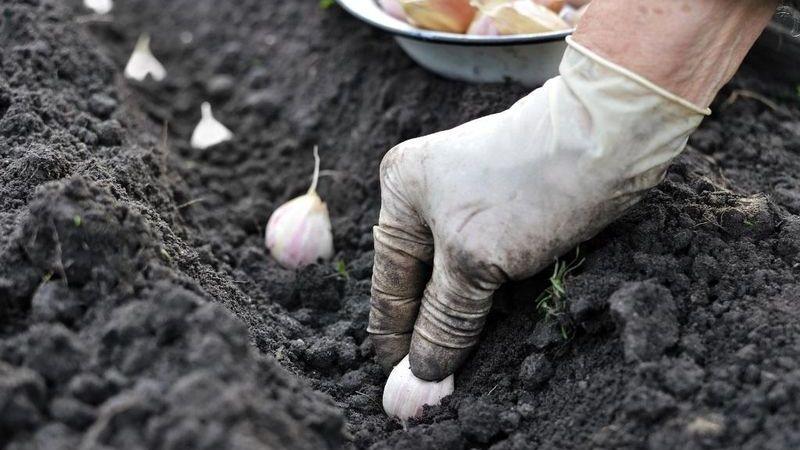
How to plant garlic correctly? When the bed is completely prepared, you need to plant the garlic seeds in the grooves with their bottoms down. You should not press them in, so as not to damage them. Large cloves are placed in the furrow at a distance of 10-12 cm from each other, medium ones - about 8 cm.
By sprinkling the vegetable on top with soil, the surface of the area is slightly compacted. The bed is watered and covered with straw or sawdust. Some gardeners use a layer of peat, rotted compost or humus 2-3 cm thick for this purpose.
Caring for spring garlic seedlings
Planting and caring for garlic requires attention and patience from gardeners.
Watering
This type of onion requires frequent watering only in the first phase of development (when greenery appears). From lack of moisture, the tips of his feathers will turn yellow or dry out. In the second phase, watering should be moderate, since excess moisture exposes the vegetable to various diseases.
Top dressing
For a good harvest, the soil must have enough nutrients. To do this, mineral and organic fertilizers are applied, namely:
- nitrogen fertilizers;
- 15 g of ammonium nitrate per 10 liters of water, or 1 tablespoon of urea per 10 liters of water;
- bird droppings diluted in a ratio of 1:12, or mullein diluted with water 1:10 (when the feather reaches a size of 6-10 cm);
- infusion of green herbs (June-July);
- 2-4 times phosphorus-potassium fertilizing with infusion of wood ash (150 g per 10 liters of water).
Attention: It is contraindicated to use manure as a fertilizer.
Pest and disease control
Like any plant, this type of onion must be protected from various diseases and pests, despite the fact that the crop is resistant to many factors.
Dangerous insects include:
- mole;
- thrips;
- onion flies;
- stem nematodes;
- hoverflies;
- secretive proboscis;
- root mites.
To prevent the appearance of pests, garlic is fed with ammonium sulfate (20 g per square meter). The procedure should be repeated in mid-June. Plants affected by insects or disease are recommended to be dug up along with the roots.
Diseases that pose a risk to garlic include:
- downy mildew;
- white rot;
- black mold;
- Fusarium
A fungal disease in garlic can be identified by the following signs: yellowing and drying of leaves, feathers with yellow spots, dying roots.
Brown ulcers on the bulbs, discoloration of the scales, and the smell of rot indicate bacterial lesions.
Treatment of the culture with “Gamair-TM” (2 tablets per 1 liter of water) and “Alirin-B” (1 tablet per 1 liter of water) will protect against fungal infections. To combat insect pests, the area is treated with biological products “Lepidocid” (50 ml per 10 liters of water) or “Bitoxibacillin” (35 ml per 5 liters of water).
What to plant between garlic to protect the vegetable from nematodes? Chicory or calendula are planted between its rows.
Harvesting spring garlic
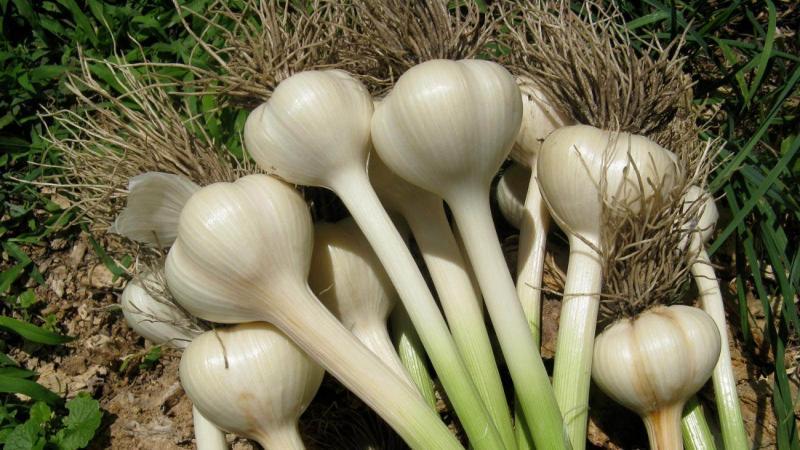
Spring garlic is harvested in the second half of August, when most of the plant turns yellow and fades. Choose a dry day to harvest. The vegetable is dug up with a pitchfork, taken out of the ground, cleared of soil and laid to dry. It can be dried on the ground for 5 days, if weather permits.
After drying, the roots of the bulbs need to be shortened to 3 mm, the leaves trimmed, and the stems shortened to 10 cm. Then the crop is sorted by size and placed in storage. A dry, well-ventilated place is suitable for storing spring garlic.
For information on how to care for spring garlic, watch this video:
How to plant and grow winter garlic
How to plant winter garlic? For winter varieties, the soil is chosen to be more fertile, loamy or sandy loam, so that the acidity is neutral. You should not plant in an area that was fertilized with manure this year, because... garlic is susceptible to fungal diseases and will have loose heads.
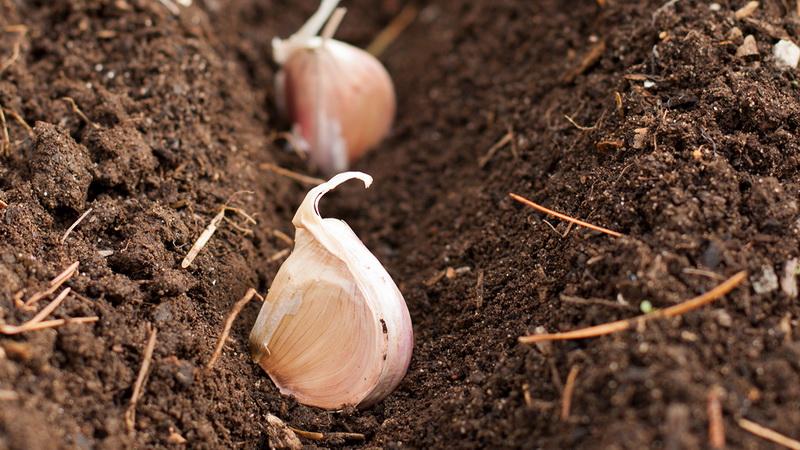
Before planting, grooves are made on the ground, and a layer of coarse sand or ash 1.5-3 cm thick is laid on the bottom. This procedure will protect the crop from rotting.
Winter garlic is planted in rows at a distance of 20-25 cm, and a distance of 8 to 15 cm is left between the rows, depending on the size of the clove. At what depth should I plant garlic? It is recommended to bury the seeds into the soil to a depth of 15 to 20 cm.
Basics of caring for winter garlic
Below is a list of actions for caring for winter garlic:
- Mulching the beds. Increases the plant's resistance to frost. Mulch with a mixture of sawdust and earth (or peat) is laid in a layer of 1.5-2 cm.
- Before covering the ground with snow, cover the bed with roofing felt or film covering.
- Regular watering. Garlic needs to be watered weekly (one bucket of water per square meter).
- Feeding with various fertilizers.
- Loosening the soil to a depth of 3-4 cm, and then mulching with wet peat or humus.
When can you plant winter garlic?
The planting time for winter varieties depends on the climate zone and weather conditions. It is better to plant garlic when there are 2-3 weeks left before frost so that the plant has time to take root. The optimal soil temperature is +10-12 degrees.
When to dig up winter garlic
The crop is ready for harvest around the end of July.
Signs of ripeness:
- the bulb is covered with dry thin scales;
- leaves are softened and yellowish;
- The neck begins to soften at the site of the pseudostem.
After harvesting, the heads of the bulbous plants should be separated and placed to dry, and the leaves and stems should be thrown into the compost pit.
Alternative growing methods
We present several alternative ways to grow the plant.
Growing garlic on a windowsill
To quickly ripen the crop, choose large, undamaged garlic cloves as seeds. Is it possible to plant garlic from the store? The answer to this question depends on the quality of the vegetable.Basically, regular store-bought garlic is not suitable for growing.
Let's look at how to plant garlic seeds correctly. You can buy soil in a specialized store with the addition of fertilizer, or you can make it at home. To do this, you will need to place the earth mixture in a hot oven for 30 minutes to disinfect the soil. The soil should be enriched with minerals - add wood ash.
For planting containers, choose containers 20 cm deep. Drill holes for drainage in the lower part. The size of the container is at your discretion, but keep in mind that the distance between the cloves should be at least 10 cm.
How to plant garlic correctly? Fill the container with the prepared mixture, leaving 2 cm of free space at the top; plant the seeds with the pointed ends facing up. The container should be on some kind of stand where excess water will drain.
Do not forget that garlic is a light-loving plant; it requires 8 hours of sunlight per day, so carefully choose the place where your crop will grow.
The first shoots will appear after 1-3 weeks, depending on how deep you decide to plant the garlic.
How to properly care for indoor garlic:
- Water every 2-3 days.
- Feed the plant with organic and mineral substances.
- Maintain the room temperature at approximately 20 degrees.
Growing garlic from bulbs
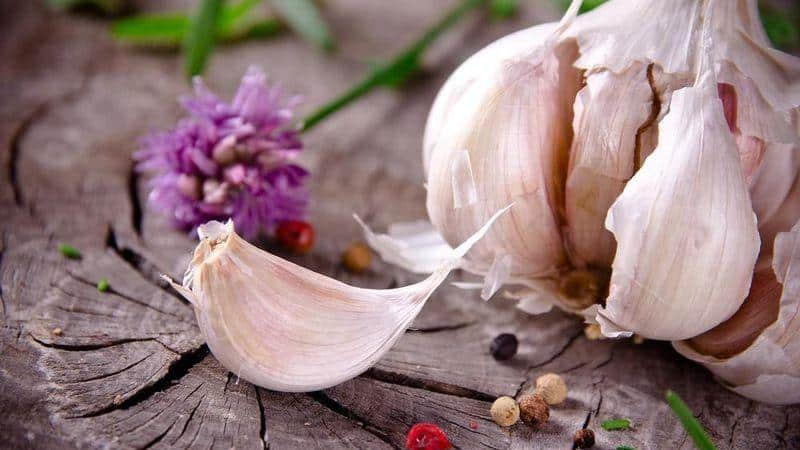
Growing garlic from bulbs takes approximately 2 years. To preserve the seed, the seeds should be wrapped in newspaper and placed in a dry, dark place with a temperature of +18-20 degrees. 1.5 months before planting, transfer to cold (0+4 degrees).
After that, dry the cloves, disinfect them in potassium permanganate, and then begin planting (depth 3-4 cm, distance when planting garlic 3 cm, row 15 cm). Next, compact the soil and cover with mulch. The collection of bulblets begins in early August.
Dry the harvested crop in the shade in a ventilated room, and never leave it in the sun.
How to choose the time to plant garlic
Choosing the right time for planting guarantees a bountiful harvest.
Garlic planting time in different areas
So, winter garlic is planted before the cold weather sets in. In areas of the middle zone, the time for planting crops is in October. In more southern areas with mild climatic conditions, this vegetable is planted at the end of November.
Spring (summer) garlic is planted when the snow just begins to melt. In areas of the middle zone it is better to plant in April, and in regions with a cold climate - at the end of May.
You can find out exactly what date garlic is planted by using the Lunar calendar.
Lunar calendar for planting garlic in 2018
In the northern regions, the winter species is planted in September. The lunar calendar indicates what date to plant garlic: September 1, 5, 6, 18, 19, 27, 28, 29. You should not plant during the full moon or the new moon period, which lasts three days. In September 2018 it will be: new moon - September 8, 9, 10; full moon - September 25.
In October, according to the Lunar calendar, the following dates are recommended for planting: October 11, 12, 13, 14, 15, 16, 25, 26, 29, 30. There is no need to work with plants: on the new moon - October 8, 9, 10 (the new moons in September and October coincided) on the full moon - October 24.
When to plant garlic seeds from shoots:
- March – 14.15, 18, 23, 27, 29, 30;
- April – 8, 14, 18, 26, 29;
- May – 1, 2, 4, 10, 11, 23, 27.
What can you plant next to garlic?
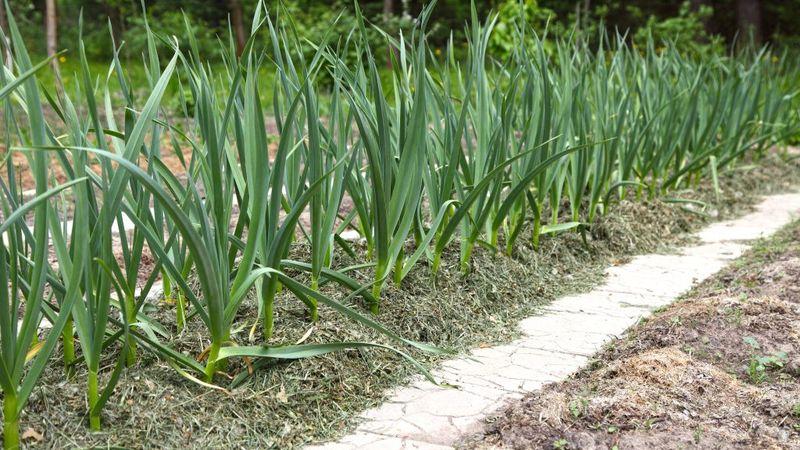
Garlic plays the role of a fungicide, as it has a high concentration of biologically active substances. It copes with any fungal infections and suppresses the growth of pathogenic bacteria, therefore it has a beneficial effect on its neighbors.
Wondering what to plant garlic next to or what to plant next to garlic? Various combinations are suitable. For example, next to garlic, potatoes are protected from late blight, strawberries - from harmful insects, lettuce and carrots - from psyllids and carrot flies.
Garlic is also an excellent protector of flowers and berries. The proximity to currants, raspberries, gladioli, roses and tulips is especially favorable.
Conclusion
So, you have learned how to plant garlic correctly, when to plant garlic and how to grow it. When choosing a garlic variety, base it on what time of year you want to harvest.
Winter garlic is chosen for autumn planting, and spring garlic for spring planting; they have their own characteristics and characteristics.
Carefully and responsibly approach the preparation and process of planting the plant, and then the harvest will definitely please you.