Secrets of caring for winter garlic in spring
Garlic is a crop that humanity has known for thousands of years. The benefits of garlic for the human body are an indisputable fact. Studies have shown that regular consumption of vegetables improves immunity and reduces the frequency and intensity of viral and colds.
In addition, garlic is a storehouse of vitamins and essential minerals. It reduces blood pressure, prolongs youth, and has an antibacterial effect. We can talk endlessly about the beneficial properties of this bulbous plant, but it’s better plant it on your site and see for yourself. We will tell you in this article how to do this correctly and get a rich harvest of winter garlic.
Differences between winter and spring garlic
Garlic is a bulbous plant. There are two types of garlic: spring and winter. They differ externally and according to the method of planting.
Spring garlic is planted at the beginning of the season, when the ground has warmed up a little (up to 5-7 degrees), but still retains moisture. The crop does not like completely damp soil - the roots begin to rot, and then the bulb itself.
Winter crops are planted in late autumn, about two to three weeks before frost, so that the garlic has time to take root.
Using the table you can easily see the differences between the types.
| Winter garlic | Spring garlic |
| Frost-resistant. | Does not withstand low temperatures. |
| A large onion with 6 to 10 large cloves. | The bulb is smaller in size, the teeth are also small, up to 30 pieces. |
| The teeth are evenly shaped and grow in a circle. | The teeth are located chaotically. |
| Arrow to be deleted.Once removed, it remains as a hard stem in the center of the bulb, with cloves growing around it. | Has no arrows. |
| The shelf life is short, so it is recommended to consume it within several months after collection. | Stored until new harvest. |
| Ripens long before the end of the gardening season. | It does not always have time to ripen in areas with a cold climate. |
How to care for winter garlic in spring
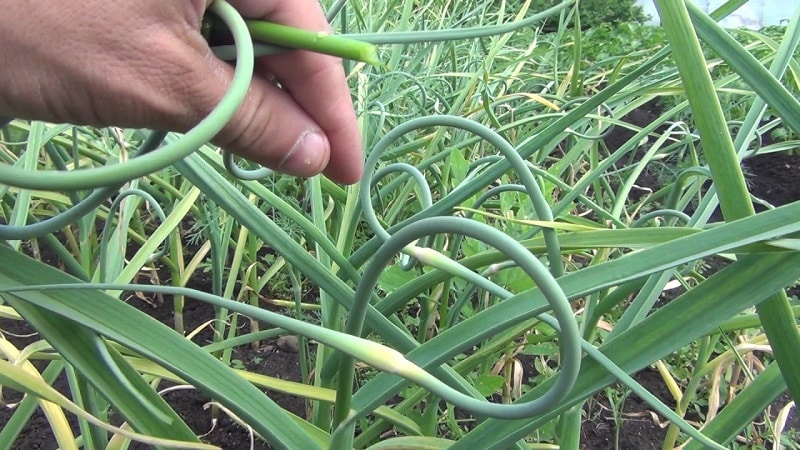
The winter crop is not afraid of cold weather, which is why garlic germinates early. If you covered the beds against frost for the winter, as soon as the snow melts, you need to remove the protective cover. Caring for winter garlic includes loosening, watering and fertilizing. Timely weeding is also important.
Loosening the soil between garlic rows
How to care for garlic in spring? When the snow melts and the first shoots appear, the most important task of gardeners is to retain moisture in the ground and ensure access of oxygen to the garlic root system. This requires careful loosening between the rows and the plants themselves.
When caring for winter garlic, a lot depends on weather conditions. When the soil in the beds begins to turn gray instead of black, it’s time to loosen. Further loosening is carried out after each heavy rain. If there is no rain, then after watering.
Attention! If you are late with loosening, on the surface soil a thin crust forms. Over time, it hardens, cracks form, and moisture evaporates much faster. It is already difficult to remove such a crust; deep loosening will be required, which can damage the young roots of garlic.
How to properly water with water and saline solution
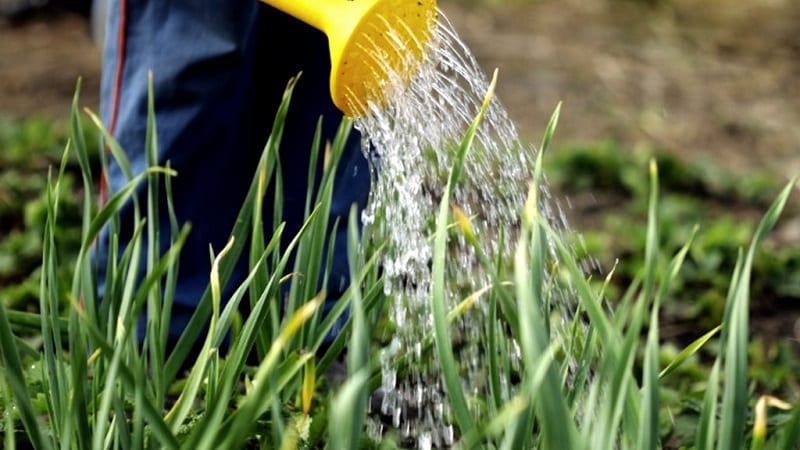
Garlic tolerates drought quite well, but the harvest is unlikely to be abundant. Therefore, it is necessary to provide the crop with good watering. Moisture is especially important in spring.For proper formation and growth of the heads, the soil must be sufficiently moist.
Watering
The irrigation scheme for both types (spring and winter) is identical and looks like this:
| Climatic conditions | Watering |
| Rainy or cloudy weather | – |
| Hot dry weather | Once every 5 days |
| Moderately hot weather with rain | Once every 7-10 days |
Why water with saline solution?
Garlic, like other garden crops, suffers from pests. Watering with saline solution will help get rid of them. In addition, this solution promotes better nitrogen absorption, which is important for the crop.
The first watering with saline solution is carried out at the end of May or beginning of June. Watering is done every ten days. The watering scheme is as follows:
- 100g salt/bucket of water;
- 300g salt/bucket of water;
- 400g salt/bucket of water;
- 600g salt/bucket of water.
You can water the fourth time only as a last resort, when the area is highly infested with pests. A bucket of solution should be enough for 2 square meters. m.
Be careful! Saline solution is a good helper, but it should be used sparingly, as in large quantities it “salts” and depletes the soil. This procedure cannot be carried out for more than three years in a row in one place. It is necessary to change cultures in places. And if the soil is still salty, plant white clover - it will restore the salt balance.
Treatment of shoots with saline solution
For flying pests, such as onion flies, a saline solution is also used. The proportion is as follows: 250 g of salt / bucket of warm water (10 l). The solution is sprayed onto the above-ground part of the plant. It is best to leave the solution overnight, and in the morning spray the shoots with plain water and water the beds. For preventive purposes, this procedure is recommended to be carried out once every ten days.
How to help garlic
In order for garlic to grow healthy and form large heads and abundant feathers, it needs a sufficient amount of nitrogen, potassium phosphorus and other trace elements. Special feedings will help ensure the correct balance of nutrients necessary for growth and development.
In order for the harvest to please you, strictly follow the proportions and timing of application, otherwise the result may be the opposite (for example, abundant development of the green part to the detriment of the formation of the head).
Spring feeding
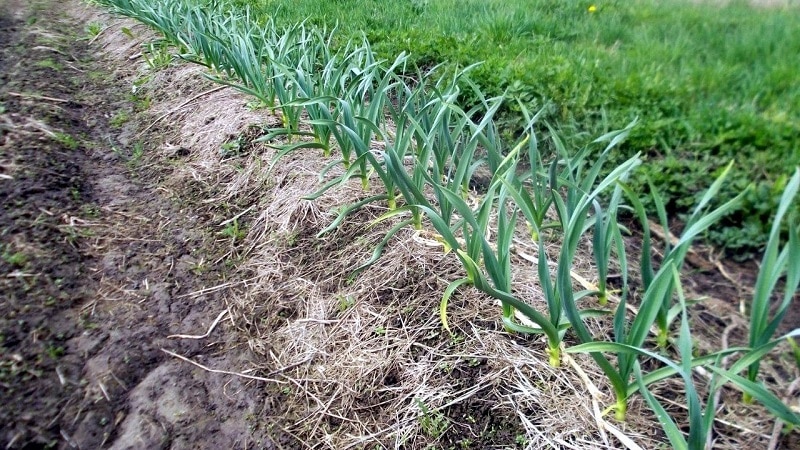
The most active plant growth occurs, of course, in the spring. It is during this period that it is important to feed garlic in time - both winter and spring. Winter garlic is fed a week after the snow melts, and then another two weeks later. Spring garlic is fed after three to four leaves have formed. The second feeding is carried out after another two weeks.
Top dressing in summer
The third feeding is carried out in the summer, in mid-June. It is important that it occurs precisely at the moment of formation of the head, otherwise all the fertilizers will be wasted. And if you do it ahead of time, the green part and arrows will form too abundantly.
Types of mineral supplements
Urea is excellent for spring feeding. It contains large quantities of nitrogen. It is used like this: dissolve a tablespoon of fertilizer in 10 liters of water. Add it at the rate of 3 liters of solution per square meter. m area.
Ammonium nitrate is also a nitrogenous fertilizer. 15 mg of the substance is diluted in 10 liters of water. The consumption is the same as in the previous case. It is recommended to feed in the spring with an interval of three weeks.
Nitroammofoska is a fertilizer containing potassium, phosphorus, nitrogen, and sulfur. For foliar feeding, dilute one tablespoon per 10 liters of water. fertilizersFor root feeding, the dose for the same container is doubled.
Superphosphate contains phosphorus - it improves the quality of the bulb, it grows larger, juicier, and is stored longer. Prepare the solution as follows: 2 tbsp. fertilizers per 10 liters of water. This composition is enough to process 2 square meters. m.
Types of organic fertilizers
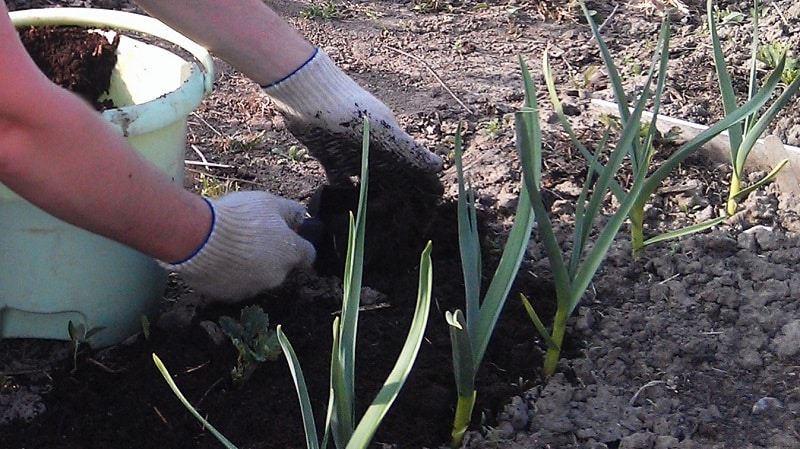
The ash will enrich the plants with potassium and phosphorus. You can simply sprinkle it on the beds, or you can prepare an infusion - a jar of 0.5 liters of ash for 10 liters of water. The solution is infused for a day and applied at the root.
Yeast contains important amino acids. Dilute 200 g of raw yeast per liter of water. The solution is infused for a day, and then it is brought to 10 liters. Then pour it over the garlic.
Ammonia is a source of nitrogen. Solution proportions: 25 ml of ammonia per 10 liters of water. The composition is used to treat feathers. You can prepare a solution for watering the ground, but it must be applied before planting.
When to harvest and how to store winter garlic
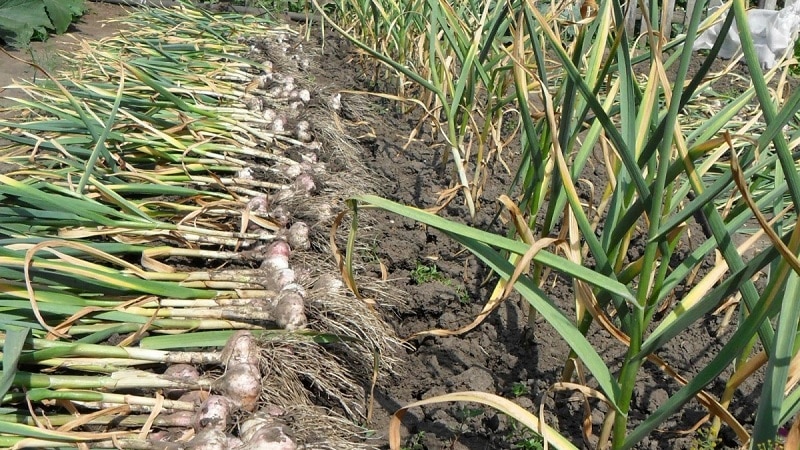
It is believed that one hundred days are enough for winter garlic to ripen. It is usually harvested in late July-early August. And spring - at the end of August-September. Determining the degree of ripening is not difficult, just know some simple rules:
- the lower leaves of the stem (or all the leaves and stem) have turned yellow and become dry;
- In winter garlic, to determine ripeness, arrows are often left on several bulbs: when they straighten and the inflorescences open, the garlic is ripe;
- dig up a few onions. The husk on them should be completely dry, purple-white in color. Garlic, which has three layers of husk, is well stored;
- the slices should be well formed, elastic and easily separated from each other, but not crumble;
- In non-shooting garlic, the root collar is usually dried out and is easily separated from the cloves.
Storing winter garlic
An important condition for long-term storage of garlic is timely and correct harvesting. The bulbs should not be dug up much earlier or later than expected. Garlic should not be allowed to overripe. It is better to dig it up a couple of days earlier and let it ripen when it dries, since garlic that is overripe in the ground quickly begins to rot.
You must remove the garlic carefully, trying not to damage the cloves. You don't need to pull it out, but dig it out - for example, with a shovel. The soil is removed from the bulbs by hand. You cannot hit it with a shovel or knock the bulbs against each other - this will damage them and are no longer suitable for long-term storage.
Afterwards, the garlic heads are dried outside in the shade or in a well-ventilated room along with the tops, bulbs down. This will improve the taste of garlic, because all the beneficial substances will penetrate from the leaves and stem into the head. Whole, undamaged bulbs, completely covered with husks, are selected for storage.
Optimal conditions for storing garlic
Bulbs should be stored in a dark place, at a temperature of -2 to +2 degrees and a humidity below 80%. It is advisable to rid the fruits of excessive air intake.
Garlic can be stored in a cellar or basement, hanging in braids. Store it in cardboard or plywood boxes. You can also store garlic in apartments. To do this, you should lay it in layers in jars whole or disassembled into slices, without removing the husk. First, prepare the container, wash it and dry it thoroughly. Salt, flour, onion peels, expanded vermiculite, and ash can be used as pouring materials.
Still peeled cloves are stored in oil. Garlic cloves are also dipped in paraffin to help keep them longer.Another way is to store in sterile jars with a tightly closed lid in a cool place. Or in a fabric bag, pre-soaked in saline solution and dried. The longest storage method is freezing or drying for seasoning.
Conclusion
Garlic is a bulbous plant, valuable both for its taste and medicinal properties, vitamin and mineral composition. Growing and preserving it is not difficult at all. The crop is grown both on one’s own plot for personal use and on an industrial scale.
For successful cultivation, it is enough to follow simple agrotechnical rules. It is important to pay special attention to caring for garlic after winter. Then provide sufficient watering, timely fertilizing, loosening and removing weeds as necessary - and the garlic will delight you with a wonderful harvest.