When and how to properly plant tomatoes in a polycarbonate greenhouse
In Russia, tomatoes are grown in almost every summer cottage. Planting tomatoes in a greenhouse in the spring is a common thing for many summer residents. And this is not surprising: the vegetable is not only tasty, but also healthy. Red fruits are rich in folic acid, vitamins A and C, lycopene, lutein, and beta-carotene. Regular consumption of fresh tomatoes strengthens the immune system, normalizes blood pressure and lowers cholesterol levels in the blood. After all, tomatoes are simply delicious!
However, given the southern origin of the crop, it is not always possible to harvest a good harvest of healthy vegetables. Tomato is a capricious crop; it is not easy to provide optimal conditions for the formation and ripening of fruits in a temperate climate. In this article we will tell you how and when to properly plant tomatoes in a greenhouse or polycarbonate greenhouse.
Pros and cons of growing tomatoes in a polycarbonate greenhouse
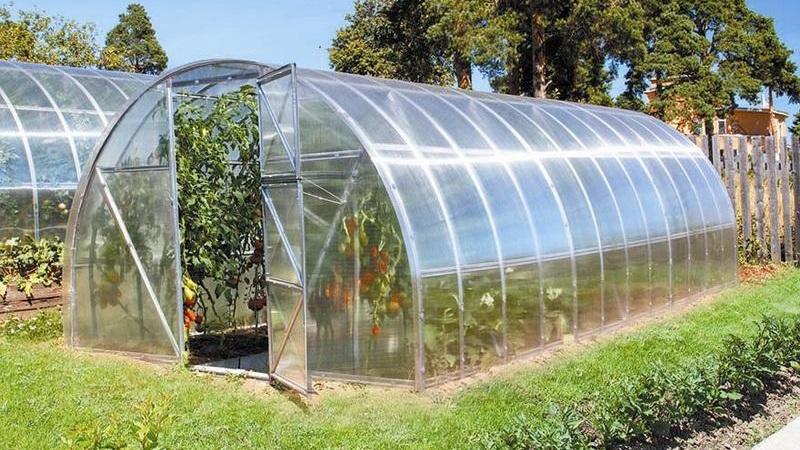
Polycarbonate is a relatively new material. They began to use it in the construction of greenhouses only a few years ago. What are the advantages and disadvantages of growing tomatoes in a polycarbonate greenhouse? First, let's list the advantages:
- polycarbonate allows sunlight to pass through well, and good lighting is an important condition for increasing tomato yields;
- the material is distinguished by high heat-saving properties, therefore, in the cold season, the cost of heating the greenhouse will be lower;
- polycarbonate is strong and durable, which cannot be said about film shelters and glass greenhouses;
- condensation does not collect on the surface of the polycarbonate greenhouse, which is important when growing tomatoes - moisture falling on the leaves and flowers harms the plants;
- if necessary, the polycarbonate shelter can be easily disassembled and moved to a new location.
Despite a lot of advantages, polycarbonate greenhouses also have some disadvantages:
- There is practically no natural air circulation in polycarbonate greenhouses, so they are regularly and thoroughly ventilated;
- in a closed, warm space, microorganisms multiply quickly, so polycarbonate structures are regularly disinfected;
- Polycarbonate transmits sunlight worse than glass, so shelters made of this material are placed only in open, unshaded areas.
Choosing a tomato variety for a polycarbonate greenhouse
So, we plant tomatoes in a polycarbonate greenhouse. First we select the appropriate crop. Which tomato seeds are better to choose? Hybrids are ideal for greenhouses and greenhouses. They are resistant to diseases and produce a stable harvest.
Advice. In polycarbonate greenhouses there are practically no insects that pollinate plants, so choose self-pollinating varieties and hybrids of tomatoes.
On average, the yield of greenhouse tomatoes is 12–15 kg per square meter. m. Tomato hybrids, specially bred for cultivation in greenhouse conditions, produce up to 20 kg of yield per sq.m.
But remember that seed material is not collected from hybrids. The seeds are either sterile or lose quality in the second generation. Before planting, such seeds are not treated to stimulate growth or disinfection. All necessary procedures have already been carried out at the factory.
Attention! If the packaging with seeds indicates that the plants are bee-pollinated, then such tomatoes should not be planted in a greenhouse. They are intended for open ground.
The timing of fruit ripening depends on the characteristics of the variety. Stunted (determinant) varieties reach technical ripeness earlier than tall (indeterminate) varieties.
When choosing a variety also pay attention to the size of the tomatoes. Large juicy fruits are good for preparing salads, and medium and small ones are good for canning.
Soil preparation
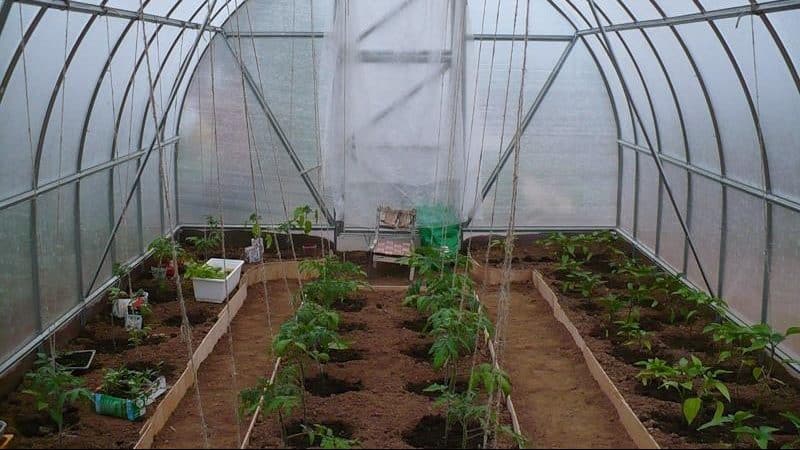
Soil preparation in the greenhouse begins in the fall. First, the ground is cleared of plant remains and debris and dug up. If the soil is heavy, add sand (1 bucket per sq. m). Tomatoes love light, fertile soil.
In case of increased acidity, additional lime is added (500 g per square meter). The application of sand and lime is combined with digging.
Organic fertilizers include manure, compost, and humus. The dug up and fertilized soil is left in this form for the winter. Frosts will destroy pathogens and pests.
In the spring, additional mineral fertilizers are applied (saltpeter, superphosphate, potassium chloride). When applying fertilizers, follow the manufacturer's recommendations. An excess of nutrients in the soil will lead to vigorous growth of the green mass of the bush, and fruits will not set.
Seed preparation
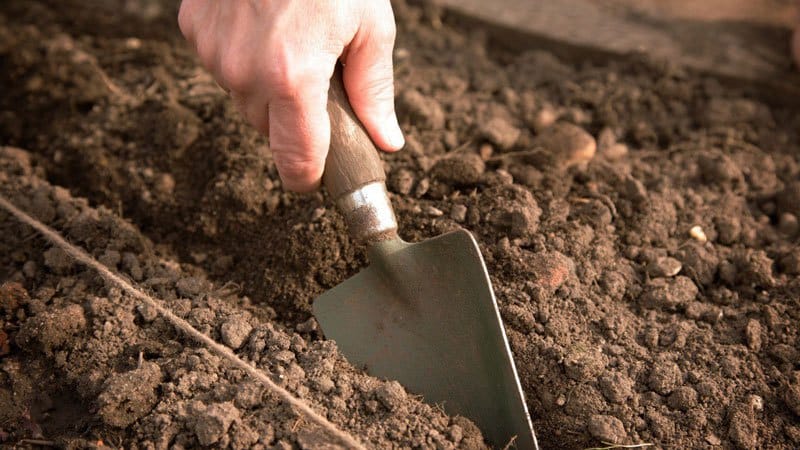
Not only the soil, but also the planting material is prepared for planting. Preparation consists of several successive stages:
- Soaking in salt water. This simple procedure allows you to reject small and empty seeds - they will float to the surface. The seeds that have settled to the bottom are removed, washed in clean water and dried.
- Warming up. Tomato seeds are heated for a week, gradually increasing the temperature to 50-60 °C. Hybrid seeds are not heated.
- Disinfection. The seed material is kept in a solution of potassium permanganate for 20-30 minutes. The procedure reduces the risk of seedlings being infected by pests and diseases.
- Soaking in nutrient solution. The goal of the event is to increase productivity. Industrial preparations (for example, Virtan-Micro, Epin, Immunocytofit) or folk remedies (potato or aloe juice) are used as nutrient liquids. After treating the seeds with the nutrient mixture, they are dried without rinsing in water.
- Hardening. Seedlings from hardened seeds tolerate temperature changes better. To harden the seeds, they are alternately exposed to cold and heat. First, the hatched tomato seeds are placed in the refrigerator for 12 hours. Then kept at room temperature for 12 hours. The procedure is repeated 2-3 times.
Prepared seeds produce faster and more vigorous seedlings than those that have not been prepared. In addition, plants from prepared seeds get sick less and bear fruit better.
Growing seedlings
Seeds for seedlings are sown 45-60 days before the expected date of planting in the greenhouse. That is, if you plan to plant plants in a permanent place at the end of May, then the seeds are planted at the end of March.
For seedlings, use containers with a height of at least 10 cm. Pots or boxes are filled 2/3 with soil. Prepared seeds are planted to a depth of approximately 1 cm. The best temperature for seed germination is +25 °C.
Tomato seedlings are demanding on lighting. If natural light is not enough, then provide illumination using special lamps.The optimal length of daylight for tomatoes is 12-16 hours.
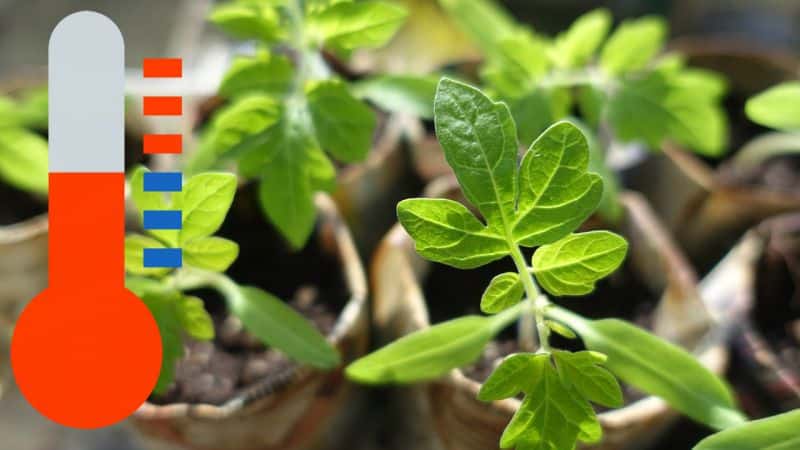
After emergence of seedlings, the air temperature is reduced to +14…+16 °C. This way the seedlings will get stronger and will not stretch out. After 1-2 weeks, the temperature is raised to +18...+20 °C.
Water the seedlings moderately, about once a week. For glaze use water at room temperature.
Transplanting seedlings and processing a polycarbonate greenhouse before planting tomatoes
For cultivation in polycarbonate greenhouses, tomato seedlings are prepared in the same way as for cultivation in open ground. Proper seedlings are strong, healthy plants, prepared for temperature changes by hardening.
Important! Seedlings with signs of disease or damaged by pests are destroyed, preventing them from entering the greenhouse.
If the infection gets into the greenhouse, it will not be easy to get rid of it in the future. In a warm, confined space, microorganisms multiply rapidly.
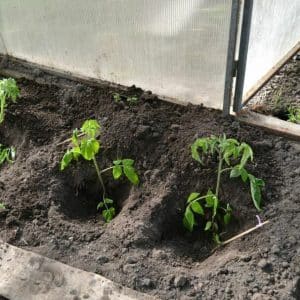
Before planting plants, the walls and frame of the greenhouse are cleaned of dust and dirt. To protect against diseases and pests, the structure is disinfected (with copper sulfate solution, Bordeaux mixture, hydrogen peroxide, etc.).
Particular attention is paid to ventilation. Vents must ensure sufficient air circulation inside the structure.
Planting seedlings in a greenhouse
Tomatoes are planted in the ground only after the soil has warmed up to +12-15 °C, because this is a southern crop that loves warmth. If the soil is not warm enough, the roots will begin to rot and the plants will die.
To warm up and disinfect the soil, water it with a strong, hot solution of potassium permanganate. Immediately before planting, pour a liter of warm water into each hole.
Seedlings are planted in cloudy weather so that the plants take root faster.
Distance between plants
At what distance should I plant tomatoes in a greenhouse? When determining the distance between plants, they are guided by the manufacturer’s recommendations varieties.
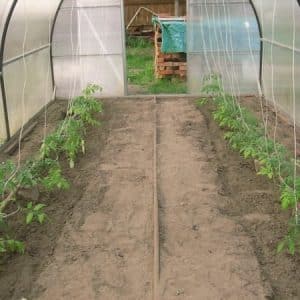
The landing pattern will be as follows: low-growing, early-ripening varieties that form 2-3 stems are arranged in 2 rows. The distance between them is maintained at 55-60 cm. At least 35-40 cm is left between plants.
Tall varieties of crops that form 1 powerful stem are planted more densely. Between rows maintain a distance of 45-50 cm. Between plants - 25-30 cm.
Caring for tomatoes in a greenhouse
Seedlings planted in a permanent location need care. Caring for tomato bushes consists of watering, applying fertilizing, tying up.
Watering
The first time tomatoes are watered in a greenhouse is immediately after planting in the ground. Water abundantly to deeply wet the soil - then the plants will take root well and begin to grow quickly.
The tomatoes are watered a second time no earlier than a week later. During subsequent waterings, they are guided by the drying of the top layer of soil. The next day after moistening, the soil is loosened, providing oxygen access to the root system.
Important! After watering, the greenhouse is ventilated. Otherwise, condensation will form on the polycarbonate walls and roof, and the air humidity will exceed the norm.
Increased soil and air humidity negatively affects crop growth. Excessive moisture provokes the development of diseases and complicates pollination.
Tying up
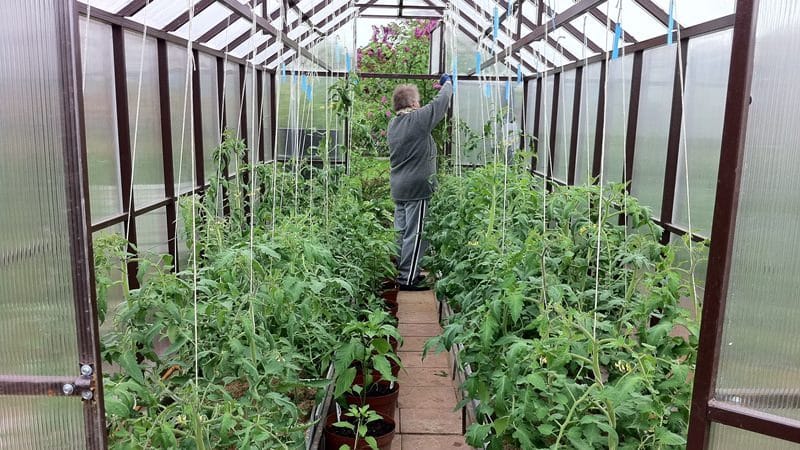
Tying tomatoes promotes better lighting and air flow to the bush. In addition, plants spread on the ground are susceptible to infection with fungal diseases.
The bushes are tied up a week after planting. Wooden stakes, metal or plastic pins are used as support. Plants are tied to a support using rope or wire.
When growing tall varieties, trellis gartering is used. Stakes are installed in a row at a distance of 1.5-2 m and wire or twine is pulled over them in several horizontal projections. Each bush is tied to a horizontal support using twine or wire.
Fertilizer application
The first time tomatoes are fed in a greenhouse is when seedlings are planted. Humus, compost, and ash are poured into the prepared holes. The first two fertilizers contain minerals. The ash contains a lot of micro- and macroelements that tomatoes need for full growth, flowering and fruit formation.
Important! If the soil in the greenhouse has already been prepared and fertilized, then fertilizing is not carried out during planting. Excess nutrients will cause the plants to begin to fatten.
Next time, the tomatoes are fed after 2-3 weeks with mineral fertilizers. They are diluted in water according to the instructions and the plants are watered.
Next, the tomatoes are fertilized during mass flowering. Dilute 1 tbsp in 10 liters of water. l. potassium sulfate, 0.5 liters of bird droppings and the same amount of liquid mullein. Under each bush add 1 liter of the prepared solution.
The last feeding of tomatoes is carried out after the mass formation of fruits. This will speed up fruit ripening and harvesting. To prepare a nutrient solution, dissolve 2 tbsp in 10 liters of water. l. superphosphate and 1 tbsp. l. liquid sodium humate.
Conclusion
Planting tomatoes in a greenhouse requires a competent approach.To reap a rich harvest, it is important to choose the right variety, prepare planting material and soil, clean and disinfect the structure. It is also important to follow the rules for caring for plants in a polycarbonate greenhouse.
Compliance with growing technology will allow you to grow enough fruits for fresh consumption and for canning.