What is spring garlic and how to grow it correctly: a step-by-step guide and secrets of experienced gardeners
Among the abundance of herbs and spices, garlic is a recognized leader in popularity in many countries around the world. In addition to purely taste, this culture is recognized as a natural remedy No. 1 by official and traditional medicine.
Growing and caring for a crop is not a difficult matter; the main thing is to know and follow the main stages of cultivation. From the article you will learn how to distinguish spring garlic from winter garlic, how to grow it in open ground, when to harvest and how to store it.
The difference between spring garlic and winter garlic
All varieties of garlic are usually divided into winter and spring varieties.. Spring crops are planted in early spring, and winter crops are planted in the fall. It is not difficult to distinguish one species from another.
Winter is distinguished by a small number of cloves and their even number (from 4 to 6). The head can be compared to a tangerine: all the cloves are even, of the same size and shape.
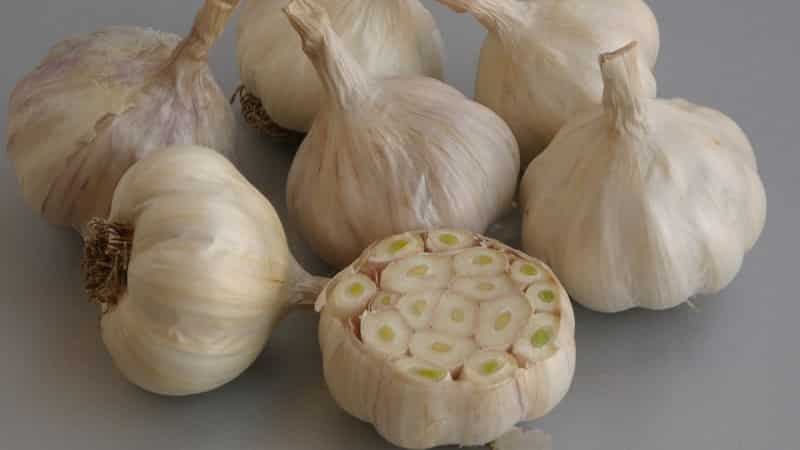
The spring cloves are much larger and can be of different sizes and shapes.. Another difference is that in the center of the head of the winter plant there is a trunk - the dried base of the peduncle.
Important! Only spring garlic is suitable for long-term storage. Winter crops are eaten immediately or used for preparations.
How to plant spring garlic
For planting spring garlic, the largest intact cloves are selected., carefully separating the garlic heads. It is better to do this just before planting, so that the bottom of the cloves, from which the roots will appear, does not dry out.
Small slices are perfect for growing healthy, tasty greens, but in this case it is better to choose a bed in the shade.
Selection and preparation of a site for planting
A well-lit, non-damp place is suitable for garlic.. Excess moisture can cause rot. In low-lying areas, growing vegetables is possible in high beds. Neutral soil is best. Acidic soil is neutralized with chalk or dolomite flour.
The site is being prepared in the fall. The earth is dug up, 6-7 kg of humus, about 25 g of superphosphates and 20 g of potassium salt are added to each square meter. Before planting spring garlic in the spring, the soil is loosened, leveled and slightly compacted.
The landing site is changed every year - this helps to avoid diseases. It will be possible to return to the same place in 4-5 years.
It will be interesting:
The best varieties of spring garlic
Preparation of planting material
Preparation of spring garlic for planting will be determined by how the bulbs are stored. If in winter they were stored at a temperature of about +20°C, then the new bulbs will grow larger, but may not have time to ripen before the end of the season. If the heads were stored at low temperatures (+6...+10°C), then the bulbs will grow smaller, but will ripen.
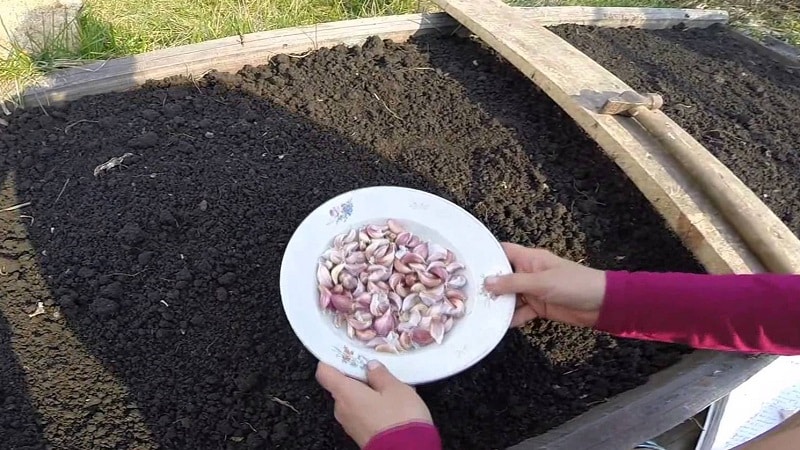
Combining these two methods will help you get a stable harvest.. Immediately after harvesting, store spring garlic in a warm room, and 1-2 months before planting, place the bulbs in a cool place, such as on a balcony or in the refrigerator. The cooling time is determined by the size of the heads. The larger the bulbs, the longer they take to cool.
It is good to use cloves with overgrown roots for planting.. To do this, garlic cloves are immersed for 30 minutes in a solution of potassium permanganate or soaked for a couple of hours in plain water. Then the water is drained, and the cloves are wrapped in damp cloth and polyethylene and placed in a cold place for several days. Plant the cloves with roots carefully so as not to damage the shoots.
To protect against pests, planting material is disinfected in a 0.1% solution of potassium permanganate or 1% solution of copper sulfate.
Recommended garlic precursors
When choosing a place for planting, you should pay attention to the root system of the predecessor.. Garlic bulbs have short roots, so during growth they actively use minerals and fertilizers from the top layer of soil. Accordingly, the preferred predecessors will be crops with a long root system.
For reference. It is good to plant garlic after grains, pumpkins, legumes, and herbs.
Avoid areas where they used to grow carrots, potatoes, beets, onions, peppers, tomatoes.
Planting dates for spring garlic
There is no clear answer to the question of when to plant spring garlic in open ground.. The timing is determined by the climate of a particular region. They begin to sow when the soil warms up to +3-5°C. Light frosts are not harmful to crops. You should not delay planting, otherwise there will not be enough moisture in the soil and the bulb will not take root well.
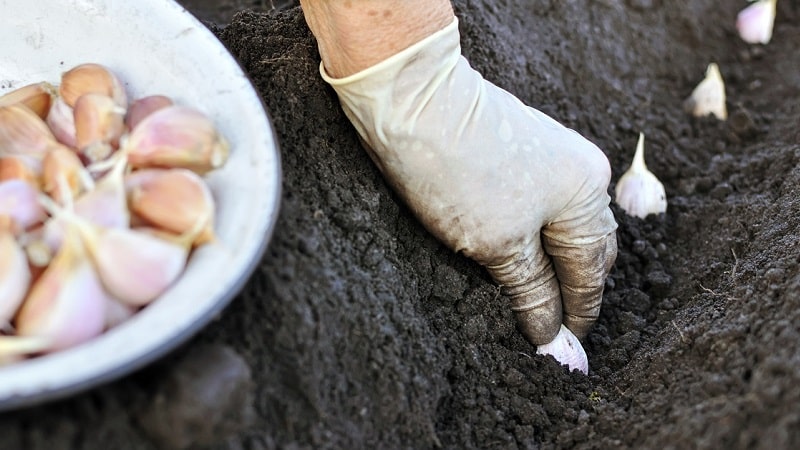
The planting pattern is simple. On the prepared bed, furrows are formed 3-4 cm deep at a distance of 25-30 cm from each other. The teeth are laid out bottom down at intervals of 10-12 cm and sprinkled with earth.
Care
Caring for spring garlic is easy. The plant needs watering and fertilizing, loosening the soil, and removing weeds. Mulching the area with humus, peat or rotted compost makes maintenance easier.
Abundant watering is needed only in the first phase of growthwhen a vegetable grows green. Drying or yellowing feather tips indicate insufficient moisture.
After 6-7 feathers grow, a garlic bulb begins to form. During this period, watering is reduced. Excess water leads to disease and rot. The day after watering or rain, the soil is loosened.
In the second half of August, watering is stopped.
Tying garlic feathers
Tying garlic leaves in a knot is one way to increase yield.. The point of the procedure is that at the last stage of growth, all the nutrients go to the bulb, and not to the leaves. However, there is no scientific confirmation of the effectiveness of this method.
Tying is carried out a few days before harvesting. First you need to carefully weave the braid, and then make a knot at the end, being careful not to damage or tear the feathers. Don't forget to wear gloves to avoid damaging your hands.
Fertilizer application
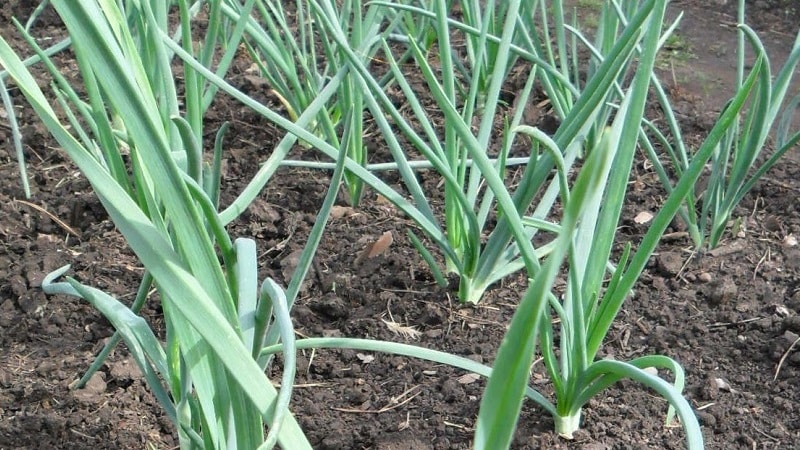
Fertilizing spring garlic begins as soon as the first green shoots appear from the ground.. The more leaves are formed in April-May, the larger the bulb is formed.
Nitrogen fertilizer is applied first. This can be a solution of mullein in a ratio of 1:10, bird droppings in a ratio of 1:12, herbal infusion, humus or mineral fertilizer. After 14 days, fertilizing is repeated.
At the end of June - beginning of July, the plant begins to form a bulb. Now it's time to apply potassium-phosphorus fertilizers (for example, an infusion of wood ash). Such feeding is done until mid-August.
Harvesting and storing spring garlic
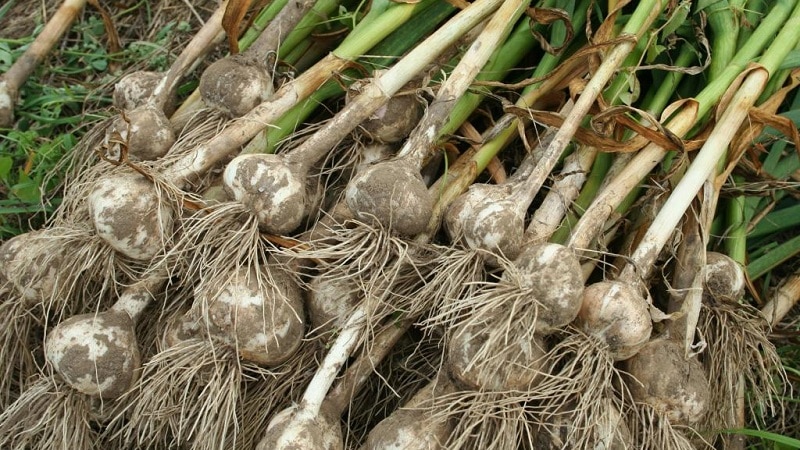
The drying of garlic feathers in August indicates the ripening of the bulb. Garlic is ready for harvest.Cleaning is carried out in dry, warm weather.
The dug up bulbs are shaken off the ground and placed in a dry, ventilated place.. It is preferable to arrange the heads in rows or hang them.
After the green leaves have dried, they are cut at a distance of 4-5 cm from the bulb. Store garlic in fabric bags or cardboard boxes in a cool, dry place. If the necessary conditions are met, the vegetable can be perfectly stored for up to two years without losing its beneficial properties.
Disease and pest control
The phytoncides contained in garlic do not help plant from pests and diseases.
Spring garlic is affected hoverflies, onion flies, moths, thrips, stem nematodes, root mites and garlic mites.
The appearance of insects is prevented by fertilizing with ammonium sulfate. If pests do appear, the affected plants are removed by carefully digging them out along with the roots.
Culture is not immune from diseases. This can be black mold, fusarium, downy mildew and white rot. The main cause of such diseases is excess moisture in the soil and poor-quality planting material.
Little tricks and common mistakes
Mistakes made when planting and growing:
- use of low-quality planting material (damaged cloves are the cause of disease and low yield);
- pressing the cloves into the soil when planting (deep planting delays root formation);
- fertilizing the garlic bed with fresh manure (such fertilizing provokes infection of plants with fungal diseases);
- using for planting an area where bulbous crops previously grew (onion fly larvae love garlic leaves and bulbs);
- delay in harvesting (untimely harvesting leads to rupture of the integumentary scales and destruction of the bulb).
Little tricks for care and planting:
- Using mulch, hay and straw will prevent the soil and bulbs from overheating on hot days. The most active ripening of the head occurs at temperatures up to +25°C.
- Maintaining crop rotation. It is fundamentally important to regularly replant plants to another area; only in this case can you count on a good harvest.
- Marigolds, chicory, calendula, planted next to garlic beds, repel the larvae of onion flies and nematodes.
Read also:
Popular varieties of spring garlic
There are over 70 different varieties. From this variety it is not difficult to choose a variety to suit your taste, taking into account climatic conditions, site characteristics and soil.
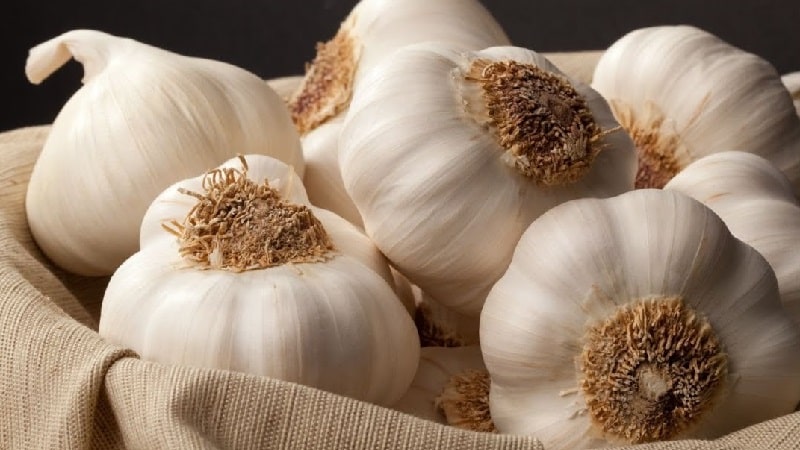
Here are the most popular varieties:
- Abrek - mid-season, large, perfectly stored, not too sharp, light scales, white cloves.
- Aleysky - mid-season, the bulb is round, flat, stored until spring.
- Gulliver – mid-late, productive, the bulb is round, slightly flat, the scales are light. Little susceptible to diseases and pests.
- Elenovsky - mid-season, productive, rounded heads. The color of the scales is whitish on the outside, and pinkish on the inside of the cloves themselves. The variety is resistant to diseases.
- Sochinsky-56 - mid-season, produces a stable and high-quality harvest. The shape of the head is slightly flat and round. The color of the scales can be white or purple, and on the teeth themselves – pink with a purple tint. The variety is resistant to diseases.
Conclusion
With proper soil preparation and planting technology, growing garlic in open ground will not cause much trouble. It is important to apply all known rules and recommendations for growing spring garlic wisely, taking into account your own experience and the climatic conditions of the region.
Pay due attention to planting and in gratitude for your work you will receive a generous garlic harvest.