How to dig potatoes with a walk-behind tractor
Growing a rich harvest of quality potatoes is only half the battle. After this, it is important to properly harvest the mature tubers. It is difficult to dig up potatoes by hand, so many people use a walk-behind tractor. This method is much simpler and faster, convenient for large areas.
Advantages and disadvantages of digging potatoes with a walk-behind tractor
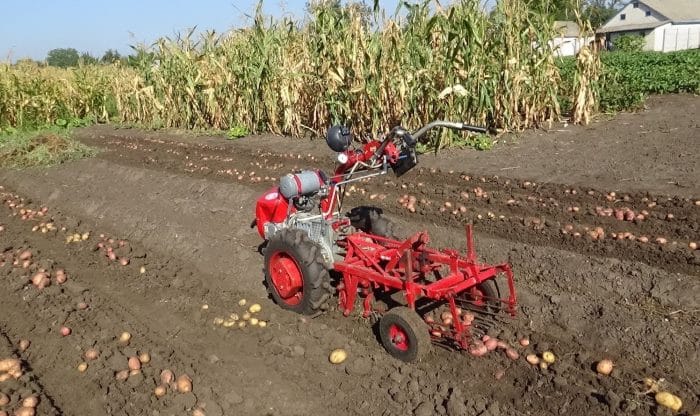
Many gardeners prefer to use walk-behind tractors, but not all. One of the main reasons is a large number of damaged tubers after digging. However, this only happens if the walk-behind tractor is used ineptly and is configured incorrectly.
Despite the high percentage of defects, this technique has many advantages:
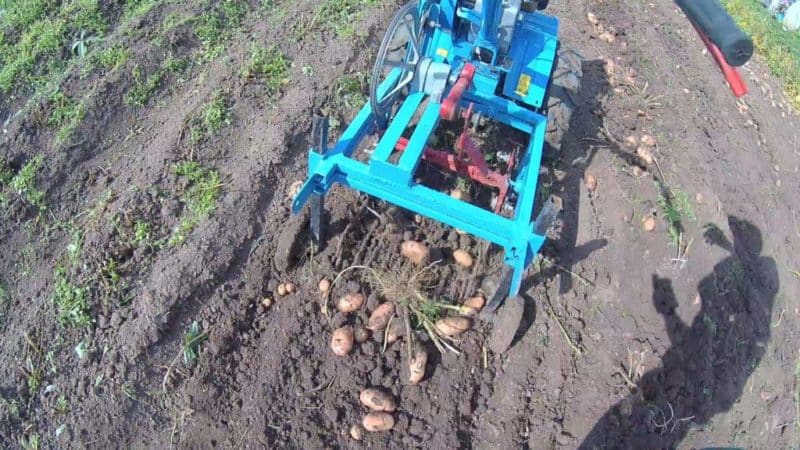
- The design of walk-behind tractors is simple enough to understand how to control them in a short time. The main part of the cultivator is a potato digger, consisting of an upper fan and a plow.
- Setting up a walk-behind tractor for digging up potatoes is easy even for people with minimal experience. To reduce the number of damaged tubers, adjust the depth to which the plow will enter the soil.
- Labor costs are greatly reduced, since you only need to operate the equipment.
- The speed of processing the site increases several times when compared with manual digging of vegetables.
The main disadvantage of using a walk-behind tractor is its high cost. Therefore, the device is usually purchased only if large areas have to be processed annually. If the area for potatoes does not exceed 2-3 acres, purchasing a walk-behind tractor will be unprofitable.
How to properly set up a walk-behind tractor for digging potatoes
Before you start harvesting with a potato digger, it is important to set it up. When regulating, special attention is paid to the plow, which is responsible for digging up tubers.
First of all, set the depth to which the plow will sink into the soil. The minimum depth is the length of one shovel bayonet. If you make it smaller, the cultivator will damage the tubers during digging.
Reference. The depth is adjusted with bolts located between the plow stand and the lock. Once loosened, the plow can be easily moved up or down.
The next step is to adjust the angle of the field board relative to the soil surface. To do this, use a screw handle. It is twisted until the board lies on the ground, and then twisted in the opposite direction so that the back part rises above the ground by about 3 cm.
Types of potato diggers
An attachment for digging up tubers on a walk-behind tractor can be purchased together with the main device or made independently.
The first option assumes high quality, the second allows you to save a lot of money.
Factory
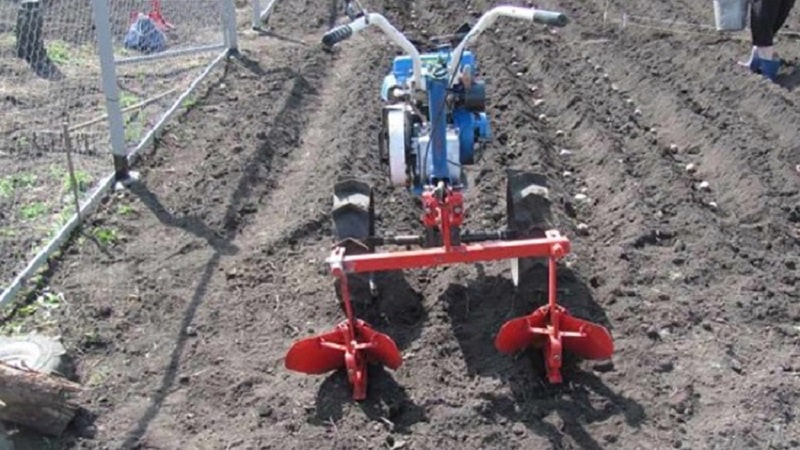
There are 2 main types of factory models:
- Simple walk-behind tractor. It is based on a shovel-shaped attachment with teeth on the edges. While digging into the ground, the shovel picks up the tubers. The removed potatoes fall on the teeth, which throw them to the side. This is a simple and convenient design.
- Difficult mini tractor. This type includes rumble and vibrating models - trailed devices that have their own wheels, bucket and control levers. The bucket collects the tubers and sends them to a vibrating grid, where they are cleaned of large clumps of dirt.
The walk-behind tractor is used for almost all types of work in the garden, having installed suitable attachments on it. The motor cultivator is used only for tillage.
Homemade
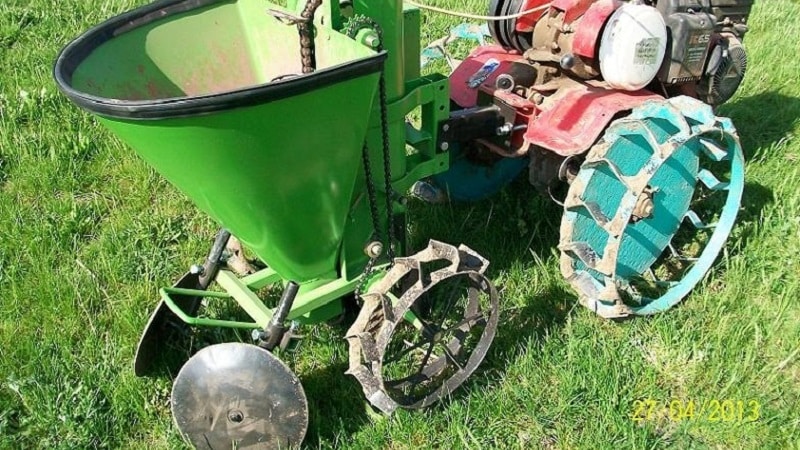
Manufacturing devices allows you to save a lot and individually select the characteristics of a potato digger.
To do it yourself, follow these steps:
- A rectangle is welded from a square pipe, which will act as a base.
- Cut a piece of square pipe, the length of which is equal to half the length of the frame. It is used to make the basis for the traction structure.
- An axle for the wheels is welded on the opposite side of the frame.
- A ralo is made from a sheet of metal and welded to the bottom of the frame. To ensure that it sinks normally into the soil, the metal is ground off on one side.
- A pitched board is attached at the same level. To make it, 10 metal rods are attached to a plate and fixed to the frame.
After completing these steps, the base of a simple potato digger will be ready. Each summer resident upgrades the device to suit himself.
This is interesting:
How to make a potato hiller for a walk-behind tractor with your own hands
Choosing a walk-behind tractor and its parameters
The technology speeds up the collection of vegetables even in small areas. On potato plantations you simply cannot do without it.
Buying a walk-behind tractor saves the gardener from hiring a tractor every year for plowing. The main thing is to choose the right device.
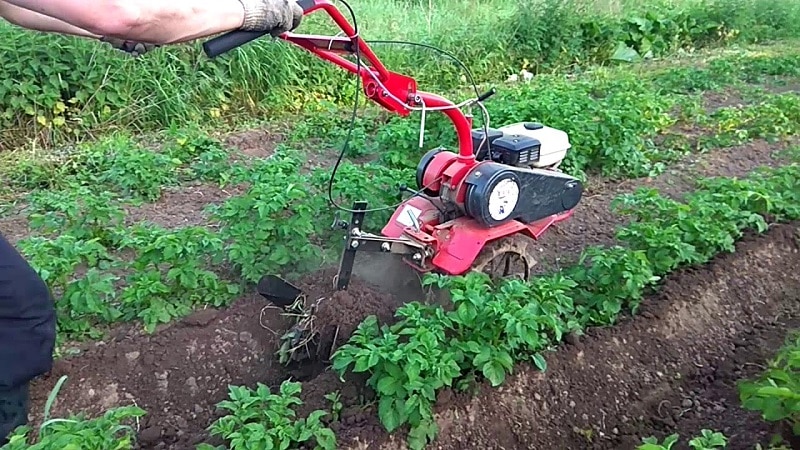
Powerful or weaker
The more powerful the device, the more productive it is, but more expensive. Lightweight equipment is much more maneuverable, so it is convenient for processing small areas.
The table shows the dependence of the device’s power on the size of the garden:
| Plot size | Walk-behind tractor power, l. With. | Working width, cm |
| up to 50 acres | 4 | 80 |
| up to 2 hectares | 6 | 90 |
| up to 5 hectares | 9 | 100 |
It is advisable to choose a device with a small power reserve. The engine will last longer if it is not overloaded. It is important to consider the type of soil you will be working on.
For different types of land, choose a device with a suitable weight:
- for light soils - 50–70 kg;
- for clayey soils - 80–120 kg;
- for large fallow areas - 120–150 kg.
How to dig potatoes with a walk-behind tractor
Before harvesting, the area is cleared of debris, all grass is removed and fallen leaves are removed.
How to remove tubers
After adjusting the plow, make a test pass:
- The walk-behind tractor only goes a few meters along the row.
- They collect the potatoes and inspect them carefully. If the equipment is configured correctly, the tubers will not be damaged.
- If cut and rubbed potatoes are found, the digging depth is increased. Make a second pass and check the dug tubers again.
Some gardeners do not want to spend time setting up equipment. They are the ones who complain that the walk-behind tractor spoils the harvest. Correct adjustment ensures ease of operation.
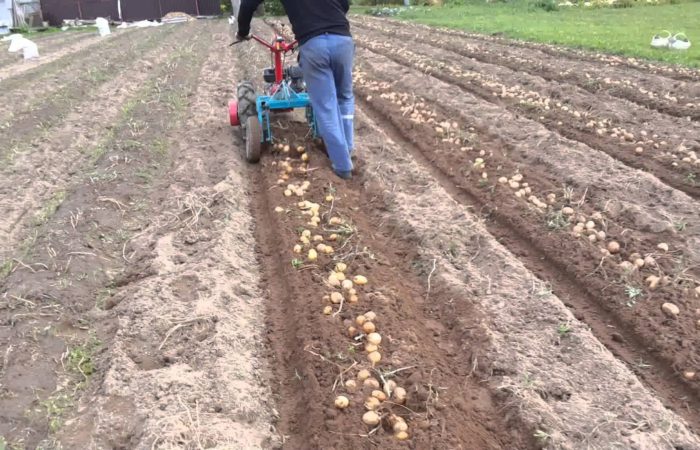
After the walk-behind tractor passes, all the potatoes rise to the surface of the soil and are collected manually.
Digging features
Passes with a walk-behind tractor are carried out through a row: first, odd rows are processed, then even rows. This is done so that the dug up tubers that fall into the distance between the rows are not damaged by the wheels of the walk-behind tractor.
Important! If you dig up potatoes row by row, the equipment will begin to move to the side and it will become difficult to hold it.
When the work is done correctly, a walk-behind tractor with a potato digger allows you to process up to 6 acres of land in 1 hour. Digging takes no more than 20 minutes, then the potatoes are collected by hand.This is an approximate time, as it directly depends on the number of people involved in cleaning.
Tips and tricks
In order for the potato digger to cope with its tasks properly, adhere to the following recommendations:
- Be sure to carry out adjustments before starting work.
- The power of the device must be sufficient, especially when it is used for large areas.
- The size of the digger is selected so that it matches the size of the walk-behind tractor. If it is too large, it will damage the crop.
- To keep losses to a minimum, make a test pass and adjust the diving depth.
Read also:
Review of potato planters for a walk-behind tractor and how to make it yourself
Technology for planting potatoes with a walk-behind tractor
Conclusion
Digging up potatoes is a very labor-intensive task that gardeners have to face. Therefore, to simplify the work, a walk-behind tractor is used.
It is important to correctly adjust the angle and depth of the plow, otherwise the crop will be damaged. The equipment is selected depending on the area being processed and the type of soil.