How to grow a large pumpkin at your dacha in open ground: step-by-step instructions and secrets of experienced agronomists
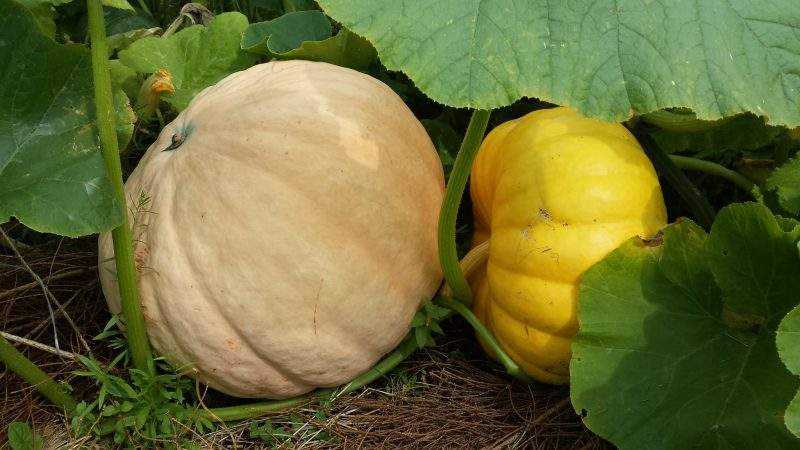
Large fruits different varieties of pumpkinripening in the beds will decorate even the most ordinary summer cottage. The world's largest vegetable grown under normal conditions has exceeded the 1000 kg mark. The large size of the fruits does not in any way affect their storage, taste or beneficial properties.
Often we do not pay attention to what grows “under our feet.” Pumpkin is known to promote weight loss and treat vascular pathologies. Read on to learn more about growing large pumpkins.
Variety selection
How to grow a large pumpkin in the open ground at the dacha? To do this, first of all, you should correctly choose a variety. When choosing a large variety of pumpkin, people most often choose types such as Big Max, Atlant or Titan. With proper care, some fruits can reach 150 kg.
Peculiarities:
- Big Max produces mature fruits up to 40 kg. The pulp is sweet, the peel is light orange, quite dense, slightly lumpy. Stored at room temperature until spring.
- Atlant - This is a late-ripening variety. Ripens in 110-130 days from germination. It is better to grow in seedlings. The weight of a mature fruit is from 20 to 50 kg. The pulp is juicy and soft, orange in color. The fruit has a segmented surface.
- Titanium. Some summer residents managed to grow the fruits of this pumpkin weighing 150 kg. In order for a vegetable to reach such a size, it must be grown on fertile soil, leaving one fruit per plant.To obtain a large fruit, the variety is grown through seedlings.
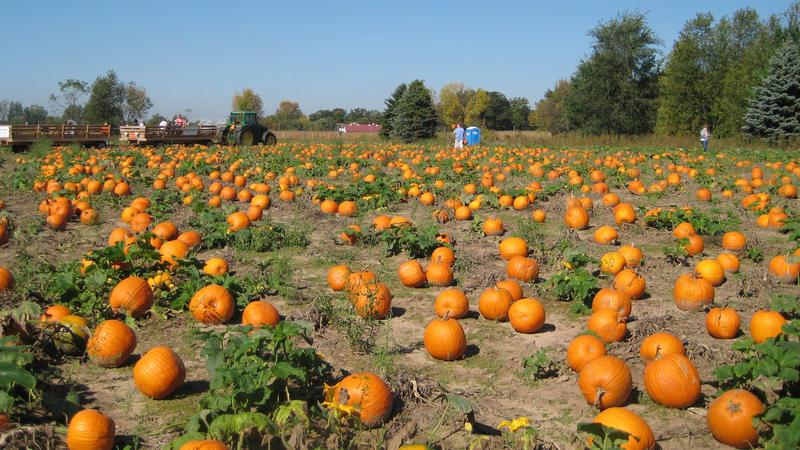
The process of growing a large pumpkin
To plant seeds in the ground, it is important to wait until the soil warms up to +10-12 °C. The temperature is checked in the top 10 cm of soil. If the condition is met, we proceed to further work.
Seed preparation
To grow a large pumpkin, it is important to choose the right seeds and prepare them for sowing. This procedure takes a little time, but subsequently has a positive effect on the size and quality of the fruit.
For a good harvest, choose the heaviest seeds. It is correct to select them not by size, but by weight. For successful germination, before planting, the seeds are heated for 2 hours at a temperature of 50-60 °C. Then, to prevent fungal diseases, they are kept in a weak (1%) solution of potassium permanganate for 12 hours.
In order for the sprout to break through the hard skin of the seed, use an ash solution, for the preparation of which you will need to stir 2 tbsp in 1 liter of boiling water. l. wood ash. Then gauze folded in several layers is moistened with the solution and the seeds are wrapped in it for 12 hours.
After these procedures, the seeds are ready for germination at home. Some people sow them directly into the ground.
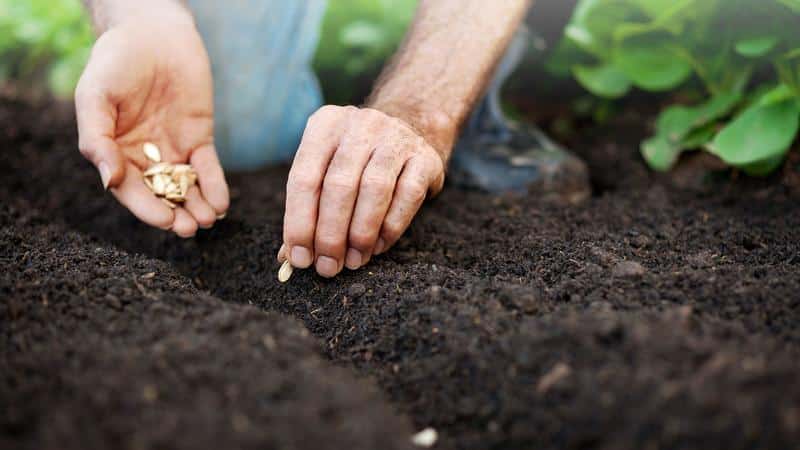
Soil preparation
After harvesting, the soil is loosened, then dug up to a depth of 25-30 cm. In the spring, the area is loosened twice - the first time to a depth of 15 cm, the second time before sowing to about 7 cm.
After the previous crop, it is recommended to loosen the soil along with the application of fertilizers - humus or manure (5 kg per 1 sq. m), also 10-20 g of potassium salt and 25-30 g of superphosphate.
During autumn digging, more manure is added, but to prevent nitrates from accumulating in the fruits, it is better to replace manure with peat compost (7 kg per 1 sq. m). Acidic soils are limed.To prevent nitrogen loss, lime is sprinkled on the surface of the soil after digging.
If you simultaneously apply potassium and phosphorus fertilizers, the yield will definitely increase. Potassium fertilizers increase resistance to diseases, and phosphorus fertilizers promote the development of the root system and fruit ripening.
Planting seeds and seedlings
First, we mark the planting holes in the garden bed. Pour 2-3 liters of water heated to 50 °C into each, then plant 2-3 seeds to a depth of 4 cm in loamy soil. On light soils, increase it by 3 cm, placing the seeds in the form of a triangle with sides equidistant from the center of the hole. Sprinkle with soil and mulch with humus or compost.
We leave a distance of up to two meters between the rows, and one meter between the holes, planting them in a checkerboard pattern. If the nights are cold, cover the bed with film. With the emergence of seedlings (after 7 days), we remove the covering material. When two true leaves grow, we thin out, leaving two sprouts per hole.
On a note. When thinning, do not pull out the seedling, but cut it off at ground level so as not to disturb the root system of neighboring plants.
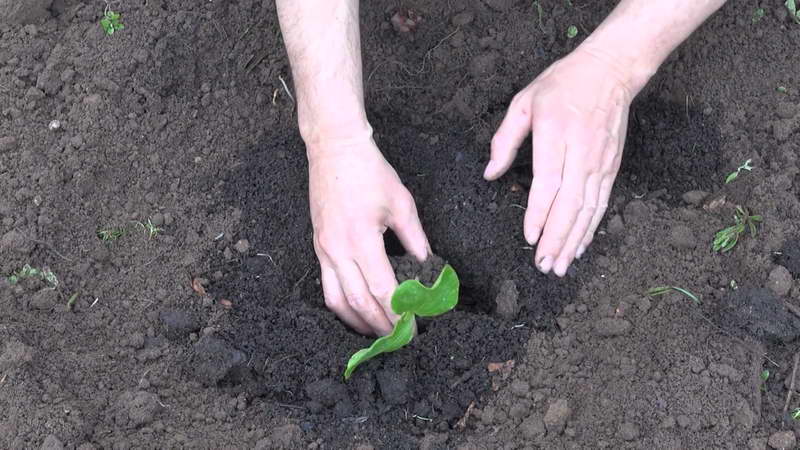
Pumpkin seedlings are planted at a soil temperature of at least 10 °C. It is determined using any household thermometer by placing it in the ground for 10 minutes. To preserve soil heat, the seedlings are covered with black film, and before planting, each hole is spilled with 2-3 liters of hot water.
Pumpkin care
The pumpkin is pinched when fruits 10 cm in diameter appear on the vines. This is done so that 4-6 leaves remain above each fruit.
To increase the amount of harvest, bushes are formed. 2 pumpkins are left on the main lash, and one on the side ones.
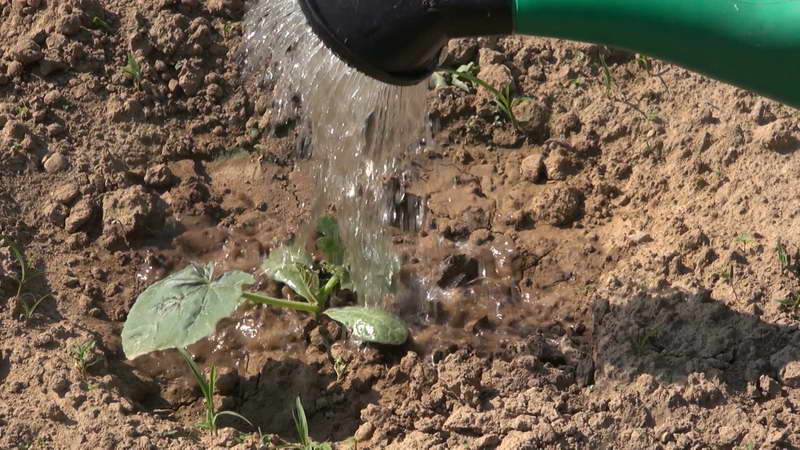
Before the first flowers appear, the pumpkin is watered generously with warm water, after loosening the soil around the plants. When it blooms, the intensity of watering is reduced so that the fruits are formed correctly.
You should also carry out additional pollination - this is done with a soft brush or by gently touching the flowers.
Fertilizing is applied once every 8-10 days, alternating organic fertilizers with mineral ones. If there is prolonged cloudy weather outside, the leaves are sprayed with a urea solution (1 tbsp per 10 liters of water). During the period of intensive ripening, the bushes are sprinkled with wood ash (1 cup per plant).
Place cardboard under the pumpkin to prevent contact with damp soil. This will prevent the pumpkin from rotting in the garden.
Diseases and pests
Pumpkin bacteriosis can occur due to waterlogged soil combined with sudden temperature changes. This disease appears as small brown cankers on the fruit.
At the first signs, dilute 10 g of copper sulfate and 10 g of lime in 10 liters of water. Spray the pumpkin stems and leaves well. If some leaves and fruits are affected, they are torn off and burned away from the site.
White rot is formed from low temperature and high humidity. Most often it appears in thickened plantings. The disease appears on the fruit as white spots that turn black over time. For prevention, treat the seedlings with Bordeaux mixture, and then you will not be in danger of fighting them.
Root rot occurs due to watering with cold, unsettled water. In this case, the lower leaves turn yellow and the stems become brown. The disease can destroy the entire plant.When the first signs of the disease appear, remove the top layer of soil at the roots of the neck and add fresh soil, sand, sawdust or peat (for the growth of new roots). We treat the stems, shoots and leaves with chalk, lime, ash or crushed coal. Spray the root collar with a 1% solution of Fundazol.
Powdery mildew appears due to infrequent watering. Sometimes it is formed from excessive fertilizing with nitrogen fertilizer. This disease covers the leaves with a white coating, then they dry out and fall off. As soon as you notice the first signs, immediately remove the affected areas and burn them, and spray the plants with colloidal sulfur (20 g per 10 liters of water).
The most dangerous pests are melon aphids and spider mites. To prevent aphid infestation, weeds should be removed in a timely manner. If the aphids have already caught up, we spray with a soap solution (200 g of grated soap per 10 liters of water) or 10% Karbofos in a proportion of 60 g per 10 liters of water. Spraying with onion infusion (200 g of onion peel per 10 liters of water) or a 20% solution of “Chlorethanol” (20 g per 10 liters of water) will help eradicate spider mites.
On a note. The next time you can grow a pumpkin in the same place no earlier than after 7 years.
Harvesting
Fully ripened pumpkin can be recognized by its stalk. It becomes hard and dry. The leaves and vines will begin to turn yellow and die - this indicates that the pumpkins have taken all the nutrients from the plant and it is time to collect them.
The collection period according to the calendar depends on the characteristics of each variety and ranges from late August to mid-October.
The pumpkin is carefully cut with a knife or pruning shears. Then the fruits are cleaned of dirt and dried. It is better to immediately inspect each fruit for scratches and mechanical damage. If they are found, the pumpkin will not last long.
The harvest is stored in a cool, dry place, away from direct sunlight, for one to six months.
Secrets of experienced agronomists
Masters of their craft believe that it is possible to grow a large pumpkin without any nitrates. The main thing is to know some secrets:
- Vegetables need enough space to grow.. One large pumpkin will need 1.5 square meters. m.
- Do not allow the garden bed to be in the shade. It is very important that the growing vegetable has enough light.
- Hill up the nodes with moist soil to stimulate root formation. To form a large fruit, a plant of this species requires a more powerful root system than other varieties.
- When the ovaries begin to form on the bushes, measure them daily. This measure is necessary to determine the largest fruit. As soon as you find the largest ovary, leave it and remove all the rest. Otherwise, it will not be possible to grow a large pumpkin: the bush, receiving nutrients and moisture, will distribute them evenly to all growing fruits.
- We form bushes according to the spruce principle. There should be one stem left on the plants. To make maintenance easier, it is recommended to place the side shoots at right angles to the main one. As soon as the second-order stems grow a couple of centimeters, carefully remove them. The main stem will continue to grow after the inflorescence has formed. As soon as it grows to 4-6 meters in length, it must be pinched.
- When the vegetable reaches a large size, move it from time to time to prevent the fruit from crushing the main stem. The pumpkin stalk is located at an acute angle in relation to the “mother's umbilical cord”.The pumpkin will grow larger over time, and if you do not change its position, it will simply crush the stem. Daily movement of the vegetable a few centimeters is carried out until the stalk is located at a right angle to the main stem.
- After planting seedlings in open ground, it is not necessary to water them for the first 3 weeks.. After this period, set a schedule for regularly adding moisture to the soil. For 1 sq. m of bed per day will require approximately 6-7 liters of water. In this case, moisture is introduced to the entire area of the pumpkin patch, regardless of the location of the holes. The powerful root system of the pumpkin occupies not only the area of the hole, but also the territory of the entire garden bed. To ensure that the plants have enough moisture, do not skimp on water.
If the soil needs fertilizing, it is applied three times per season. The first time is fertilized before the pumpkin blooms. Prepare yourself in the following proportions:
- potassium - one part;
- nitrogen – one part;
- phosphorus – three parts.
The second time the fertilizer is applied after the ovaries appear. It is prepared as follows:
- phosphorus – one part;
- potassium – three parts;
- nitrogen - three parts.
The third feeding is done after removing all the ovaries on the bush, except for the potential large fruit. Fertilizer preparation:
- potassium - four parts;
- nitrogen – two parts;
- phosphorus – one part.
To avoid burning the roots, the fertilizer is diluted with water at the rate of 200 g of the finished mixture per bucket of water. Each well requires up to 5 liters of nutrient fluid.
Read also:
An exotic vegetable with an unusual taste and name - Pink Banana pumpkin.
Medicinal properties of wax gourd and features of its cultivation.
Conclusion
Huge pumpkins can make your garden famous and will be used not only in dishes on the table, but also as decorations for the fall holidays. To get large fruits, experienced agronomists recommend using the seedling method. Growing a pumpkin is not difficult, you just need to have a great desire and put in a little effort.