A step-by-step guide to growing petiole celery outdoors
Petiole celery appeared on store shelves relatively recently, but has already managed to win the love of consumers. This plant has a rich taste and aroma, while being dietary product. Therefore, it is readily grown by summer residents and gardeners.
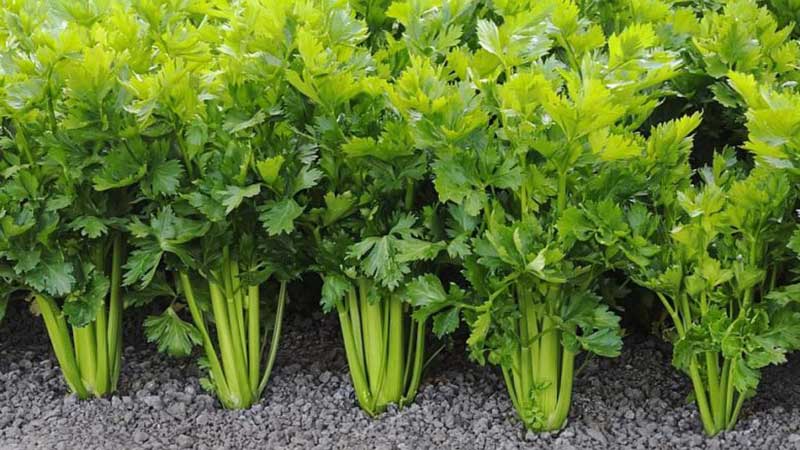
Growing celery is easy. This is a cold-resistant and unpretentious crop that is suitable for cultivation in all corners of our country. The main thing is to follow the rules for caring for and growing petiole celery in open ground.
What is petiole celery and what are its features
Celery is a biennial crop from the Apiaceae family. This is a relative dill And carrots.
There are three types of plants: petiolate, sheet and root. They differ in that they give the greatest amount of nutrients to different parts of the plant.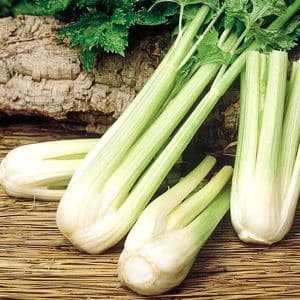
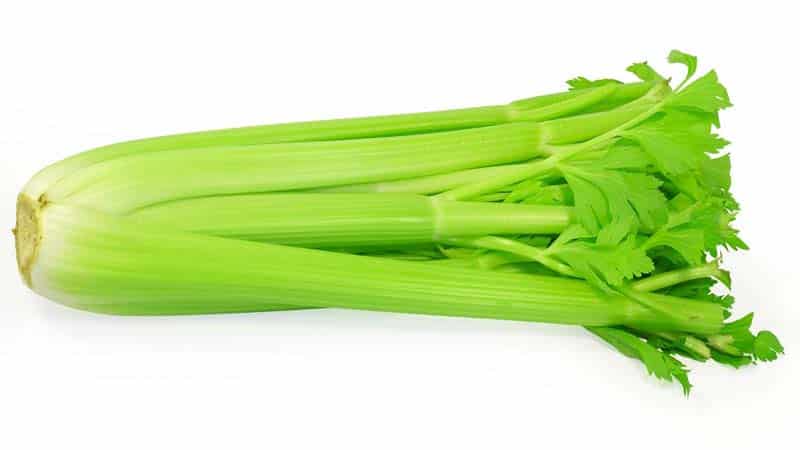
Petiole celery has thick, juicy stems. Its roots do not form roots, and with proper care, the leaves are underdeveloped. It is cold-resistant, so it can be grown even in regions such as the Urals, Moscow region and Siberia.
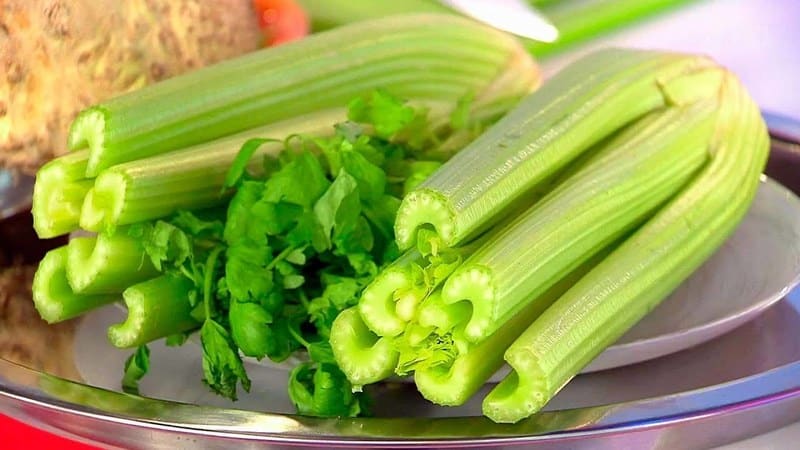
A plant with a pronounced aroma and contains a natural flavor enhancer. This product is used to improve the taste of first and second courses. It is also consumed raw.
Celery is a healthy vegetable. Per 100 g of product there are only 12 kcal, 0.91 g of fat, 0.12 g of fat and 2.4 g of carbohydrates.It contains a large amount of amino acids, minerals (phosphorus, potassium, calcium, sodium, magnesium), vitamins (A, B, PP, C, K), and flavonoids.
Celery activates metabolism, has a positive effect on the condition of the liver and kidneys, and normalizes blood pressure and hormonal levels. Dried and crushed petioles are useful to use instead of salt.
This plant only has a drawback - it is difficult to cultivate. Until the plantings get stronger, they are extremely sensitive to negative environmental factors. Violation of care technology leads to a decrease in the taste of the petioles.
Another disadvantage is that many varieties will have to be bleached to make them edible. Breeders have developed hybrids that do not require bleaching, but they are characterized by increased sensitivity to low temperatures.
Bleaching is carried out so that the stems lose their bitterness, too spicy taste and bright green color. To do this, they are denied access to sunlight at the last stage of development, when the height of the stems reaches 30 cm. The procedure is as follows: celery leaves are collected in a bunch and wrapped in available material - cardboard, paper, scraps of plastic pipes, etc. It is important that the wrapper fits tightly to the soil underneath.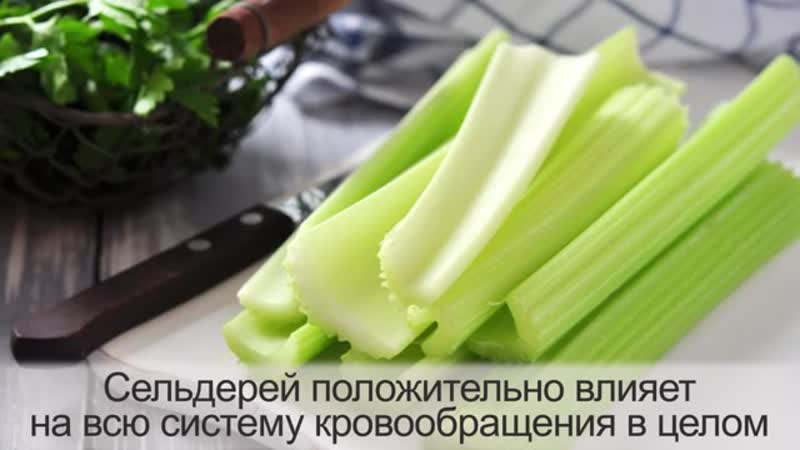
The best varieties for growing in open ground
There are several varieties of celery suitable for growing in our country. They are divided into two groups depending on whether they need to be bleached or not.
Self-bleaching varieties and hybrids:
| Varieties and hybrids | Description |
| Malachite | It is distinguished by light green fleshy stems. From 1 sq. m harvest up to 4 kg of crop. The petioles are ready for collection 90 days after sowing the seeds. |
| Tango | The stems are curved and fleshy, with a rich flavor.The weight of one socket reaches 1 kg. From 1 sq. m receive up to 3.5 kg of harvest, which is ready for harvest 170 days after sowing the seeds. |
| Gold | The stems are slightly curved. The weight of the socket reaches 700 g. From 1 sq. harvest up to 5 kg of crop. Plants are ready for harvest 150 days after sowing the seeds. |
Varieties that need bleaching:
| Variety | Description |
| Pascal | The length of the stems reaches 35 cm. The weight of the rosette is up to 0.5 kg. From 1 sq. m collect up to 4 kg of rosettes. The harvest ripens 100 days after sowing the seeds. |
| Utah | The stems are thick and dense, their length reaches 25 cm. The weight of the rosette reaches 400 g. The variety is late-ripening - the harvest is harvested 160 days after the appearance of the first shoots. |
| Male valor | Thick fleshy stems are slightly curved. Their length reaches 50 cm, and the weight of the rosette is 600 g. They are characterized by a purple color. The harvest is ready for harvest 170 days after sowing the seeds. |
| Atlant | The stems are even, their length reaches 45 cm. The mass of the rosette is 450 g. From 1 sq. m harvest up to 3.5 kg of crop. The ripening period is 160 days. |
| Crunch | The stems are dark green, fleshy and juicy. The rosettes are ready for harvest 110 days after sowing the seeds. |
| Groom | The height of the stems reaches 40 cm. One rosette weighs 400 g. The crop is ready for harvest 150 days after sowing. |
Timing of sowing and replanting in the ground
Petiole celery develops slowly. It is important to sow the seeds in a timely manner, otherwise the stems will not have time to become sufficiently fleshy and juicy before the first frost.
It is advisable to choose the timing for sowing celery, focusing on the manufacturer’s instructions. There are general recommendations regarding the timing of growing seedlings in different regions:
- cities with a southern climate - the second half of February;
- regions with temperate climatic conditions - early March;
- cities with cold climates – end of March.
Seedlings are planted in open ground in early March or June, depending on the region. By this time, the soil at a depth of 15 cm should reach 15°C.
How to grow seedlings
Petiole celery is grown only by seedlings. It has a long ripening period, so if the seed method is used, its stems simply will not be ready for harvesting.
Growing celery seedlings is a long and complex process. It is the young plants of this crop that are the most capricious to care for and do not tolerate any adverse effects well.
When deciding on the amount of planting material, it is important to consider that celery seeds have low germination rate. Seeds are taken 2-3 times more than the desired number of plants.
Preparatory work
To grow celery seedlings, use light and nutritious soil with low acidity. A universal soil for seedlings is suitable. To prepare the soil mixture yourself, take the following ingredients:
- peat – 3 parts;
- ash – 1 part;
- humus - 1 part;
- sand - 1 part.
The soil is disinfected. To do this, it is calcined in the oven, poured with boiling water or sprayed with a dark pink solution of potassium permanganate. Additionally, it is recommended to treat the soil with Fitosporin, which is considered an antifungal drug.
Two types of containers are prepared for celery:
- Wide boxes or plastic trays.
- Containers 15 cm high (cups, peat or plastic pots, cut bottles). Plants are dropped into such a container after two true leaves appear on them. Pots must have drainage holes.
The containers are also disinfected. It is soaked in a dark pink solution of potassium permanganate or wiped with alcohol.
To increase and speed up the germination of seeds, they are prepared before planting. This will reduce the risk of plant infection and increase their resistance to negative external influences:
- Disinfection. The seeds are immersed in a light pink solution of potassium permanganate for 15-20 minutes. Fitosporin solution is also suitable. After this, the seeds are washed with water at room temperature.
- Removing the oil coating. The seeds are soaked in water at a temperature of 60°C for 8 hours. During this time, the water is changed several times. The procedure will remove essential oil from the shell of the planting material, which prevents it from germinating. Then the seeds are washed again under running water.
- Germination. The first method: the planting material is wrapped in damp gauze, which is placed in a container and covered with film. Until the planting material germinates, it is moistened as it dries and ventilated regularly. The second method: a layer of wet sawdust is poured onto the bottom of the jar, sand mixed in equal proportions with seeds is distributed on top. The container is not covered. The substrate is moistened as it dries. In both cases, the seeds are germinated in a warm place.
Sowing seeds
The boxes are filled with soil so that 2-3 cm is left free to the edge. The soil is moistened with warm water or a solution of a growth stimulator from a spray bottle. In it, grooves up to 1 cm deep are made in rows.
Prepared but not sprouted seeds are densely poured into the grooves. If a large percentage of the planting material germinates, the seedlings will have to be thinned out.
If the seeds were germinated in advance, then the hatched specimens are planted in grooves at a distance of 3-4 cm from each other. In order not to damage the thin sprouts, they are not taken with your hands, but glued to a match head soaked in water or carefully lifted with tweezers.
The seeds are sprinkled with a thin layer of soil. They are covered with film and put in a warm place until the first shoots appear.
Seedling care
Seedlings are grown in a heated greenhouse or at home on a windowsill. In the second case, the plants are stronger and more resilient.
To grow strong and healthy plants, it is important to properly care for your seedlings.
The list shows the main nuances:
- After the first shoots appear, the film is removed from the containers. The seedlings are moved to a well-lit place. If there is not enough natural light (plants begin to wither), additionally use fluorescent lamps.
- Water the seedlings with a spray bottle as the soil dries. Watering should not be too abundant. Otherwise, the water will stagnate and the plants will begin to rot.
- After the emergence of seedlings, if the plantings are thickened, they are thinned out so that there is 3-4 cm between plants.
- After three true leaves appear, the seedlings are picked. To do this, they are removed from the common container using a fork. A layer of sand and then soil is poured into the bottom of individual containers. The stem is buried halfway. After this, the plants are watered. The next watering is possible no earlier than in a week.
- During the entire period of growing seedlings, two feedings are applied. The first time is two weeks after the first shoots appear, and the second time is two weeks after picking the celery into individual containers. Use superphosphate 15 g, urea 5 g or potassium sulphide 10 g. These products are added to a bucket of water.
- Before planting in open ground, seedlings are hardened off. To do this, take it outside or onto the balcony for 10 days, gradually increasing the time spent in the fresh air.
Transplantation into open ground
The soil for celery is prepared a month before planting the plants in open ground. To do this, it is dug up and cleared of weeds. Then rotted manure or humus is added at the rate of 6 kg per 1 sq. m. 30 g of superphosphate and 15 urea are added to the soil. The soil is thoroughly mixed with fertilizers.
A week before planting the seedlings in a permanent place, water the soil with copper sulfate (take 2 tablespoons of the drug for 1 bucket of water). Additionally, it is treated with “Fitosporin”.
For celery, dig holes 10 cm deep. The distance between rows should be 40-50 cm, and between plants 25-30 cm. Celery is not deeply buried. Otherwise it will start to rot.
After picking, the beds are watered generously with water at room temperature. For the first two weeks, they are covered with film or white burlap at night.
Important! If celery is planted in the ground too early or too late, its stems will turn out tasteless.
Further care
Agricultural technology for celery in open ground is simple. The main thing is to follow the basic rules of caring for it:
- Celery is watered with warm, settled water 2-3 times a week. Watering should be plentiful, but infrequent.
- After each watering and precipitation, the soil is loosened and at the same time cleared of weeds.
- It is recommended to mulch the beds with celery with rotted straw, burlap or dry grass. This will protect the plants from frost and pests and slow down the growth of weeds.
- Feed celery every two weeks. Alternate mineral (20 g of nitrophoska per 1 bucket of water) and organic fertilizers (manure is diluted with water in a ratio of 1:10). Before fertilizing, be sure to water the plants with plenty of clean water.
- Self-bleaching celery must be hilled.They begin to do this when the stems reach a height of 15 cm.
- When growing varieties that need bleaching, their petioles, when they reach a height of 30 cm, are wrapped in damp cloth.
Attention! With infrequent watering, the stems become bitter.
Diseases and pests
Celery is not as susceptible to diseases as other cultivated plants. But sometimes it is also affected by fungal, bacterial and viral diseases.
The list contains the most common of them:
- tobacco mosaic virus;
- bacterial spot;
- late burn;
- blackleg;
- rot (white or heart-shaped);
- scab.
If you follow the rules of prevention, the risk of developing pathologies will be minimal:
- Compliance with the principles of crop rotation. Celery is not planted after other greens and carrots.
- Removing plant debris. Pathogens may remain on them.
- Temperature. Celery is planted only after night frosts have passed.
- Disinfection. All tools and materials that the plants come into contact with are treated with disinfecting solutions.
- Compliance with watering rules. Do not allow water to stagnate or the soil to dry out.
During epidemics, it is recommended to spray the plantings with a solution of copper sulfate, potassium permanganate or Fitosporin. Diseased plants are removed so that they do not infect healthy plants.
Celery is often attacked by pests. They not only spoil plants, but also transmit pathogens throughout the garden:
- snails and slugs;
- aphid;
- scoop;
- carrot fly larva.
To protect celery from pests, it is sprayed with a decoction of bitter herbs (wormwood, dandelion). The beds and row spacing are sprinkled with ash.
Important! Rotten pith indicates that bacteria have entered the stems.
Harvest and storage
Celery is harvested when its stems become thick and its height is at least 30-35 cm. Most varieties are ready for harvest in August or September.
Varieties that need bleaching are stored all winter. They are put into the basement without removing the material in which they were wrapped during bleaching and covered with sand. Celery can last for more than a month in the refrigerator. To do this, it is wrapped in film.
Features of cultivation depending on the region
Regions with different climatic conditions have their own subtleties of growing celery:
- In the northern regions, it is recommended to cover the beds with film or each plant separately with a plastic bottle every night. When it gets cold, this measure is also taken during the day.
- In areas with warm climates, the beds are watered every other day.
- After heavy rains and cold weather, the risk of plant infection increases. In this case, it is recommended to spray them with Fitosporin for prevention. This is especially true for central regions.
Reviews from summer residents
Experienced summer residents say that if you follow the basic rules of agricultural technology, growing celery is not difficult. Some of them give useful advice.
Irina, Izhevsk: “I’ve been growing petiole celery for three years now. Very tasty and healthy greens that can improve the taste of absolutely any dish. The first year there were difficulties with seed germination. They take a really long time to germinate. Now I’ve gotten used to it and before planting I soak them in Epin. Otherwise, I didn’t notice any difficulties in growing.”
Elena, Sochi: “I love celery. This year I grew its petiole variety for the first time. I chose varieties that do not require bleaching. Fertilized with silage, with the addition of ash and chicken droppings.The harvest turned out to be good, the stems are juicy and aromatic. The only negative is that of all the seeds I purchased, no more than half sprouted.”
Conclusion
Petiole celery is a tasty and healthy plant that is suitable for a variety of dishes. It is recommended to be included in the diet by nutritionists and adherents of proper nutrition.
It is quite possible to grow celery on your own plot. The main thing is to follow all the rules of care and adhere to the planting dates specified by the manufacturer.
I couldn’t understand why my petiole celery didn’t grow. I found an explanation in your article and now I understand. I learned a lot of new information, thank you.