How to properly germinate a walnut at home and replant it in the ground
Walnut is a heat-loving but hardy plant that can bear fruit in the south and in the Central Black Earth region of Russia. The crop is characterized by high productivity, while requiring minimal care. Even a novice gardener can grow a tree from a nut that will produce tasty and healthy fruits. You just need to properly prepare the planting material and perform the planting procedure. Read the article on how to germinate walnuts at home.
Why germinate walnuts
Growing walnuts possible by vegetative and generative methods.
The second option involves using a plant seed, i.e. the nuts themselves. Their shell is thick and durable, so under natural conditions the fruits have low germination. Often the core rots before the shell opens.
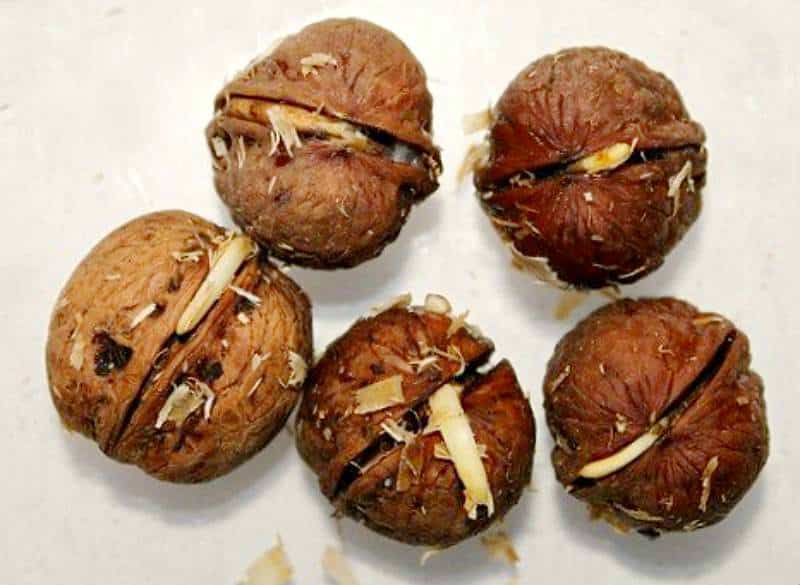
Unsprouted nuts can be planted directly in open ground. This is done in the fall, immediately after the fruit falls from the tree. In this case, you will have to use a large amount of planting material, since a small percentage will be able to germinate on their own.
Experienced gardeners recommend first preparing and rooting the nut at home. After the shell opens, the sprout hatches and gets stronger, it is planted in a permanent place.
Selection of nuts
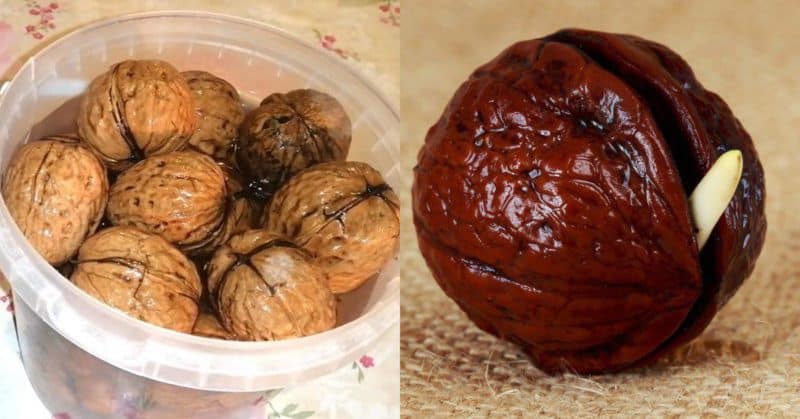
For successful germination, it is important to choose suitable planting material.
Pay attention to the following signs:
- Variety If the nut is grown as a houseplant at home, any variety will do. If you plan to plant a plant in open ground, preference is given to zoned varieties that are comfortable in the local climate.
- Weight. The nut should be heavy. If it is light, then the kernel has dried out or rotted.
- Shell thickness. It is easiest to germinate fruits with thin shells.
- Appearance. Fruits with intact shells are suitable. Instances with holes, dark and moldy spots, or rotten areas cannot be used.
Nut fruits no more than a year old are suitable for planting. The older the planting material, the lower its germination rate.
Dried, heat-treated nuts are not suitable. The kernels inside them are non-living, so they will not germinate.
Store-bought nuts are usually dried, and to give the shells a lighter shade, they are soaked in a chlorine solution. Therefore, it is better to collect the seeds yourself.
Advice. Planting material capable of germinating can also be purchased from private traders on the market.
Walnuts are collected when they begin to fall from the tree. Many gardeners believe that it is best to pick fruits from the branches.
Preparation
Before germinating a walnut at home, it is prepared. This process consists of the following steps:
- Peeling. The green soft part is completely removed. They do this with gloves, because the iodine contained in the shell stains the fingers. It is important not to damage the hard shell.
- Germination test. The peeled fruits are immersed in warm water. Those of them that do not drown in half an hour are not suitable for landing. The specimens that have sunk to the bottom have a dense, heavy, intact core, so the chances of their germination are high.
- Disinfection. The nuts are dipped in a light pink solution of potassium permanganate for half an hour.
- Stratification. Planting material is buried in a box with wet sand and removed to a place with a temperature of 0 to +5°C. So the nuts should last 3-4 months. All this time, the sand is moistened and ventilated every 2 weeks.
- Examination. Before planting, the shells are inspected for mold, dark and light spots, and damage. The nuts are again immersed in water and the specimens that have sunk to the bottom are left for planting.
Stratification is a mandatory stage in preparing walnuts for planting. During this procedure, conditions close to natural are created when the fruits germinate. Thanks to this, the nut ripens, its shell becomes thinner, and sprouts appear soon after planting.
Note! Some gardeners include calibration in the list of preparatory work. It is believed that larger nuts germinate faster, and the trees subsequently produce larger fruits.
How to germinate them correctly
If in the open ground nuts begin to germinate in the autumn, then at home this is done in the spring after stratification. There are different ways to plant plants in an apartment.
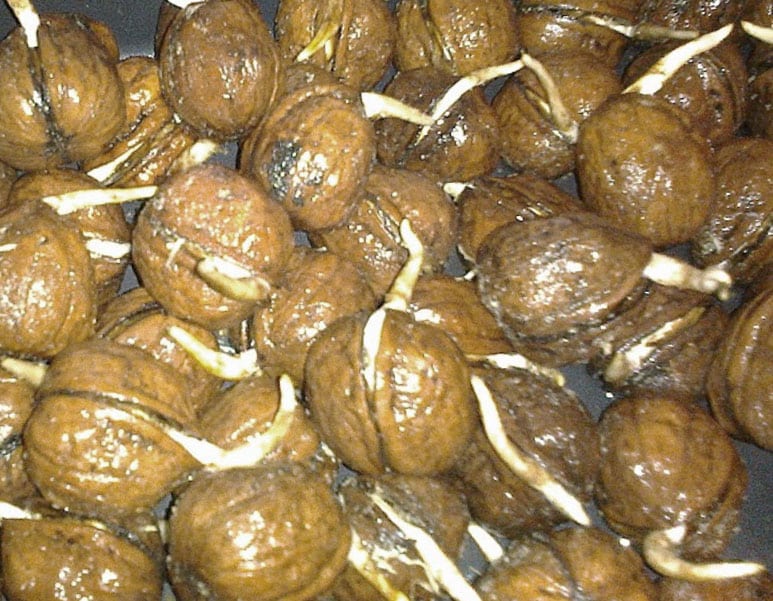
Different ways
Most gardeners believe that it is easiest to germinate a nut by planting it directly in a pot of soil. To do this, use a plastic container, a wooden or clay tub about 30 cm deep. The container is filled with soil mixture prepared from:
- 3 parts peat,
- 3 parts garden soil;
- 1 part humus.
The components are mixed and calcined in the oven or poured over with a dark pink solution of potassium permanganate. The planting container is doused with boiling water or soaked in a strong solution of potassium permanganate.
Important! There must be drainage holes in the bottom of the planting container.
For planting, you will need drainage, for example, crushed bricks, small crushed stone, broken ceramics, coarse sand, or special purchased drainage for plants. It is also disinfected.
Step-by-step planting instructions:
- The pot is filled with a layer of drainage no less than 5 cm high. The rest of the volume is filled with soil.
- Planting material is planted in individual containers to a depth of 7-9 cm. The nut is laid on its side.
- The soil is watered generously with water at room temperature. Some gardeners add a growth stimulant (“Epin”, “Kornevin”, “Rastvorin”) to the water during the first watering.
- Cover the container with film and put it in a warm, bright place. The soil is watered as it dries. To prevent mold from forming, it is ventilated.
After germination, the nut begins to harden. To do this, open the film slightly, gradually increasing the time of such ventilation. Then it is completely removed.
You can germinate nuts in water. This is done at the end of winter or beginning of spring, when the heating is still working. For this:
- Fill the jar one third with warm water. A nut is placed in it, sealed with a lid and placed on the battery. The planting material is left in this form for 2-3 days. During this time, it should be saturated with moisture, and the shell flaps should open slightly.
- After 3 days, all the water is poured out of the jar. 0.5 cm of warm water is poured into the bottom of the container, then planting material is placed in it. The lid is left slightly open to allow air circulation. After 10-14 days, a sprout should appear and grow.
- Together with the shell, it is transplanted into a container with soil so that the regrown part is above the surface of the soil. Keep the plant in a warm, bright place and water as needed.
Green (unripe) walnuts, which are used to make jam, are not suitable for planting. Its core is not yet formed, so it will not sprout.
Care during germination
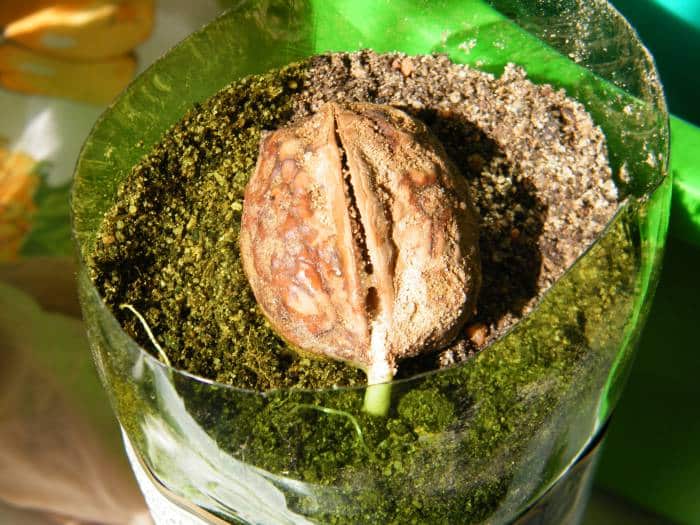
So that the sprouts not only look, but are also healthy and strong, and take root well after planting in open ground or a large container, It is important to care for them properly and provide optimal conditions:
- Lighting. A light-loving walnut tree, even at the stage of growing a seedling, must receive enough light. It is best to keep it on a south or west windowsill. If this is not possible, use fluorescent lamps.
- Temperature. The tree does well at room temperature. If it is warm outside, be sure to ventilate the room.
- Hardening. The walnut tree begins to be taken outside when the air temperature reaches +15°C. The plant is brought in at night. In the summer, when the nights are also warm, you can leave the nut overnight. Then the plant will easily survive transplantation into open ground. It is also useful to take indoor nuts outside.
- Watering. The sprouts are watered as the soil under the root dries. It is important that the soil does not dry out, but that the moisture does not stagnate.
- Mulching. In order for the tree to form a strong root system that quickly adapts to new conditions after transplantation, its base is mulched with peat.
- Feeding. Complex fertilizers containing potassium are applied once every 2 weeks. For sprouts, use a concentration of half the norm.
How to plant sprouted nuts in the ground
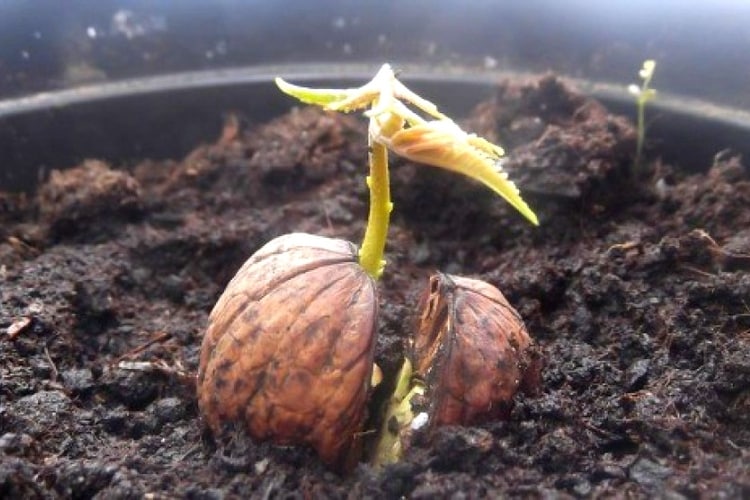
The seedling is planted in open ground a year after sowing. By this time he will have grown stronger to adapt to new conditions.. Planting work is carried out in the spring, when the outside temperature reaches +15°C.
It is important to choose a suitable place to plant the seedling. The walnut tree is growing rapidly. Therefore, it is placed at a distance of at least 6-8 m from buildings and 3 m from other trees.
Groundwater should not lie closer than 1.5-2 m, since the plant has a powerful taproot system. The soil is preferably neutral or slightly acidic.
The site is prepared for planting in the fall. It is dug up and cleared of weeds. The soil is mixed with fertilizers. To do this, 6 kg of humus, 35 g of superphosphate, 30 g of potassium fertilizer, 30 g of ammonium nitrate are scattered on every 1 m². The soil is dug up again.
In spring, the soil is cleared of new weeds and leveled with a rake. Dig a hole 60 cm deep and 40 cm wide. Pour a hot solution of copper sulfate into it (1 tablespoon per 1 bucket of water). The soil removed from the hole is mixed with a bucket of humus and 1 kg of ash.
10 cm of drainage is poured into the bottom of the hole, and 5-10 cm of nutrient soil mixture is placed on top. Then the walnut removed from the pot is placed along with a lump of earth. The rest of the volume is filled with soil. The plant is watered and the missing soil is added, which should not cover the root collar. The tree trunk circle is mulched.
Further care
A young tree needs more care than an adult one. Be sure to follow the following rules:
- Watering. The young plant is watered every 2 weeks. For 1 m² use 4 buckets of water at room temperature. The soil around the nut should not be allowed to dry out; it is important to ensure that there is no stagnation of moisture. If you water the nut more than once every 14 days, it will be less able to withstand winter cold weather.
- Feeding. If enough fertilizer was applied during planting, there is no need to feed the tree for the first 3 years.Then nitrogen fertilizers are applied every spring, and phosphorus-potassium fertilizers are applied in the fall.
- Trimming. It begins to be carried out from the second year after disembarkation. In the process, a crown is formed, weak, damaged, dry branches are removed. The procedure is carried out every year.
Optimal conditions for growing walnuts at home
When growing an indoor walnut tree, it is important to create optimal conditions:
- The plant should be on a south or west windowsill. In winter, it is recommended to take the nut out onto the balcony.
- Room temperatures are suitable for growing a walnut tree, but higher temperatures are also favorable. In winter, you need to provide the nut with a state of rest. To do this, it is taken into a room with a temperature no higher than +12°C.
- Water the nut about once a week. Do not allow the soil to dry out or become stagnant.
- The tree is fed in the same way as a street nut. Nitrogen fertilizers are applied in the spring and phosphorus-potassium fertilizers in the fall.
- When the plant reaches the desired height, pinch off the top. The crown is formed by removing excess, weak and inward-directed shoots. All damaged and dry parts are also cut off.
- In winter, no fertilizing is applied; the plant is watered less often.
When will the nuts begin to bear fruit and what is needed for this?
The nut begins to bear fruit 7 years after planting. Typically, a tree grown generatively does not retain its maternal characteristics. Grafting with cuttings or buds taken from an already fruit-bearing tree of a suitable variety will help eliminate this problem and increase yield.
This is interesting:
Eating walnuts for weight loss: is it possible to eat and in what quantity?
Conclusion
It is not difficult to germinate walnuts at home.You need to select suitable planting material, prepare it correctly and perform the planting procedure. Within a year, a strong and healthy seedling will appear.
Walnut trees propagated generatively bear fruit. However, they rarely retain their mother's characteristics. Therefore, their fruits are smaller, but no less tasty and useful.
“The nut begins to bear fruit 7 years after planting.” This is not entirely true. Of the five “planted” sprouted nuts, two gave fruit already in the fourth year: one - 38 pieces, the other - 8.