How to make a homemade potato digger for a tractor
The potato digger occupies a special place among attachments for agricultural machinery. Its use not only increases labor productivity, but also allows you to obtain a higher quality harvest. Some farmers purchase such a device, others construct it themselves. If you have basic manual skills, it is easy to assemble from materials that you always have on hand.
What is a potato digger
Just 10-15 years ago, owners of household plots harvested potatoes exclusively with the help of a shovel. Mechanized harvesting was carried out only in large agricultural farms. Now even the smallest farmer can afford to harvest with a potato digger.
Description and characteristics of the device
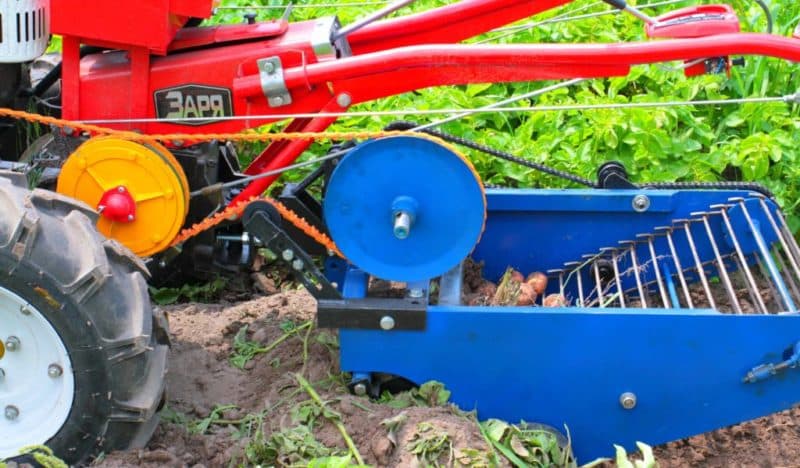
The principle of operation of the device is quite simple. The cutting parts go deep into the soil, capture part of it and lift it along with potatoes or other root crops to the surface. The tubers, passing through the unit, are cleared of most of the soil and remain on the surface, or are immediately collected in a bunker.
The device is used to speed up harvesting and reduce labor costs. This is especially beneficial in large areas.
Application Features and Benefits
The peculiarity of this unit is that it can be used not only for harvesting potatoes, but also for harvesting other vegetables - for example, beets or radishes.In addition, with this method of harvesting, the tubers are practically not damaged.
The main advantage is the high speed of potato harvesting compared to manual labor.
Types of potato diggers
Similar devices have differences in design features. But their operating principle is the same.
Single row
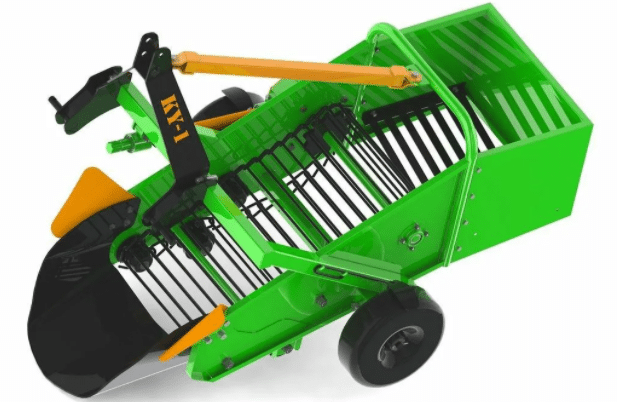
Single-row potato diggers are capable of extracting root crops from only one strip of plantings in one pass. They perform well on walk-behind tractors and mini tractors.
Double row
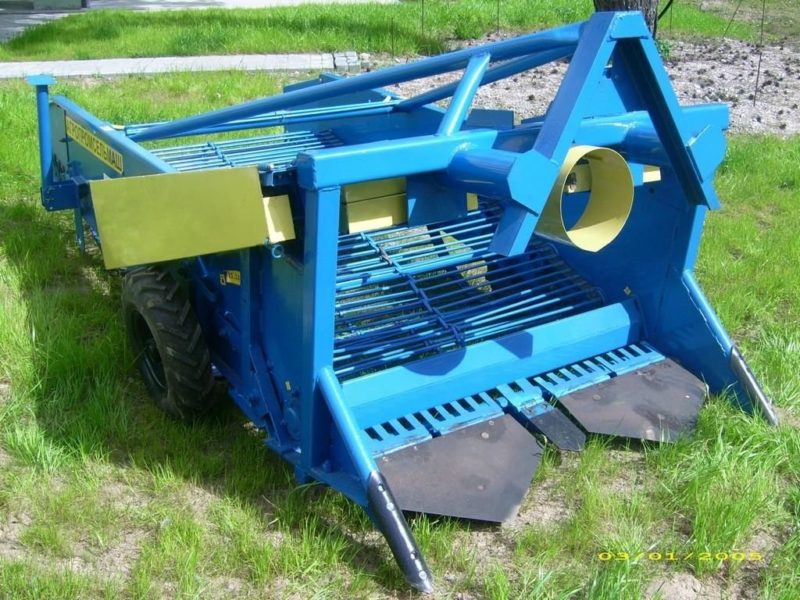
Double-row designs are wider. They can process two rows at once in one pass.
Purchased
Such potato diggers are produced by both domestic and foreign manufacturers. It is important to consider that different types of structures are designed for use in different conditions and on different soils. The cost of purchased equipment is quite high, but it pays off relatively quickly.
Homemade
If you don’t want to spend extra money on purchasing a factory potato digger, you can make it yourself. For small areas, a fan digger will be sufficient. If potatoes are grown every year over large areas (for sale), then it is better to make a more complex structure.
What types of potato diggers are there?
Attachments for digging potatoes come in several types, which differ in their design. There are models designed to work on areas of various sizes and on different soils.
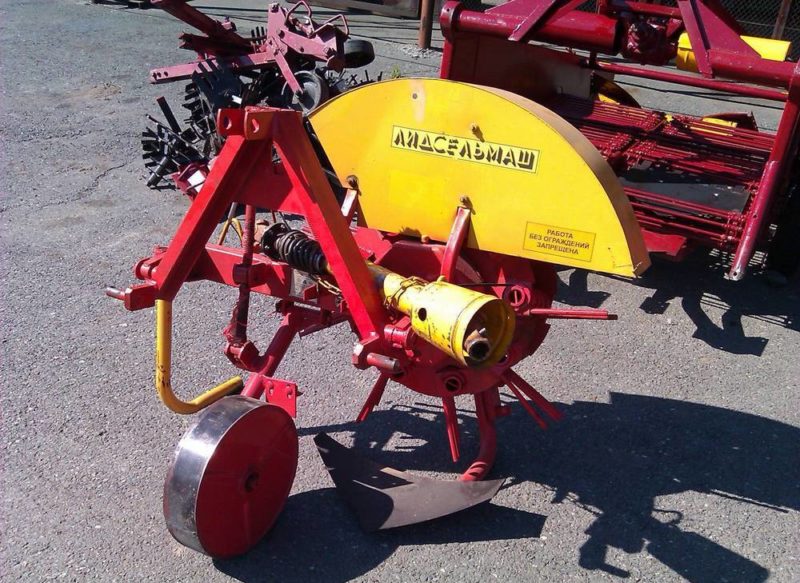
Fan for walk-behind tractor
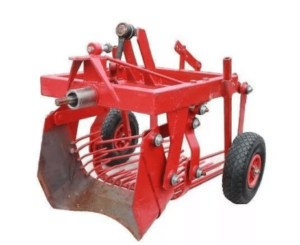
The main working mechanism is the plow. Rods extend from it, bent upward. The device is immersed in the soil, and as it moves, the potatoes rise along the rods to the surface.
Among the advantages of the fan design are low cost and simplicity. But such a digger will not be able to work productively on hard soils.
Grohotnaya
 Such units are more complex. They are equipped with a grid inclined to the ground, wheels and support points. The potato digger is buried under the tubers, after which they rise to the surface and fall onto a grid through which all the earth is sifted.
The main advantage of such a digger is to obtain clean potatoes.
Conveyor
This type of machine has a flat cake and a conveyor in its design, through which the potatoes fall into the bunker.
Conveyor Products show poor performance on wet and sticky soils. They should also not be used in areas where weeds grow. Plants are wound onto the conveyor, which significantly reduces productivity.
Drum type
The drum digger has a rather complex design. Potatoes are removed from the soil using a plow. After this, they fall into a perforated rotating drum, where the soil is removed. The potatoes are transported from the drum to the hopper.
The main advantage of such devices is the ability to operate them over large areas.
Rotary
This design digs up the bed during operation. At the same time, metal rods rotate at a certain height, breaking up clods of earth. The potatoes are placed next to the unit.
How to make a potato digger for a tractor with your own hands
If you have the tools and materials, then making a potato digger yourself is quite simple. The main thing is to follow the instructions.
What materials will you need?
Before you begin assembling the digger, prepare all the necessary tools and materials. To make it you will need:
- fittings with a diameter of 10-15 mm;
- nuts and bolts with a diameter of 10 mm;
- sheet metal of different thicknesses;
- steel corners;
- metal pipes;
- Bulgarian;
- drill;
- welding machine.
Step-by-step instructions, drawings and dimensions
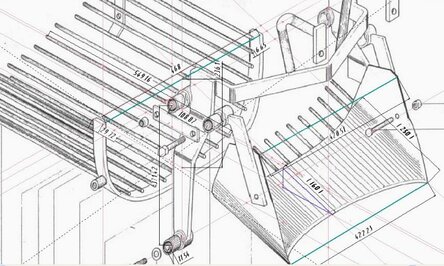
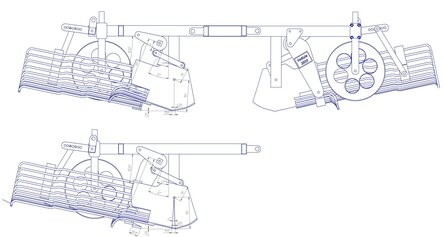
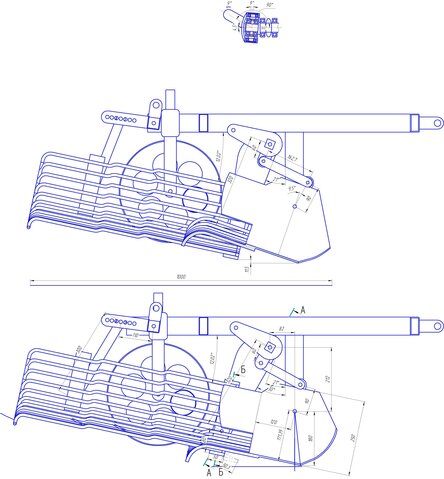
If you follow the instructions and use ready-made drawings, then making such a device will not be so difficult. Below are drawings of the main components.
For mini tractor
For mini tractors They produce screen-type potato diggers. The whole process does not take much time if you have the skills to work with technology.
To construct this model you will need to prepare:
- welding machine;
- grinder;
- drill and drill bits;
- steel sheet 3-5 mm;
- metal profile 25 by 25 mm;
- steel wire 8 mm;
- bolts;
- wheels;
- hinges and levers;
- eccentric.
Screen Digger Assembly Process:
- A metal profile is cut and a frame is welded from it.
- Racks are welded to the bottom of it, which will be used as a mount for the wheels.
- Hinge holders are welded into the inside of the base. The rumble will be suspended from them.
- Brackets are welded to the frame for installing the gearbox and other parts that will create vibration.
- A sifter (screen) is welded from thick wire.
- It is mounted on hinges inside the frame.
- The gearbox, eccentric lever and connecting rod are hung on the bracket to create vibration and connected to the screen. During operation of the shaft, movements will be transmitted to the screen. Vibrations occur due to the rotation of the eccentric.
- A digging knife is made from a steel sheet and welded to the bottom of the frame and the screen.
- At the last stage, the wheels are put on and secured.
For T 25
Each master makes individual parts of the device in his own way, so homemade potato diggers are always different from each other.
Device manufacturing process:
- The frame is welded from profiled pipes.
- Plowshares and a knife are made from a steel sheet 3-5 mm thick.
- Rollers or small wheels are installed inside the frame so that the conveyor belt can move along them.
- The conveyor belt is made from a bicycle or motorcycle chain, as well as steel rods.
- Assemble the brackets and fastenings to obtain the gearbox and gear train.
- A conveyor belt and other mechanisms are installed in the frame.
- Mount the wheels and blade on the frame.
For MTZ
To make a fan digger you will need the following materials:
- sheet steel 4 mm thick;
- bolts with a diameter of 12 mm;
- rectangular profiled pipe with a wall thickness of 3 mm;
- steel rods with a diameter of up to 10 mm (non-corrugated fittings with round ends are also suitable).
Procedure:
- Two holes are drilled in the middle of the ploughshare to make it possible to attach the part to the bracket.
- Towards the end of the knife, where it becomes wider, steel rods are welded so that they fan out. Their length should be 40-50 cm. They are also additionally bent upward.
- The stand is attached to the share using a bolted connection.
- Holes are drilled on the bracket so that it is possible to connect the digger to the tractor. The bracket is welded to the top of the rack.
- To increase the strength of the finished structure, a strip of metal is welded to the bottom of the knife.
For other models
When processing large areas, it is most effective to use drum type potato diggers. The device consists of a rotating drum, a knife and a frame with wheels.
Assembling such a device will require certain skills and special precision. The drum is made of metal rods, after which it is connected using a gear or chain transmission to a gearbox and a power take-off shaft. To make the connection correct, use a direct drive hitch.
The ploughshare is secured to hinges. Then the unit is welded to the disks and secured on two axes. The drum is placed on curved disks. Bicycle wheel rims are suitable for this.
The shaft will rotate and drive the drum into which the potatoes and soil fall. As a result, the earth spills out during rotation, and the tubers move to the edge and fall to the ground.
Tips and tricks for making
Basic recommendations for making a potato digger:
- Welding must be of the highest quality. If you do not have the skills to work with a welding machine, then it is better to turn to specialists. But in extreme cases, bolted connections in critical places are also acceptable.
- After each assembly stage, it is advisable to clean all connections, especially welding ones.
- After final assembly, it would be a good idea to paint the device (except for the knife) so that it is less likely to rust.
- It is important to provide a tilt adjustment mechanism. Otherwise, maximum efficiency will not be achieved.
Conclusion
Potato diggers made by yourself are a budget option for increasing labor productivity when performing agricultural work. Their efficiency is often inferior to their factory counterparts, although it all depends on the skills of the master.If you do everything efficiently and according to the instructions, your homemade device will turn out no worse than factory models.

