What types of potato diggers are there for a walk-behind tractor and how to make one yourself
Growing potatoes requires serious labor. To make work easier, many summer residents who have a walk-behind tractor use a potato digger. With this equipment, extracting potatoes from the ground is much easier and faster. But buying a separate device is quite expensive, so in some cases it’s easier to make it yourself from improvised means.
What is a potato digger and what is it for?
After the end of the spring sowing and application of fertilizers, an equally troublesome period of comprehensive crop care begins. But with the arrival of autumn, the life of a farmer does not become much easier, since the difficult task of harvesting lies ahead. Particularly a lot of effort is required to harvest potatoes..
It is quite difficult to dig up root crops in a large area by hand alone. Usually you have to call in assistants, whose services most often must be paid. If the potatoes were grown for sale, then such expenses will greatly reduce the profit received. It is much more profitable and easier to use a potato digger for a walk-behind tractor.
Device Description
The potato digger significantly reduces the time spent harvesting. Also, when using the technique, damage to tubers is minimized.
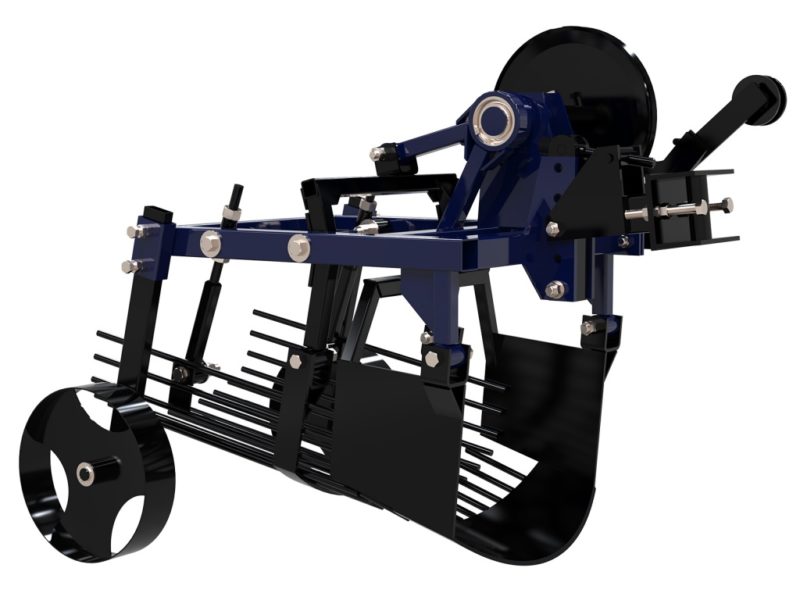
The operating principle of the attachment is quite simple. The cutting parts of the potato digger go deep into the ground, bringing the tubers to the surface. When potatoes are removed from the ground, they are cleared of soil residues and thrown onto the surface of the site or into a special bunker. After this, the tubers are transported to the storage location.
Potato diggers are manufactured by both domestic and foreign manufacturers. The devices are designed to operate in different climatic conditions, regardless of the manufacturer.
Reference. In order for the equipment to show maximum productivity, the field is sown in even rows.
The average speed during harvesting with a potato digger is approximately 5 km/h. Rated capacity and row spacing depend on the technical capabilities of the tractor and the model of attachment.
What is it for?
A potato digger is used to quickly harvest potatoes. The device will significantly reduce labor costs. Also, with this collection, the tubers are practically not damaged if the equipment is configured correctly.
What potato diggers are there for walk-behind tractors?
Potato diggers differ in their processing width and some design features. Four-row devices are considered the most powerful. Such models are capable of processing 4 rows of plantings in one pass. Most often these units installed on heavy tractors and are used on large farms.
For small farms and cultivation of personal plots, more compact equipment is used. The most popular types of potato diggers:
- Single row. The units are capable of processing only one strip of plantings in one pass. Most often these are conveyor models, which, after removing the tuber, send it to the hopper along a belt.
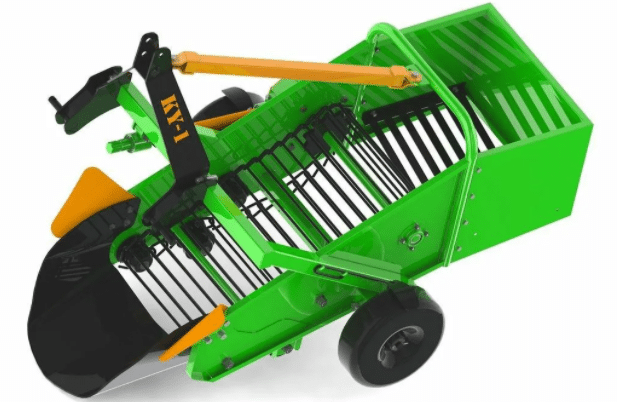
- Double row. They are similar to single-row ones, but 2 rows are processed per pass.
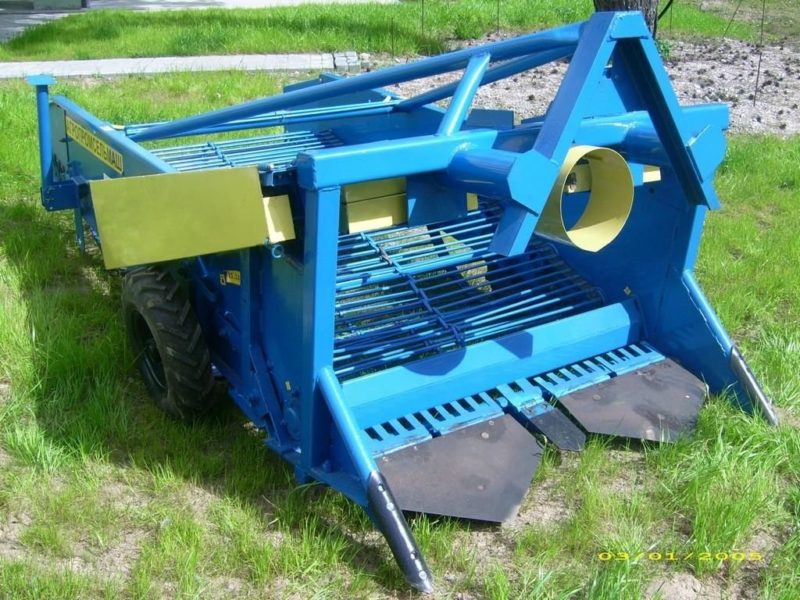
- Loud. The width of the soil coverage can reach up to 50 cm. After removing the potatoes from the ground, they are sent to a vibrating grid, where they are cleaned of soil residues. The productivity of such models reaches 0.3 ha/h.
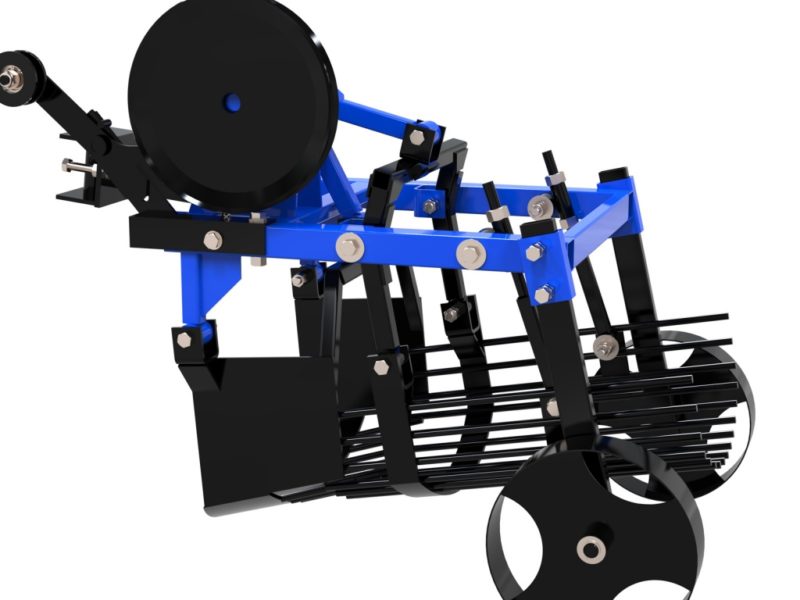
Advantages and disadvantages of potato diggers
Different models of potato diggers have their own advantages and disadvantages.
One of the main advantages is that the units greatly facilitate the work of harvesting. Also, potato diggers are suitable not only for harvesting potatoes, but also for beets, carrots and other root vegetables. Such equipment saves effort and time.
The only disadvantage is the high cost of the attachments. For small plots, purchasing a potato digger is unprofitable.
What types of potato diggers are there for walk-behind tractors and which ones are better?
There are several types of equipment, depending on the design features. Each type is intended for different areas of the cultivated area for different soils.
Fan
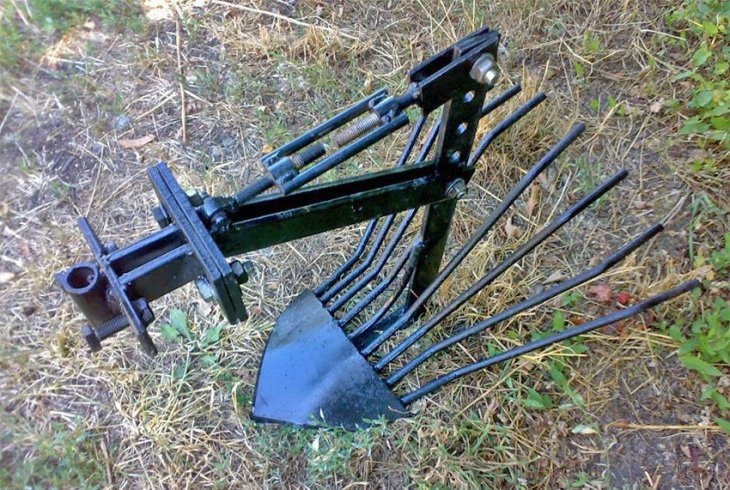
The working mechanism is made in the form of a plow, from which rods extend. The operating principle is quite simple. The plow is immersed in the ground, and under the influence of the traction of the walk-behind tractor, the potatoes rise through the rods to the soil surface.
The advantages of this design include the simplicity of the mechanism and low cost. Among the disadvantages are rapid wear and the impossibility of long-term use on hard soils.
Conveyor
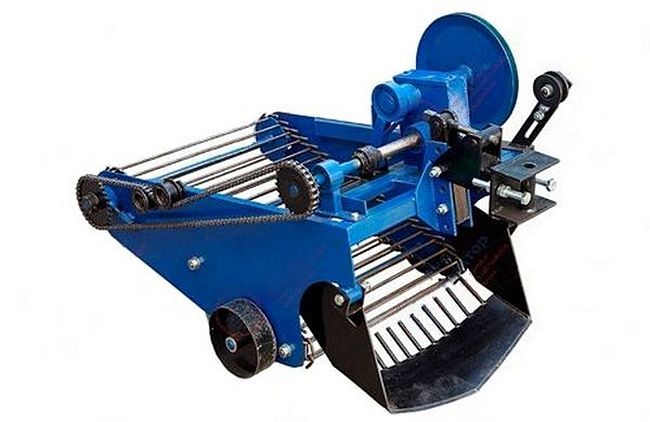
Conveyor potato diggers consist of two main parts: a conveyor and a cake. This type of equipment cannot be used on viscous and wet soils.
The main disadvantage is the inability to use in areas where there are weeds.The stems fall onto the conveyor, wind up and reduce the productivity of the device.
Screening or vibrating
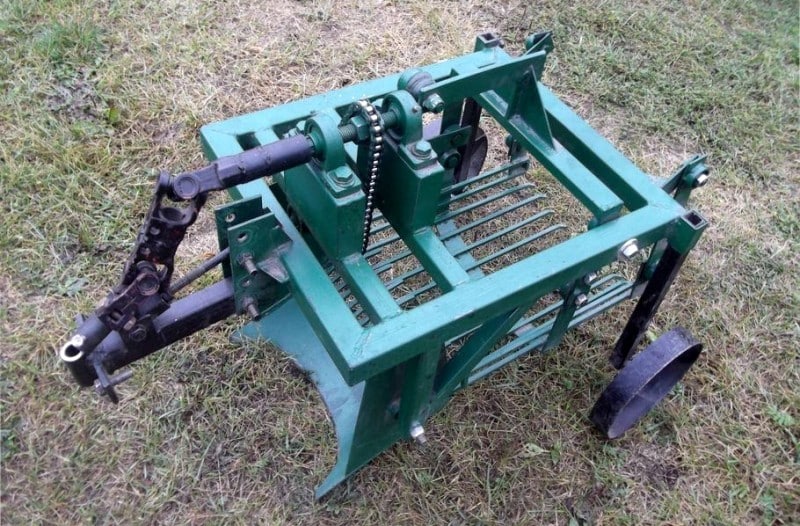
Such devices have a more complex structure. They have additional support points, wheels and a grid inclined at an angle to the soil surface.
The unit goes deep under the potatoes, lifting the tubers to the surface. Excess soil is removed from the grid.
The main advantage is considered to be obtaining the cleanest possible potatoes.
Rotary
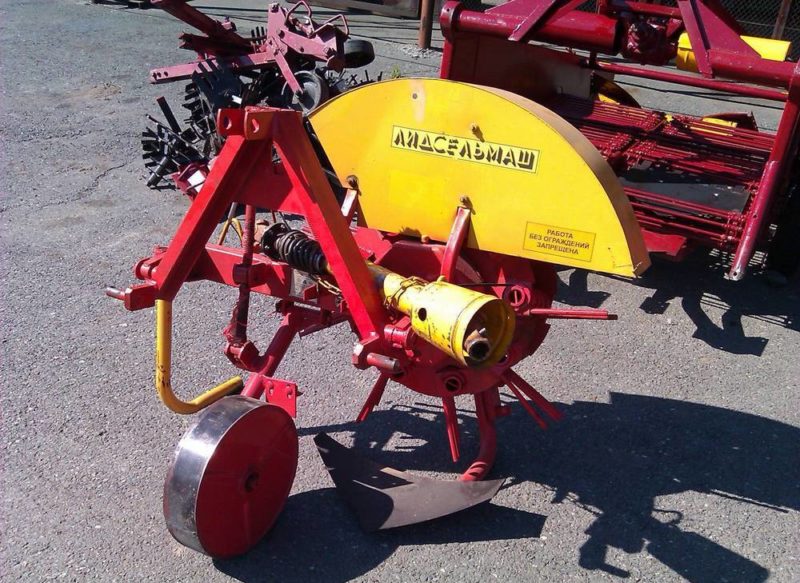
During operation, a rotary potato digger digs up a row of potatoes at a certain depth. After this, with the help of iron rotating rods, he breaks up piles of earth, and the tubers lie next to the device.
Drum type
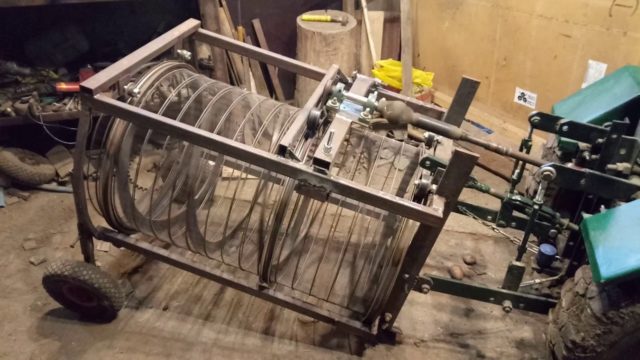
This is a rather complex mechanism. With the help of a plow, the potatoes rise to the surface and fall onto the grate. The tubers then pass through a rotating drum and end up in a hopper.
The advantages of this model include the ability to process large areas. Among the disadvantages is the inability to use on hard soils.
How to choose it correctly
Choosing a potato digger is quite a responsible undertaking. It is important to take into account all the factors on which the performance and performance of the equipment will depend.
Things to consider
When choosing, consider the following points:
- Soil type. For example, potato diggers have proven themselves to work well on light and medium-heavy soils. But if the soil is overgrown or the summer was dry, such models will not cope with the task.
- Build quality and performance. In terms of productivity and quality of tuber extraction, conveyor devices performed best.
- Price. If there is no need to process large areas, then a vibration model would be the best option.
Review of the best models of potato diggers for walk-behind tractors and their comparison
The best potato diggers for a walk-behind tractor:
- «Neva«. The device is great for use in gardens, as it is designed for processing small areas. The weight of the unit is 34 kg, and the width is 36 cm. “Neva” is capable of diving to a depth of 20 cm. The processing speed is 0.2 ha/h. The potato digger was developed specifically for the Neva walk-behind tractor; if there are additional fasteners, it is also suitable for other models.
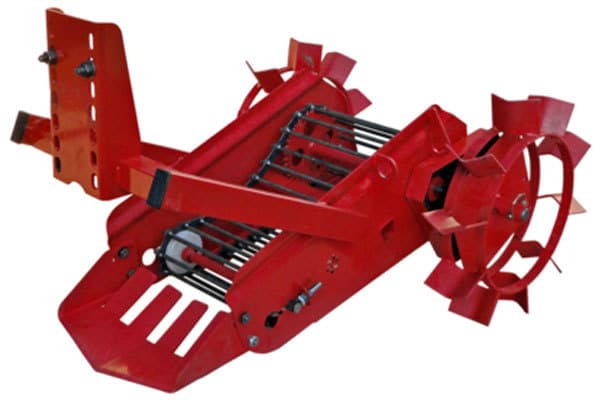
- KKM-1. The device is a screening type with powerful wheels, due to which the load on the walk-behind tractor is reduced. Captures soil to a depth of 20 cm. The weight of the potato digger is 40 kg. According to reviews, this model is considered one of the easiest to use and reliable in terms of operation. The unit also has additional seeders, so it can also be used during sowing.
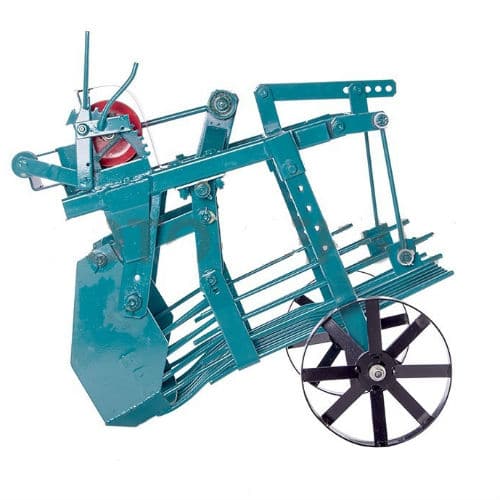
- KT-51. Suitable for medium walk-behind tractors that are equipped with a keyed power take-off shaft. KT-51 is a conveyor-type potato digger. Its weight is 50 kg with a width of the processed strip of 45 cm. The maximum immersion depth is 30 cm.
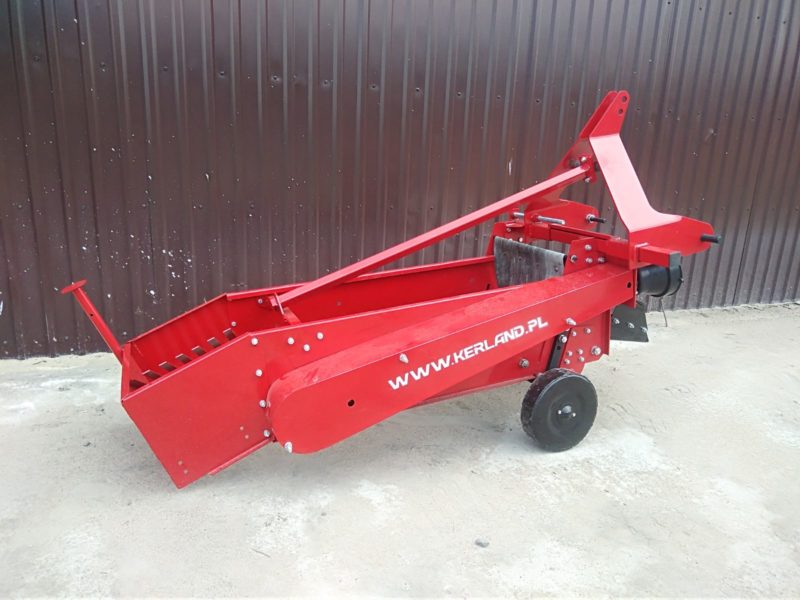
How to make a potato digger for a walk-behind tractor with your own hands
If tools and materials are available make your own potato digger not that difficult. The main thing is to follow the instructions.
Drawings and dimensions
For small farms, a small device is best suited. It should be easy to hang on the walk-behind tractor and be easy to use.
Below is a drawing of a screening potato digger.
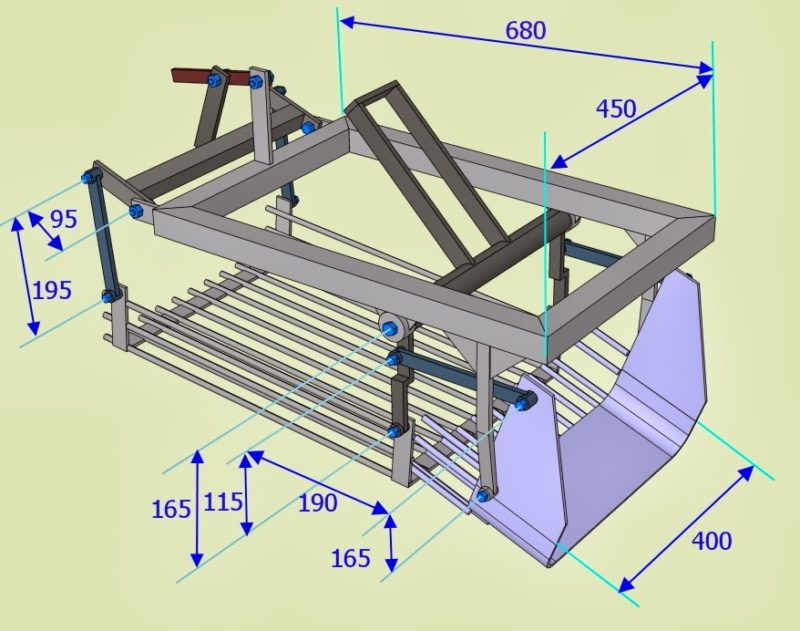
Step-by-step instruction
Before starting work on making a potato digger for a walk-behind tractor, it is important to read the instructions for creating such units. First of all, prepare all the required tools and materials:
- reinforcement bars;
- nuts and bolts;
- iron plate;
- metal corners;
- metal pipe;
- welding machine;
- Bulgarian
- drill;
- engraver.
Creating a Frame
The basis of any homemade device is the frame. It is important to make it as high quality as possible.
Welding the fastening rectangle
Using a mounting rectangle, the frame of the entire unit is formed, so it is manufactured very carefully.
To create the frame you will need a metal pipe 4 m long and about 50 mm in diameter. It is cut into 4 parts. Two of them should have a length of 100 cm, and the rest - 80 cm. The cut pipes are welded to form a rectangle. After this, the edges are sanded to remove sharp corners.
Fastening the jumper
The jumper will be needed in the future for the installation of special rods that will regulate the angle of inclination. It is installed in the center of a rectangular frame.
They also install two small tubes up to 10 cm long and about 25 mm in diameter. Wheels will be installed on them. After welding the tubes, holes with a diameter of 15 mm are made in each of them.
Installation of vertical racks
To increase reliability, vertical posts are attached to the frame. From the lintel they retreat 5-10 cm along the frame, and a small steel square measuring 35 by 35 cm is welded perpendicularly. After this, another 15 cm is retreated and iron posts 30 cm long are welded. As a result, the finished structure should outwardly resemble an inverted staircase.
Rack connection
To connect the edges of the racks, it is recommended to use metal strips 0.5 mm thick. They are welded to the posts at an angle of 45°, and then the edges are connected to each other. The resulting design will be in the shape of a triangle.
Ralo and pitch board
After making the frame, they proceed to creating the raal and the pitched board. They are required for digging up tubers and clearing them from the ground.
Welding the rala
To create a rahl, take a small iron sheet measuring 30 by 30 cm. Make 2 holes in it for M12 bolts. You will also have to drill holes in each rack. After this, the metal sheet is screwed to the frame.
On the opposite side, another sheet of metal measuring 60 by 30 cm and 0.5 mm thick is placed. The middle of the sheet is hit several times with a sledgehammer to form a cone.
Welding a pitched board
A potato digger must have a sloped board. It is best to use reinforcement with a diameter of 10 mm and a length of about 1 m. It is welded every 4-5 cm to the raft and the opposite side of the potato digger.
Installation of adjusting rods
Adjustment rods allow you to adjust the inclination of the potato digger and each installed rod. They are mounted to the first cross member of the frame. To reduce the angle, the rod will have to be unscrewed so that its rods begin to protrude.
Wheel mounting
Any wheels from construction wheelbarrows are suitable for installation, since their load capacity should not be large. A mount is welded to each wheel and mounted in previously prepared places.
Tips and tricks
First of all, the potato digger is installed on a walk-behind tractor. Using the long central screw, select the most comfortable position.This is required for smooth adjustment of the soil cultivation depth. The screw is tightened with a wrench, and then the drive belt is attached.
For normal interaction between the walk-behind tractor and the potato digger, it is important to adjust all the bolts on the trailer unit.
Then a test run of several meters is made. If the potatoes are dug up normally and are not damaged, begin harvesting. Only after full adjustment will the potato digger operate in the required mode.
Conclusion
A potato digger is a device that makes life much easier for farmers and gardeners. With its help, harvesting takes much less effort and time. But high-quality devices are quite expensive, so they are often made independently. When manufacturing the unit, it is important to follow the instructions.